When I said I was going to anodize a lot of aluminium for my wife’s navigation tower for her rally bike a lot of guys wanted to know how I intended to anodize, where to get all the ingredients and how it all works.. I promised I’d write a thorough instruction once I figured it out, and since the results of my anodizing are starting to get quite good it’s time to write that instruction. I’ll write it in english, since everyone understands it.
What do I need?
- Aluminium to anodize
- Lead or aluminium sheet, at least the same size as the piece you’re anodizing
- Sulfuric acid (just wait, I’ll tell you how to get it further down)
- Some kind of power supply, I’m using a 5A 30V adjustable power supply from ebay
- Plastic container big enough to fit all of the above (not the power supply)
- Aluminium wire, or some aluminium piece to suspend the part being anodized
- Some way to boil enough water to cook the piece of aluminium you’re anodizing
Optional
- Caustic soda (natrium hydroxide)
- Dye, preferrably of the anodizing kind
How do I get it?
Everything you need is really easy to come by, except for the sulfuric acid. At least in sweden you can’t buy sulfuric acid. But, sulfuric acid is what they put in lead batteries, like the one in your car. You should be able to have someone who can refill your car battery sell you some sulfuric acid, or you can do what I did. I got a couple of old car batteries and simply drained the acid from them. If the acid is very dark and dirty, just let it sit for a couple of days and all the dirt will sink to the bottom. Then you pour the acid out carefully, and leave the dirt out.
The acid in a car battery is of 20-30% concentration, and what you want for the anodizing process is a solution of 10% acid. To make it less concentrated, simply take as much water as you have acid, and REMEMBER TO ALWAYS POUR ACID INTO WATER, not the other way around. And ALWAYS wear eye protection. If you pour water into acid it very well may send acid splashing around, and getting 30% sulfuric acid on your skin stings, to say the least!
The caustic soda (natrium hydroxide) is what you use to clear out the drains if they’re clogged. You’ve probably got it at home already.
Anodizing dye I bought from ebay. I tried dye for textile at first, since I read that it’d work, and anodizing red or blue sure does, but the color will be very transparent. Anodizing black didn’t really make the part black, more like a light brown.. Feel free to try other dyes, and let me know what works for you.
The anodizing process
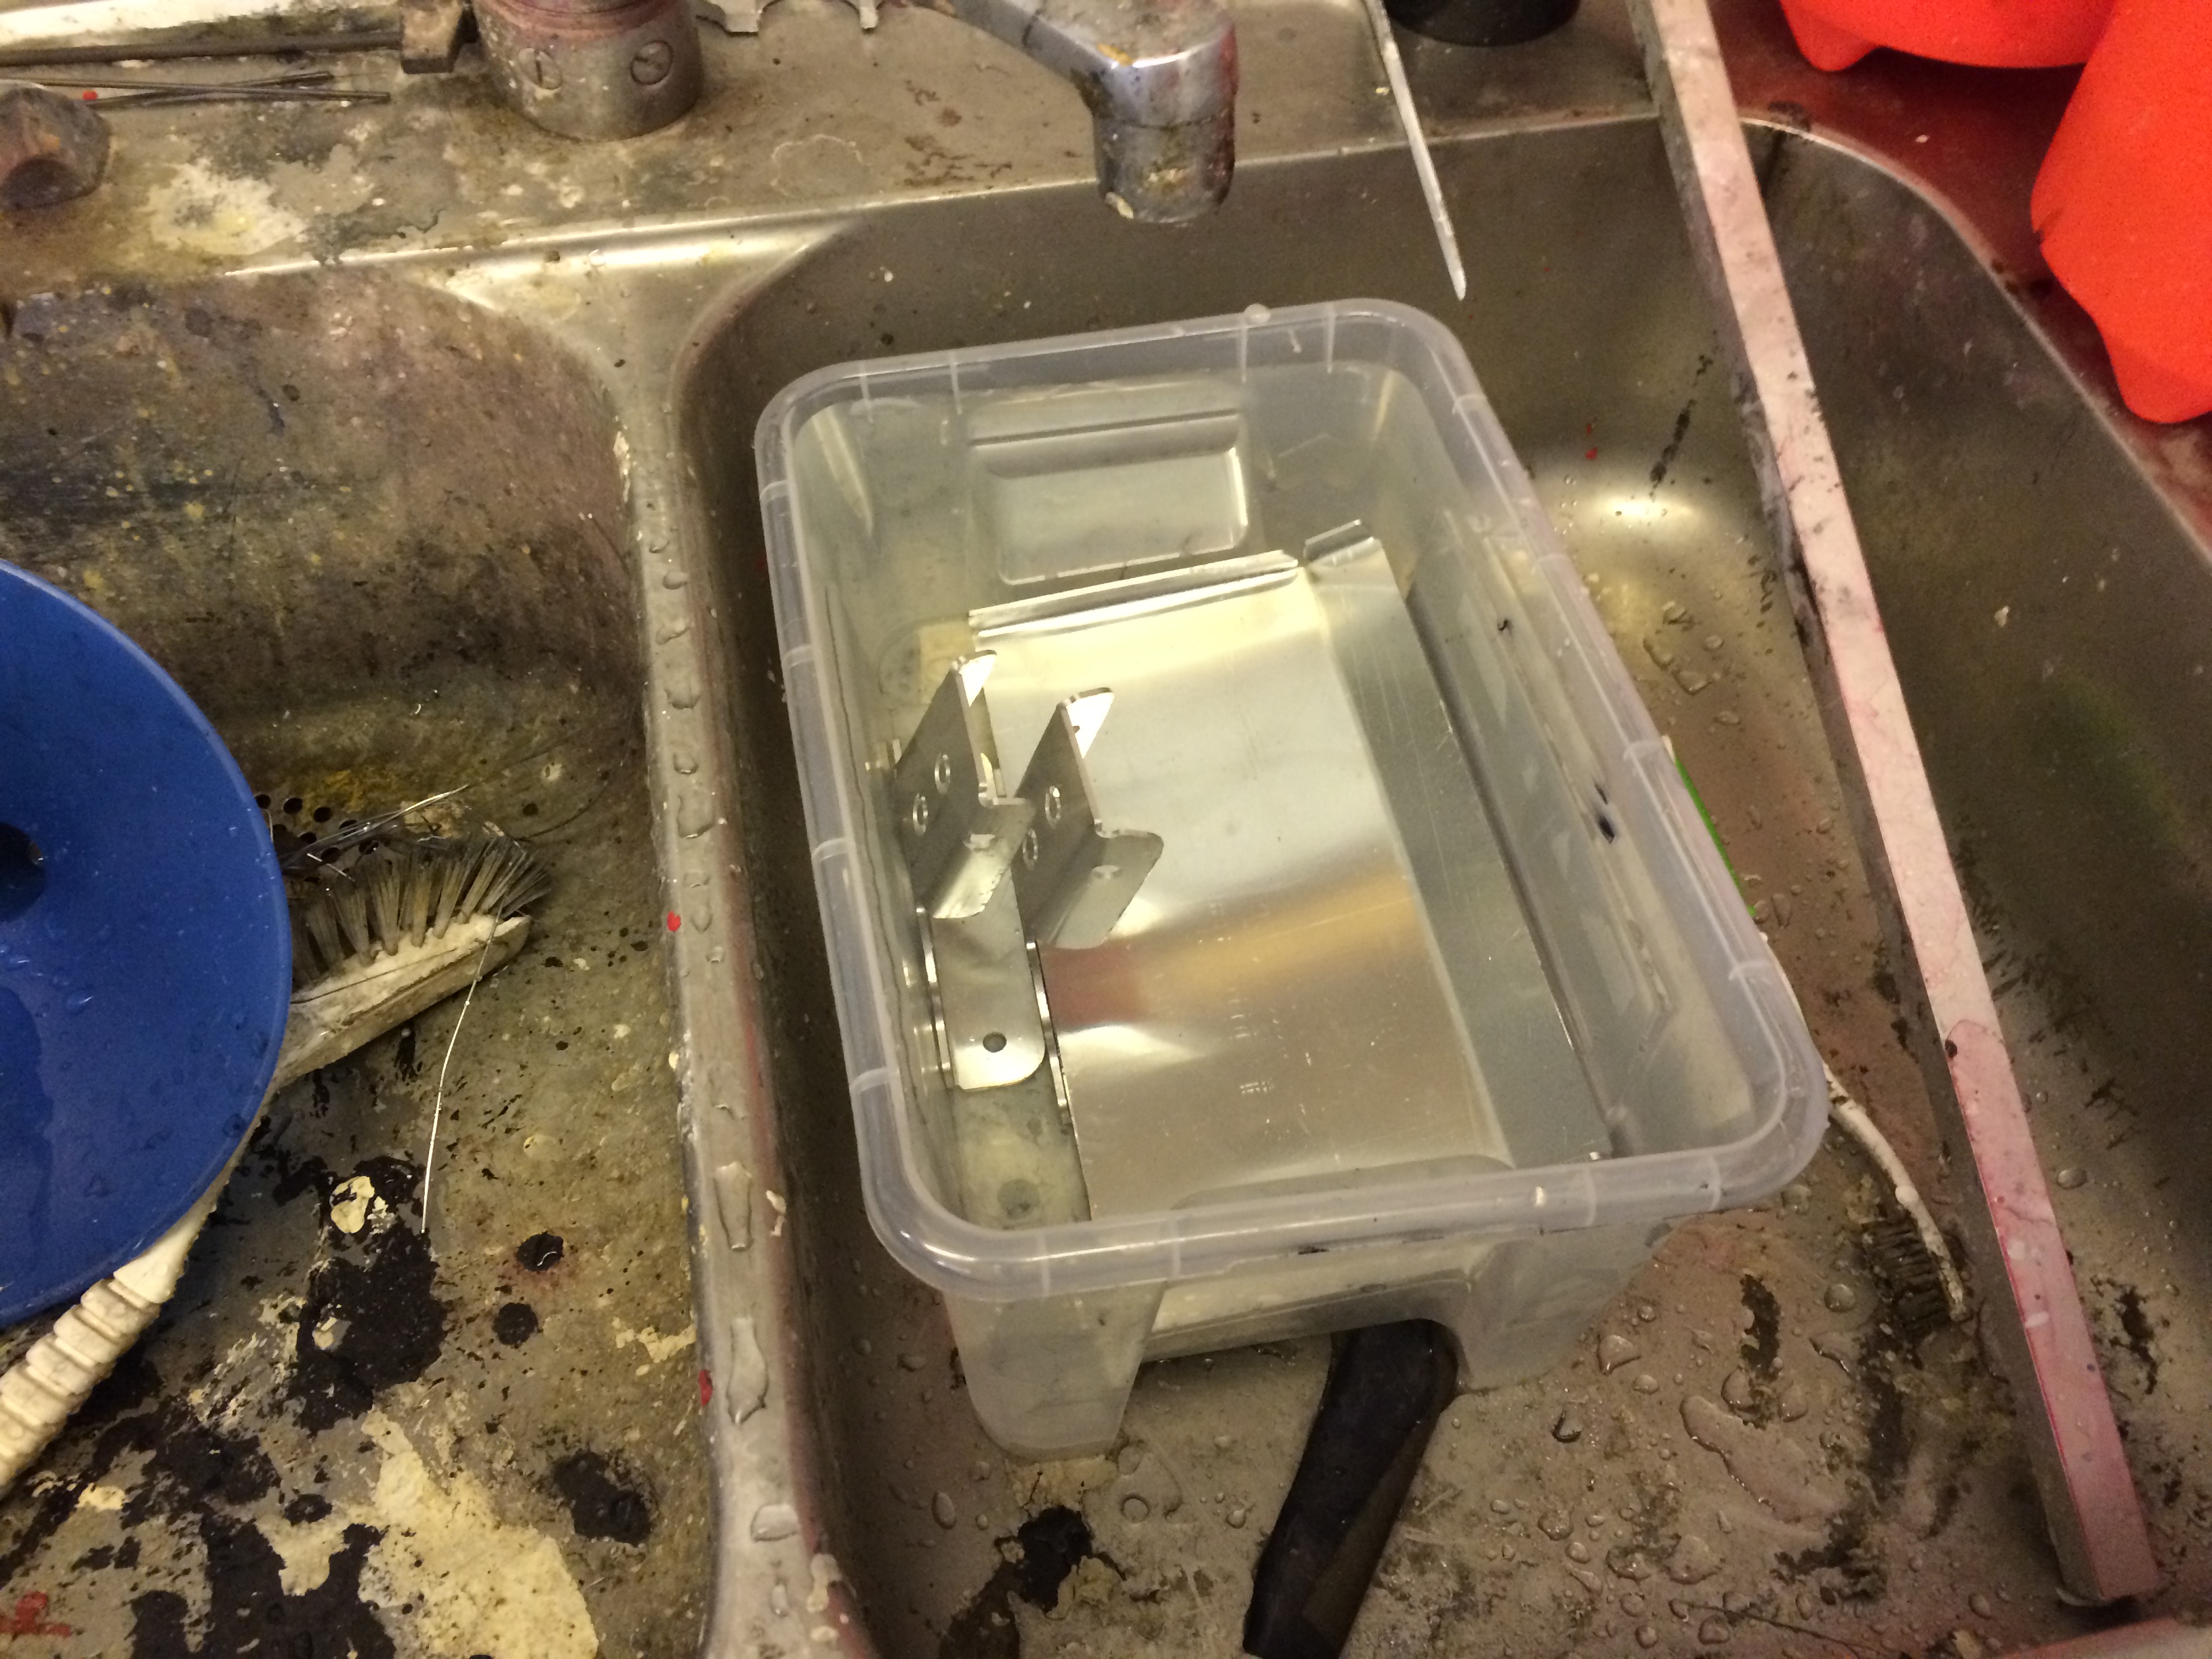
Step 1 – cleaning
To get a good result you need to make sure the parts are VERY clean. If you’ve got a finger print on the part, it wont anodize and you’ll get a permanent finger print on the part.
Thourughly clean the part, making sure no chemicals are left on the part. Rinse it in fresh water several times. I usually don’t clean the parts that thoroughly, but when I don’t the results aren’t as good as when I do.
If the part you want to anodize is not made from pure aluminium, let it soak in natrium hydroxide for 10-30 minutes. This dissolves the surface of the part, removing all impurities.
Rinse in fresh water.
Step 2 – Anodizing
Now you need to put the lead- or aluminium sheet that’s not going to get anodized in the plastic container in such a way that at least the same area of it as the size of the part that’s going to be anodized will be covered with acid once you pour it in. However, part of the sheet has to be above the surface. This will be the cathode of the process, i.e. this is where you connect the negative lead from the power supply.
Suspend the part that’s going to be anodized making sure that no other metals than lead and aluminium is present in the acid bath. Connect the positive lead of the power supply to the part being anodized – this will be the anode. I’ve seen guys anodizing many parts at once, but I’ve never gotten a good result doing this, so one part at the time it is.
It is REALLY important that you make sure that you’ve got a good electrical connection between the aluminium wire and the part you’re anodizing. Otherwise you’ll end up just anodizing the wire, which will break. Also make sure that the part you’re anodizing can not make contact with the cathode, even if the wire you suspend it with breaks.
Pour enough acid in there to cover the part completely.
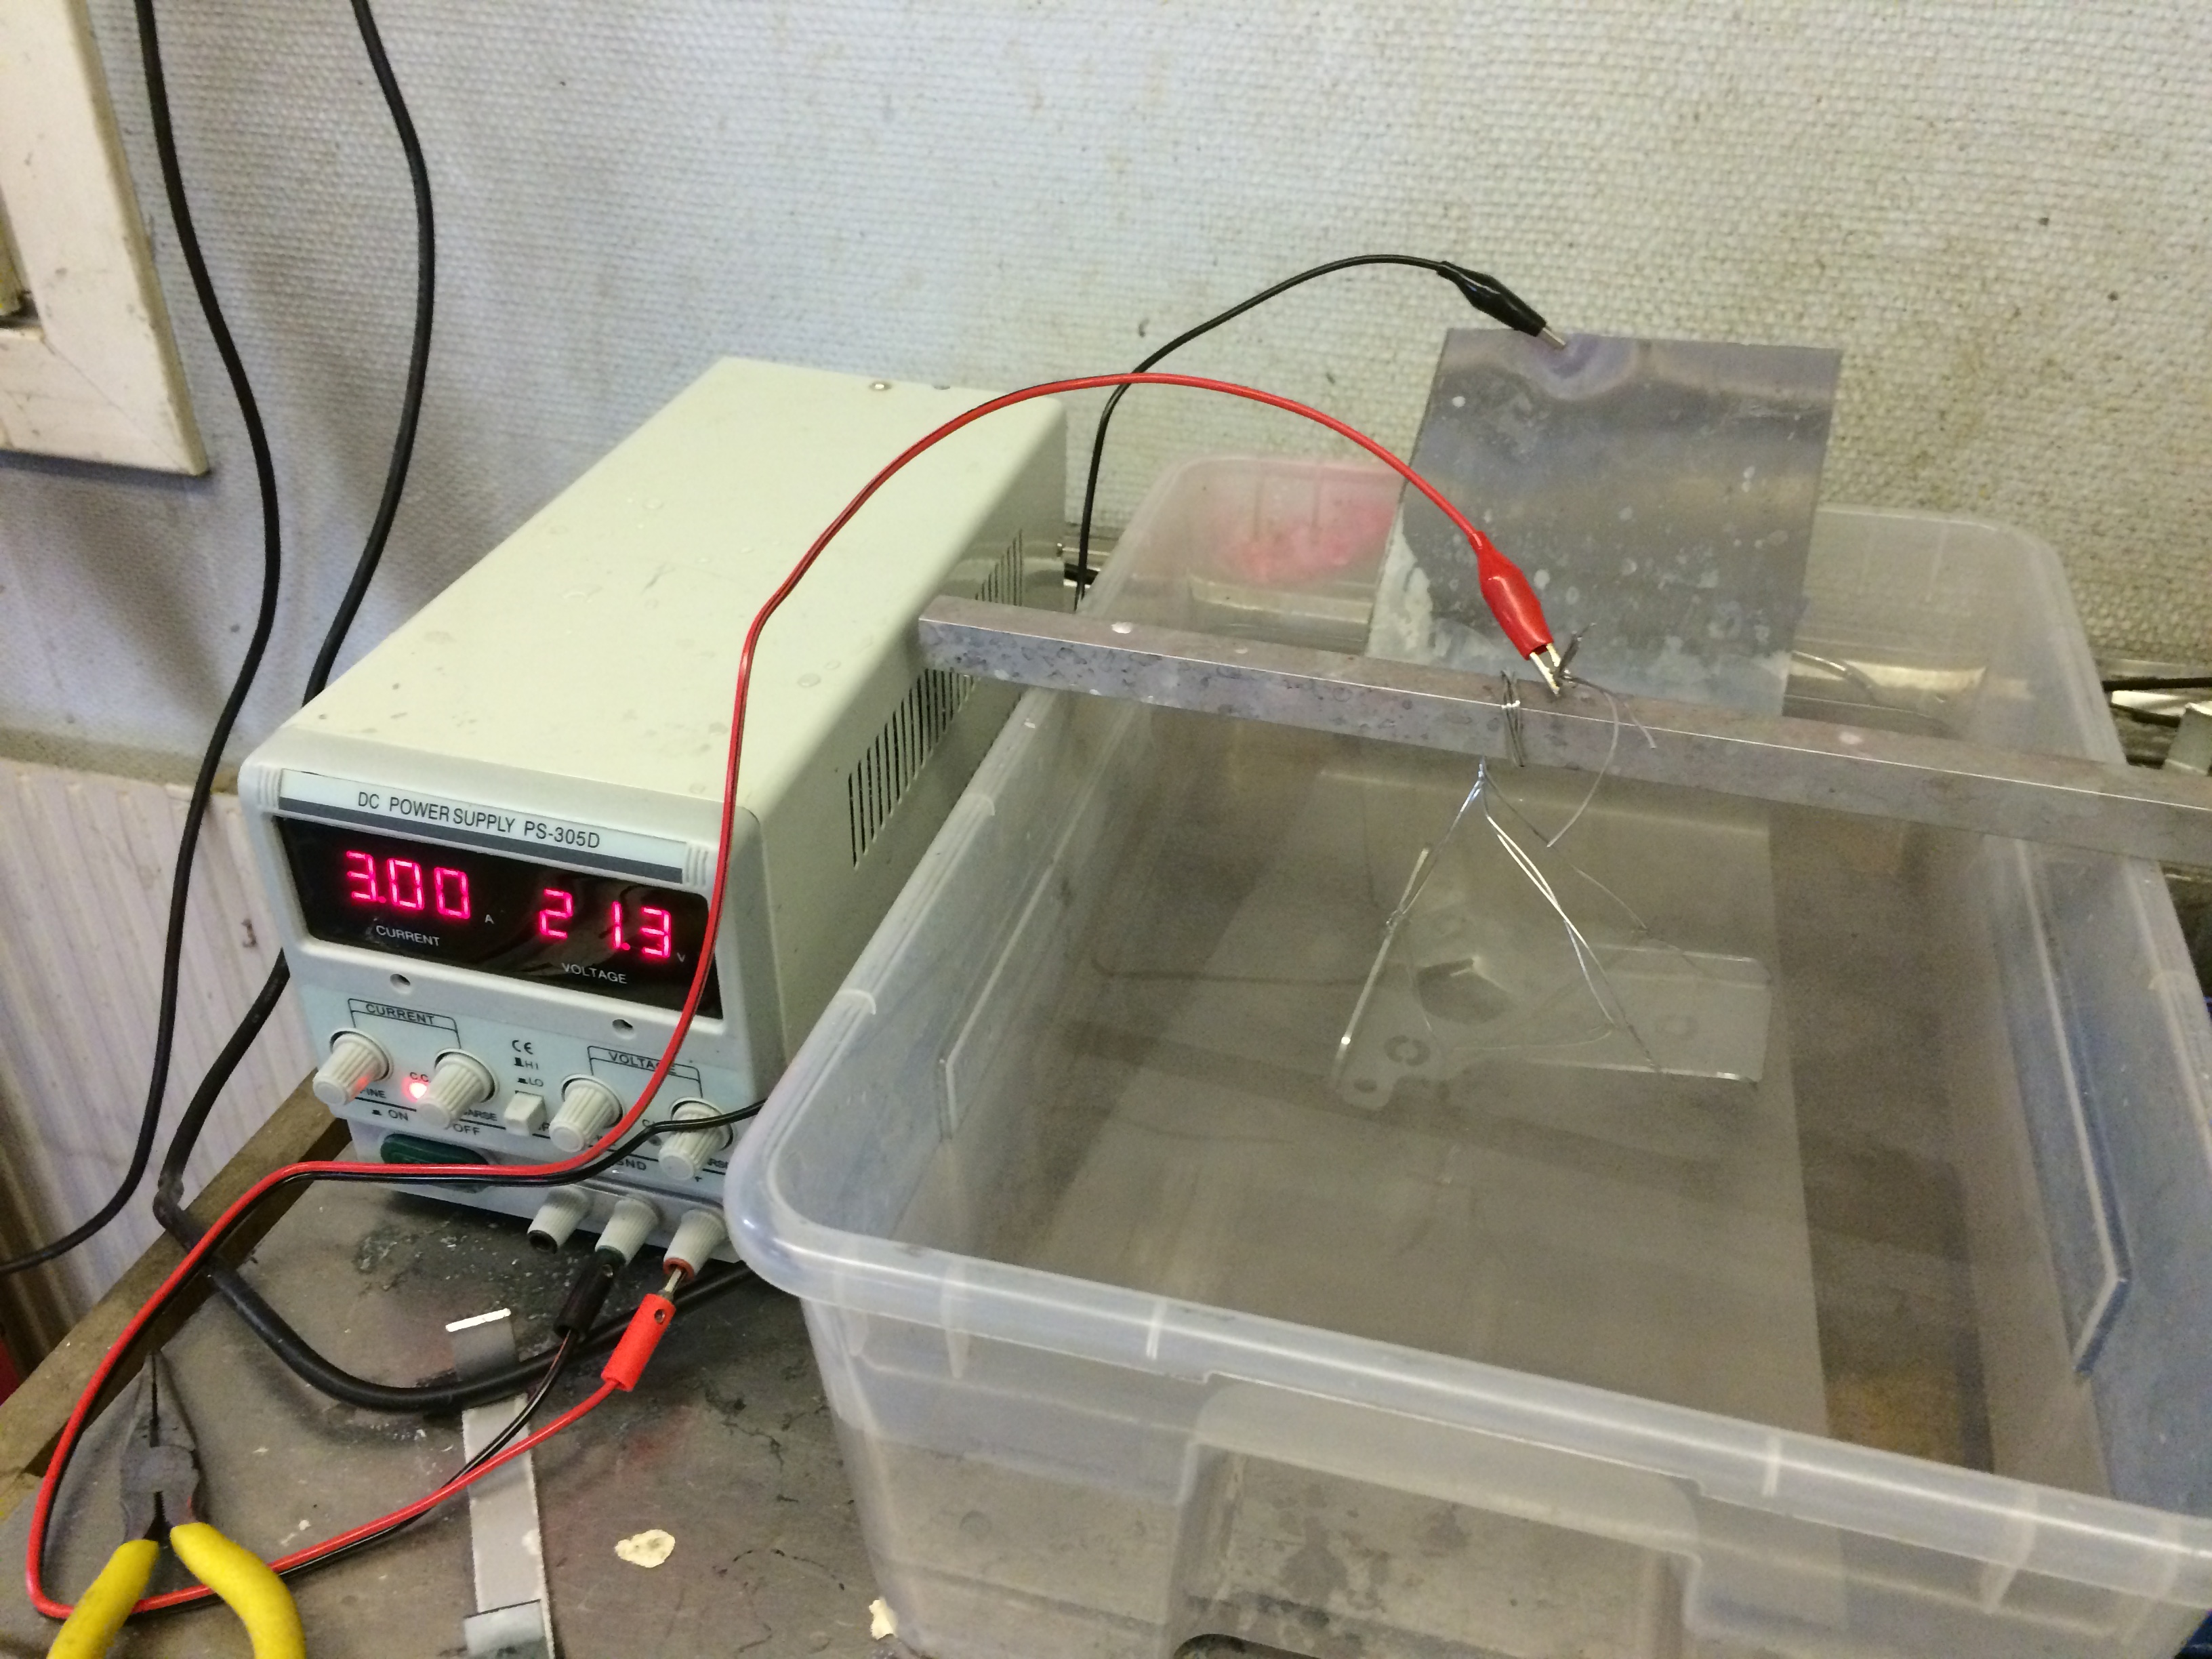
Since we’re sending power through our acid bath heat will be generated. You really don’t want the acid to get above 50 degrees centigrade. To make sure the acid doesn’t heat up too much you can add a cooler, or put it in an ice bath or whatever. I usually just add enough acid for it not to get that hot from the power I’m putting into it.
There is a formula, or data sheet, telling you how many amperes to use for a certain area, but I usually just amp it up until it’s producing enough bubbles, and then I let it sit for an hour or so.
During this proccess hydrogen gas is produced at the cathode, which is extremely flammable. Mixed with air it WILL explode if ignited, so take care. Smoking is generally a bad idea. But since we’re not putting that much power into it all, it really doesn’t generate that much gas, but more than enough for you to feel the irritation hydrogen gas causes in your lungs. Make sure you ventilate the gas out since I don’t think it’s good for you. It feels really bad anyways..
Step 3 – dyeing
If you’re anodizing just for the protective coat you can skip this step.
Mix the dye according to the instructions. I’ve noticed that heating the dye a bit, like 40-50 degrees centigrade, gives the best result. Do not heat it more than 50 degrees though, since it will start the sealing process prematurely.
Carefully remove the part from the acid bath and rinse it thoroughly in water. Submerge it in the dye solution and let it sit. Since I usually want the part totally black, I’ll let it sit in the dye for about an hour or so. If you want a more transparent color you will have to figure out how long you want it to sit in the dye. Less time equals less color.
Step 4 – sealing
This is the final step. If you did not color the part in step 3, remove the part from the acid bath and rinse it thoroughly in fresh water.
If, however, you did color the part, DO NOT RINSE IT.
Start boiling water, and make sure it boils thoroughly. Take the anodized part, which should now be nice and colorful, and hold it in the steam above the boiling water for a minute or so. This starts the sealing process without letting the water wash any of the dye off. Put the part in the boiling water and let it boil for 20 minutes.
This seals the oxide cover that you created in step 2, trapping the dye in the oxide, making the surface hard and the color permanent.
Step 5
Just kidding, you’re done. Congratulations.