
So, when test fitting the motor I realised the bottom side of the motor isn’t flat so it needed a spacer to sit flat on the motor mount.
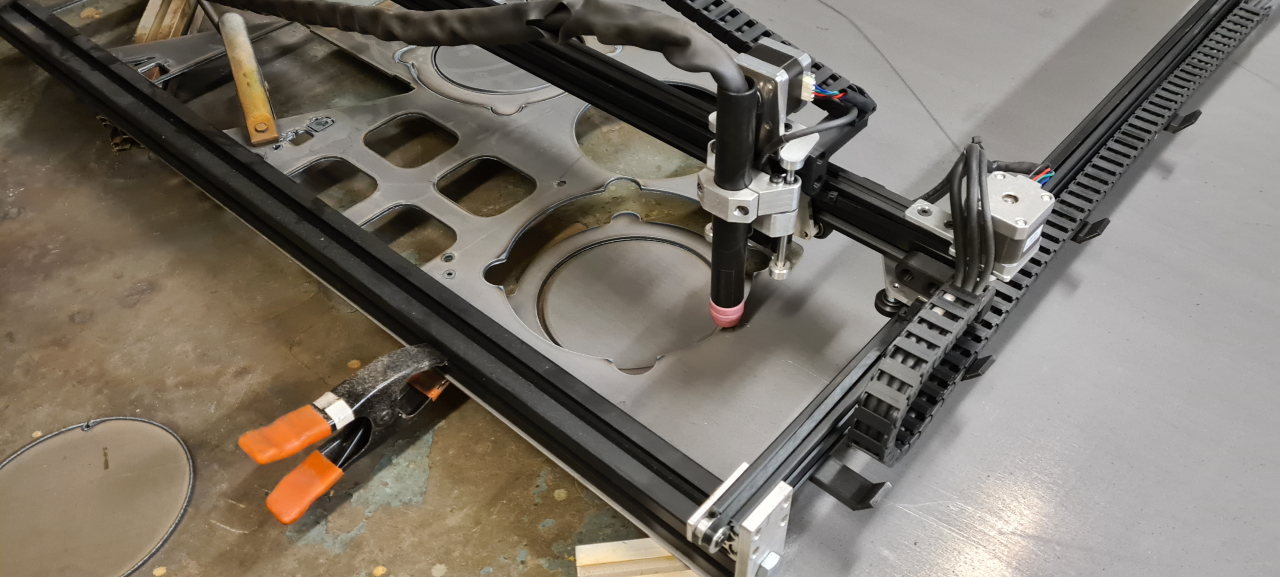
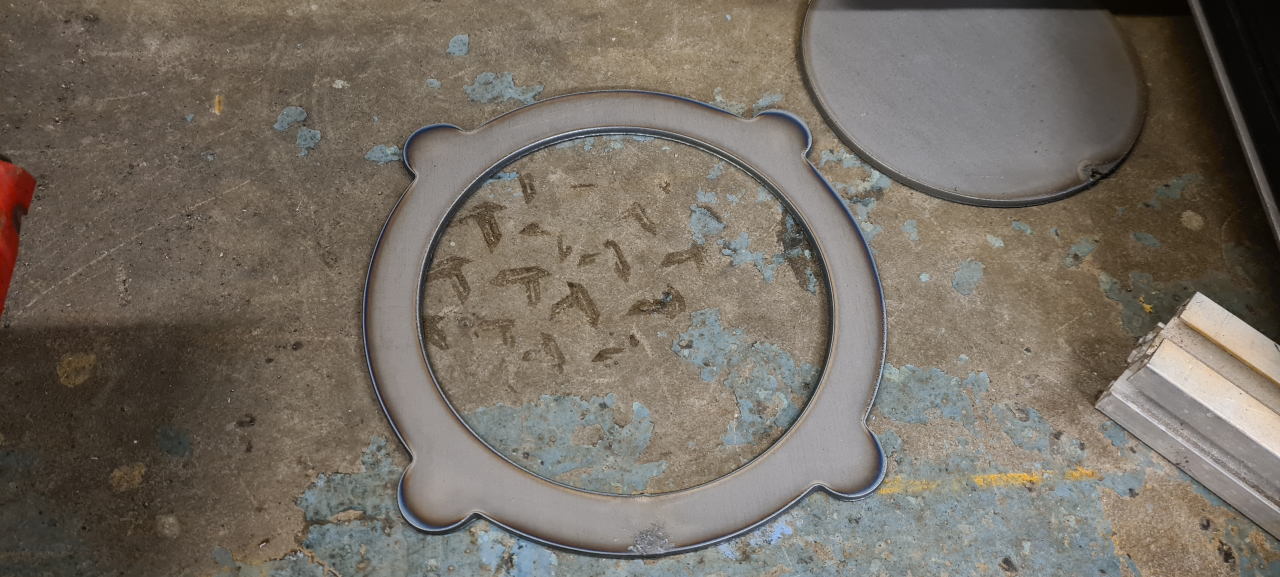
Fortunately, now that I own a CNC plasmacutter, making a spacer like this is just a couple of minutes of work.
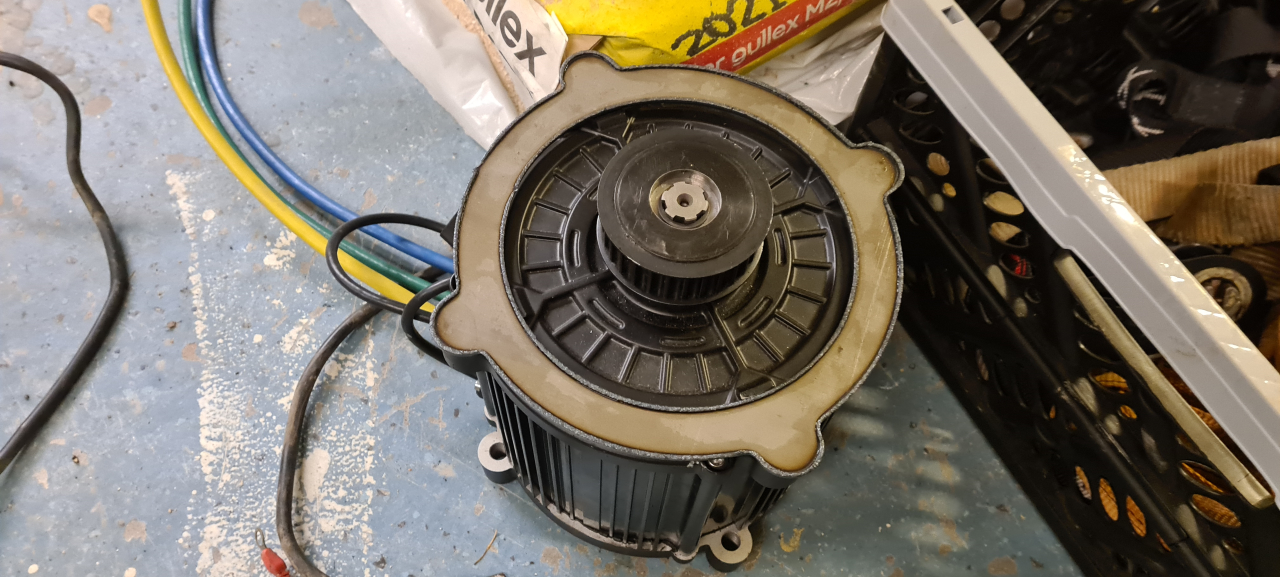
This fits perfectly on the motor. Welded the spacer to the motor mount and used the plasma to cut the inner hole out of the mount as well, and after some paint..
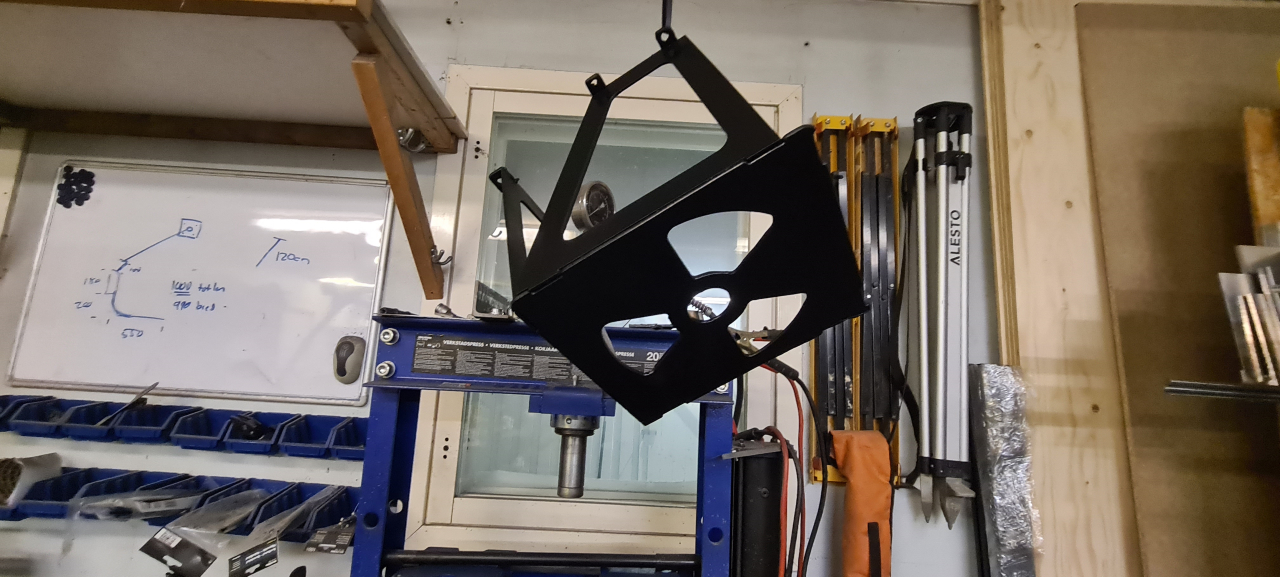
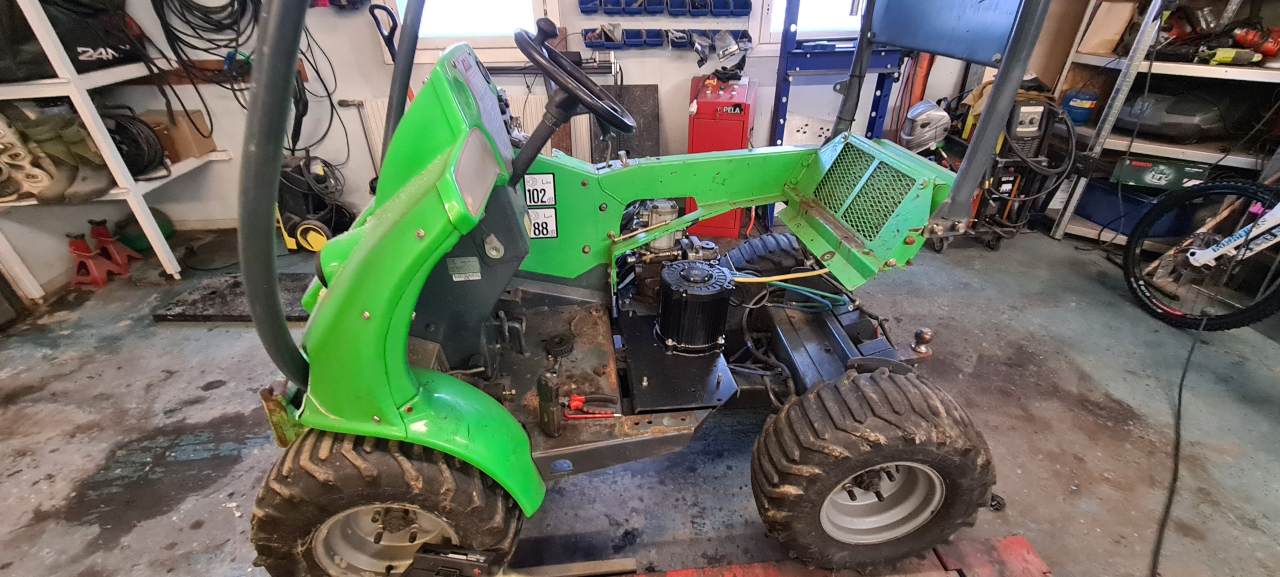
.. it was time to mount the motor in the Evant again.

I decided it was way to much work trying to mount and unmount the motor when bolted with the M12 bolts from underneath so I welded the holes I had drilled and drilled and tapped holes for M8 bolts instead. This way I can remove the motor without the hassle of fighting with the hydraulic pump all the time making life much easier for me! 4x M8 should be strong enough to hold the motor in place easy.
With the new, shorter belt the position of the motor is perfect. I can adjust tension in both ways and get a properly tensioned belt. So, with this confirmed it was time to mount the controller.
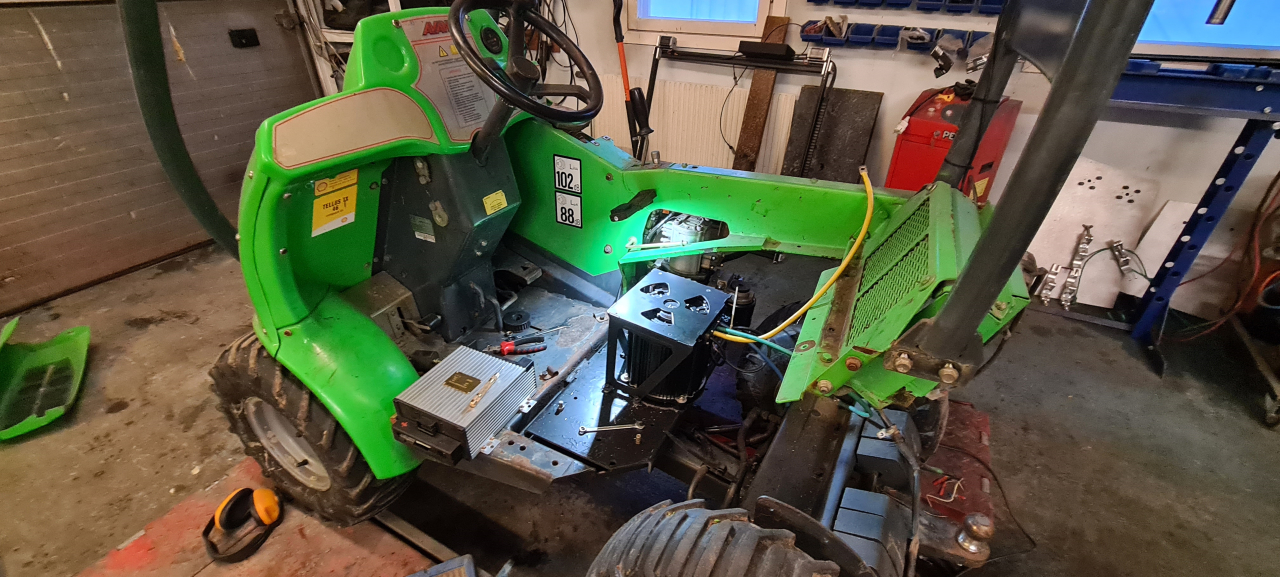
On goes the controller mount using M6 screws.
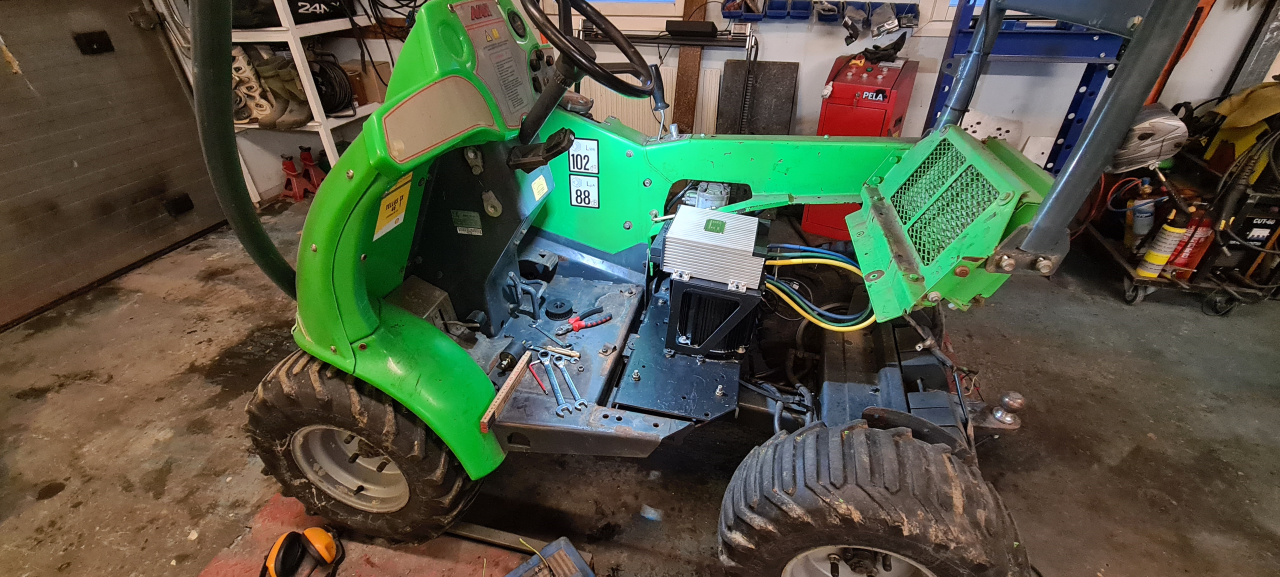
And on goes the controller. The wires between the motor and controller are way too long and I’ll shorten them once I’ve test run the motor.
When measuring I’ve got about 20mm too little space to fit my batteries, so that’ll have to be remedied somehow.
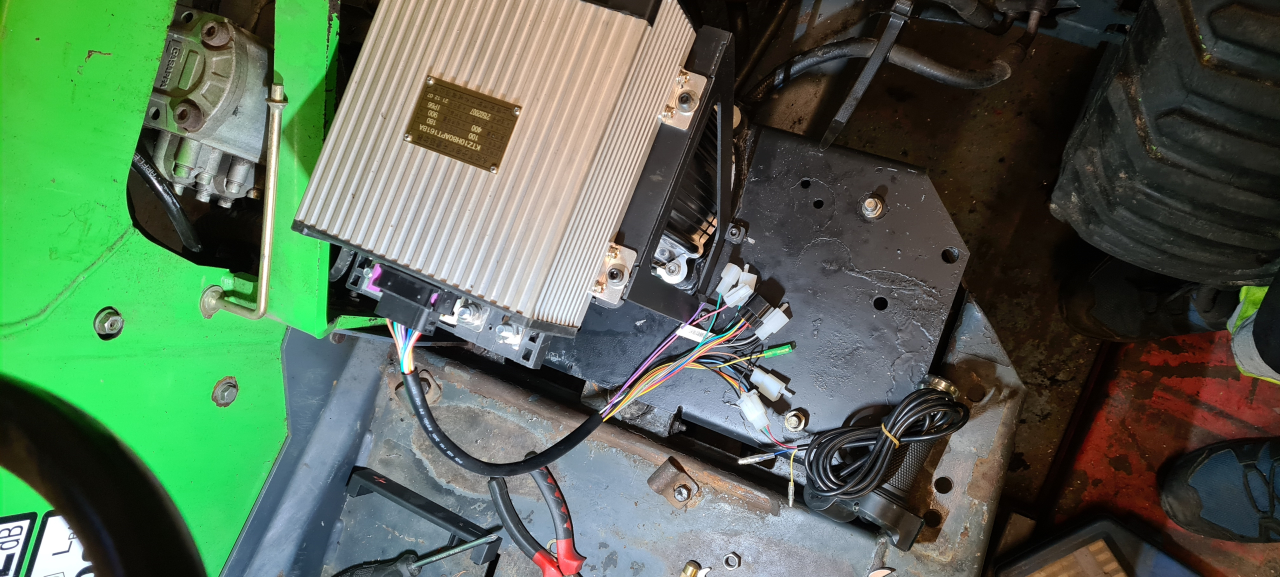
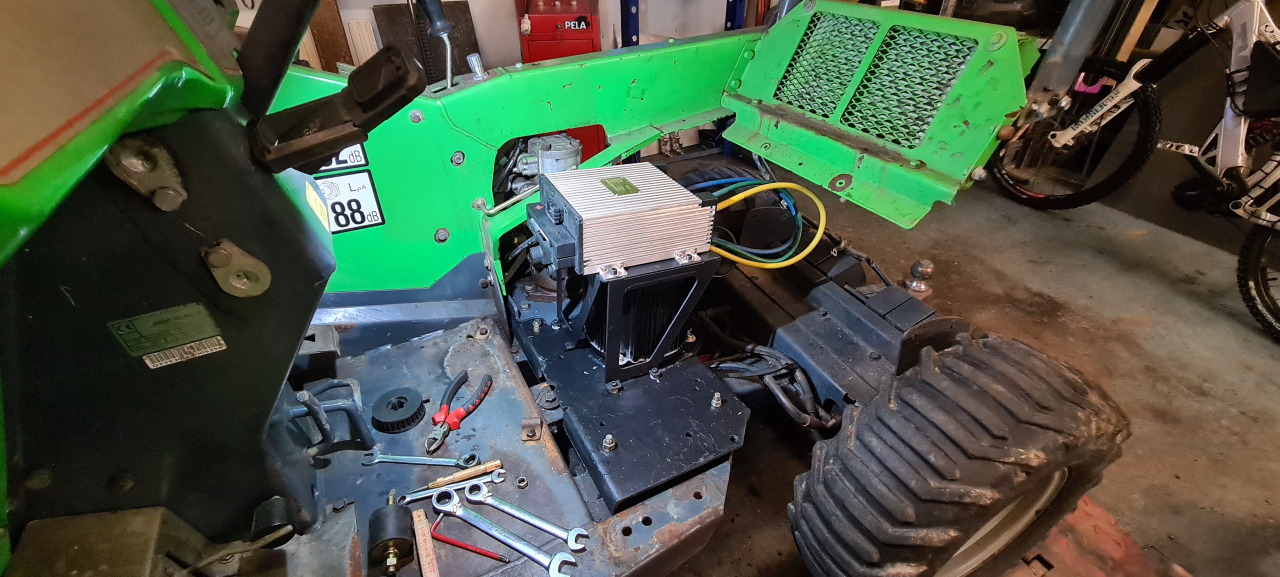
The next step is to figure the wiring out. Most of those aren’t going anywhere on my machine so I’ll disconnect them from the connector and make a new wiring harness with only the leads I need. All I really need is the mains switch, the speed input and the hall sensor and thermistor input signal wires.
So, hopefully I’ll be able to spin the motor up tomorrow. I’ll just have to make a wiring harness to get 96V into the controller.. and a better throttle..
TBC