

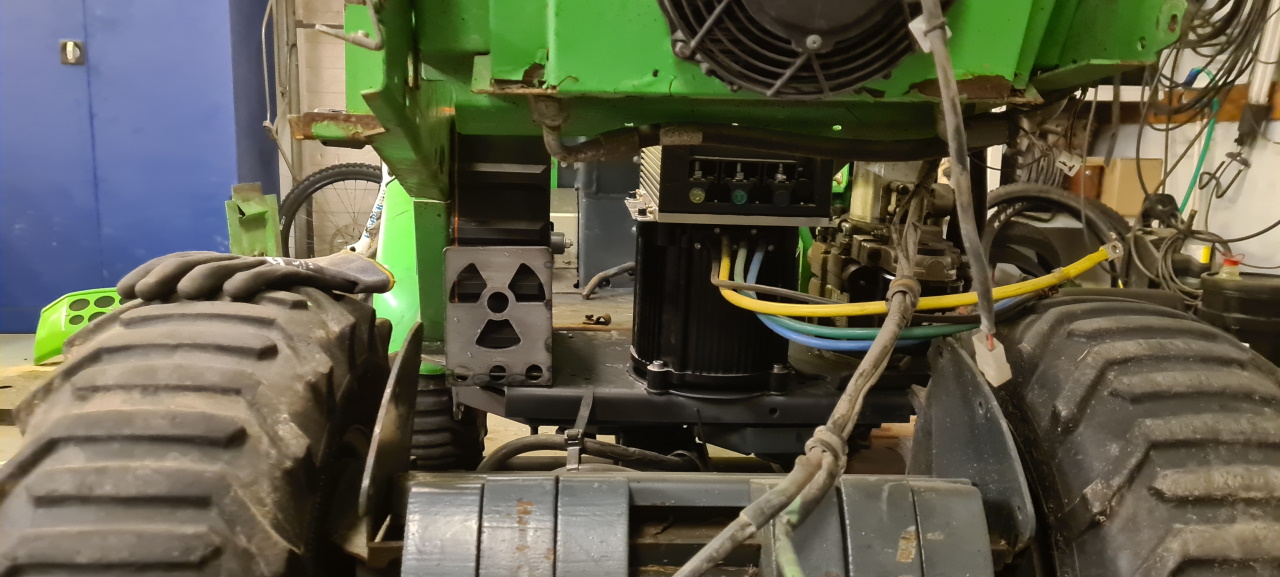
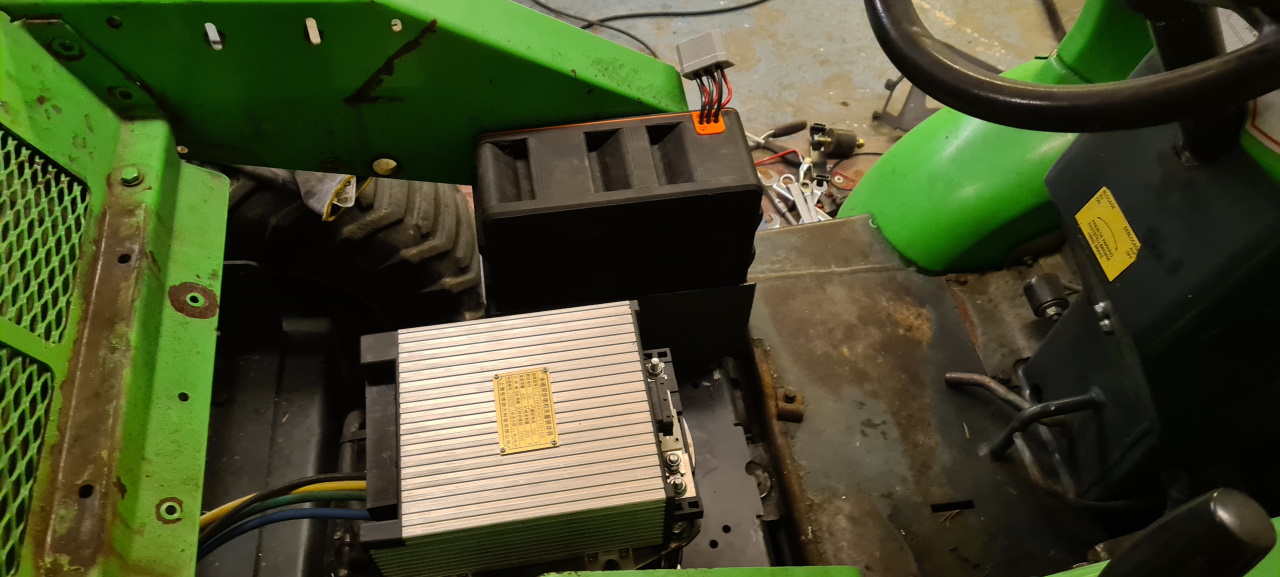
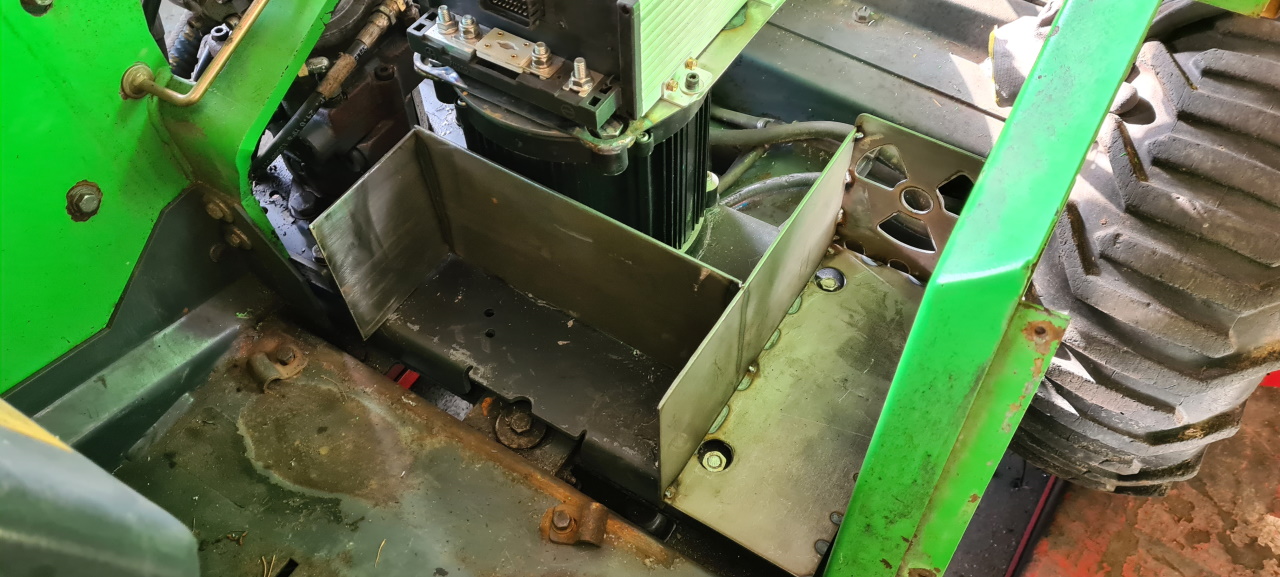
Started yesterdays work with welding the new controller mount. I decided that it was better to use the existing mounting holes in the motor than to build something around the motor, especially since fitting the battery packs and all leaves very little space around the motor. So I made a bracket that mounts on top of the motor. To fit the M12x1.5 screws I had to mill the heads down on them to be low profile enough to not protrude from the mounting holes.
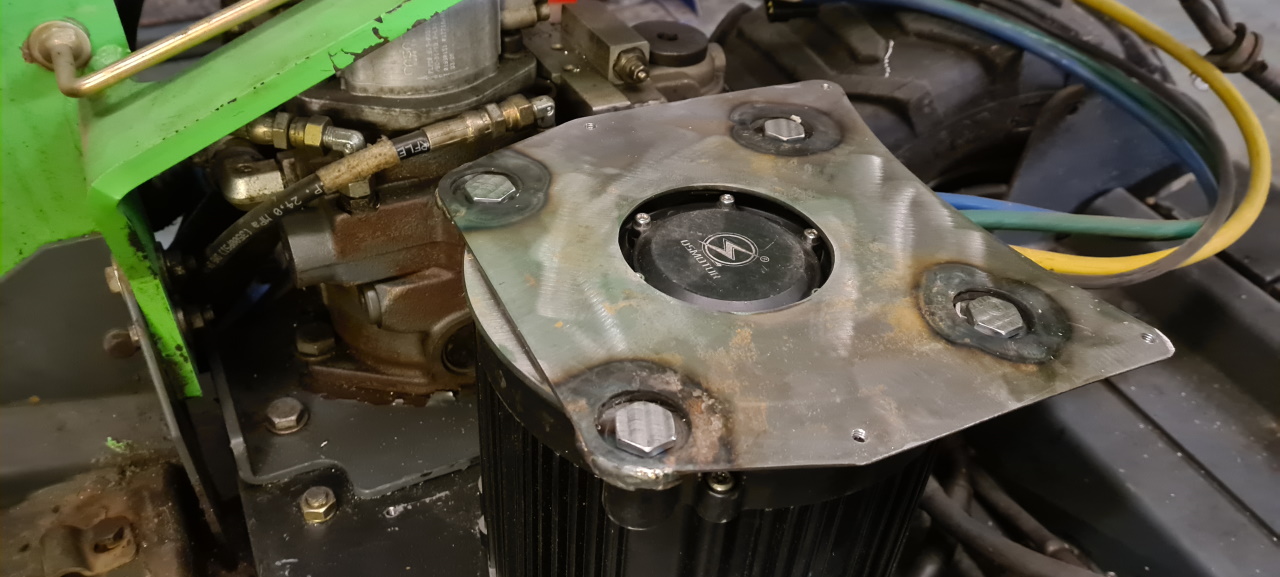
This mounts rigidly to the motor and with the threaded M6 holes for the controller to mount to everything is snugly and firmly in place.
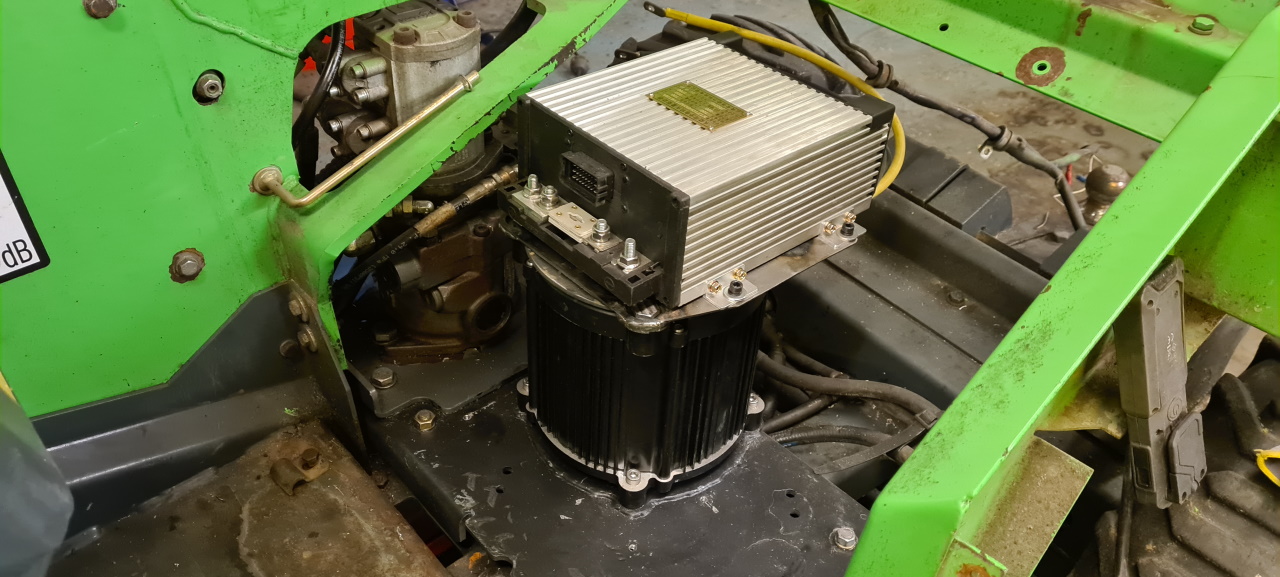
One advantage to mounting the controller like this is that I can shorten the phase cables quite a lot leading to less losses.. even though the cables are thick enough to withstand all the current the evant should need in the future – less is still more in this case.
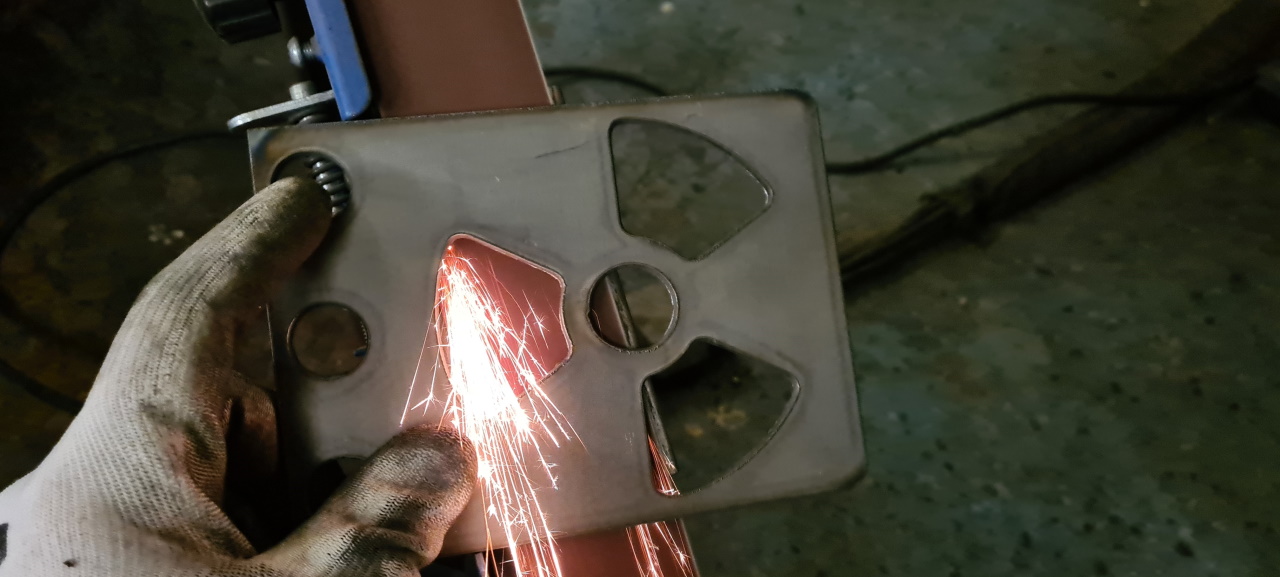
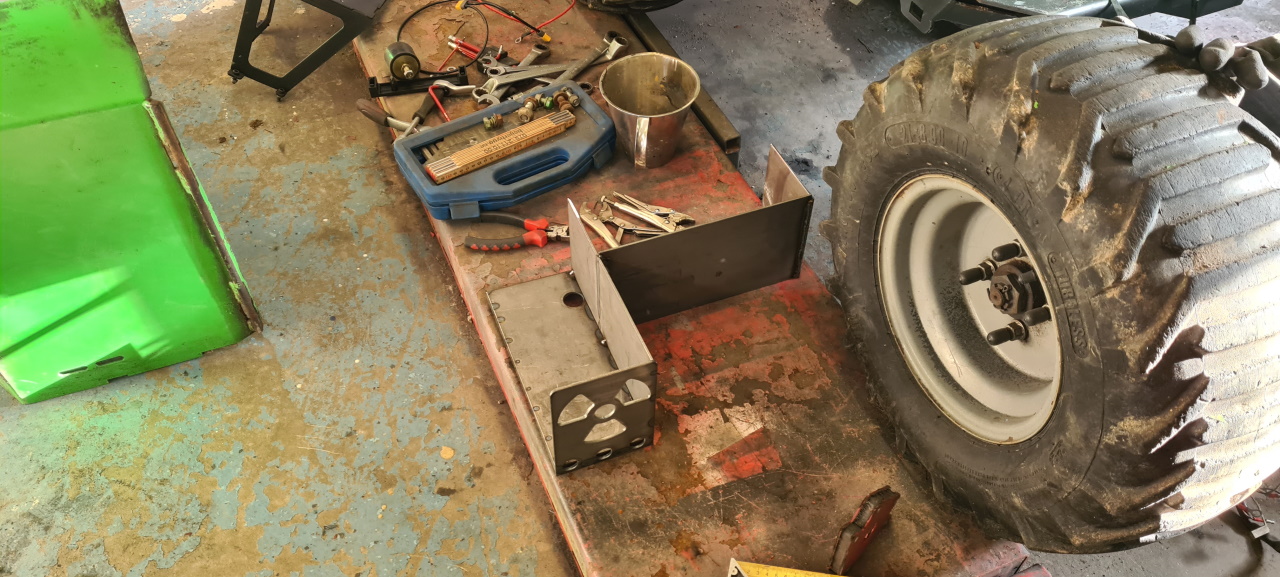
Time for the next piece of the puzzle. Since I don’t have all the parameters for the plasma cutter perfectly dialed in yet there is quite some slag buildup on the parts, requiring some grinding and sanding to get them ready for welding..
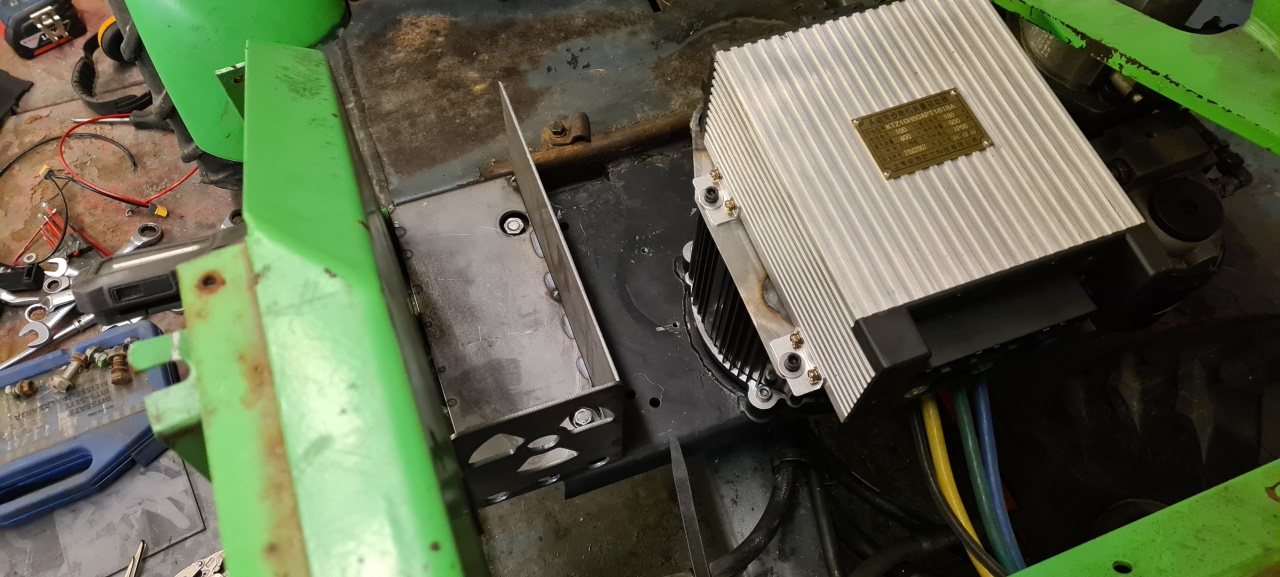
This is where the battery box is going to sit that’ll house one of the two battery packs in the evant..
.. and this is what it’ll look like from behind. Quite awesome if you ask me.. Still everything needs primer and paint so the warning symbol won’t be as visible, but I’ll try to remedy that somehow..
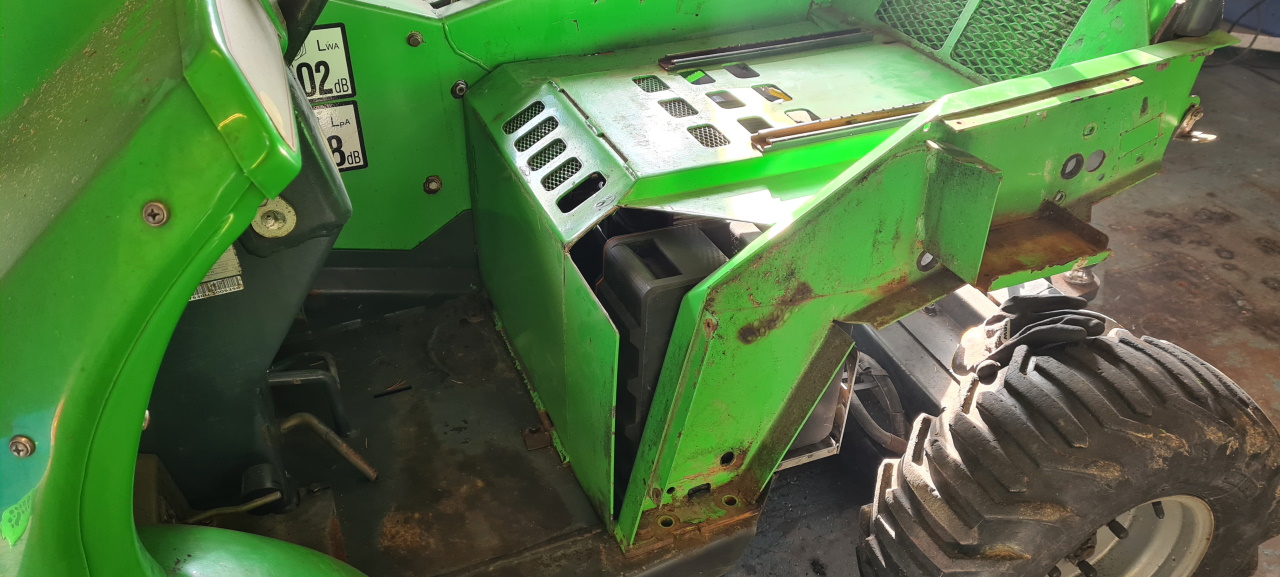
And this is how the battery sits inside the machine..
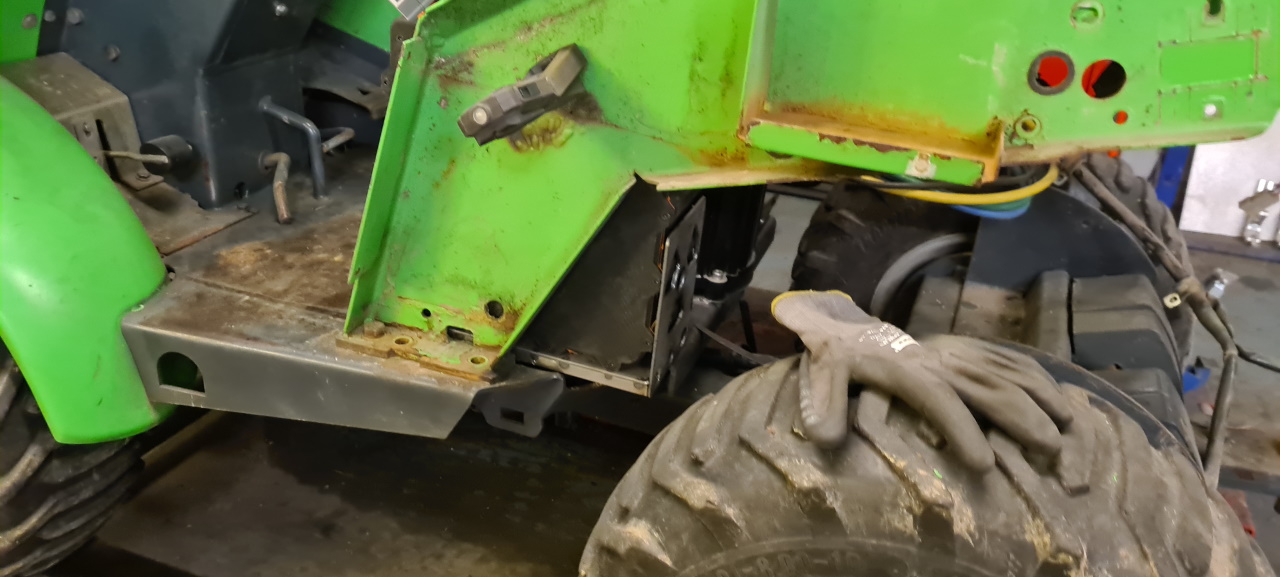
I want the pack to sit as far forward as possible to make sure it gets as little abuse as possible from the wheel and whatever debris that might throw at it. I’m going to make a side plate for the battery compartent to protect it further..
The second battery pack is going to go the other way in the machine, sitting as far forward as possible in front of the motor.
Something like that. I’ll add padding to the cover to push the packs firmly in place and to cushion it somewhat – even though the batteries themselves should be able to withstand quite some abuse.. (hopefully)
The only problem now is that the packs actually won’t fit under the ”hood” – which is also the mount for the seat, so..
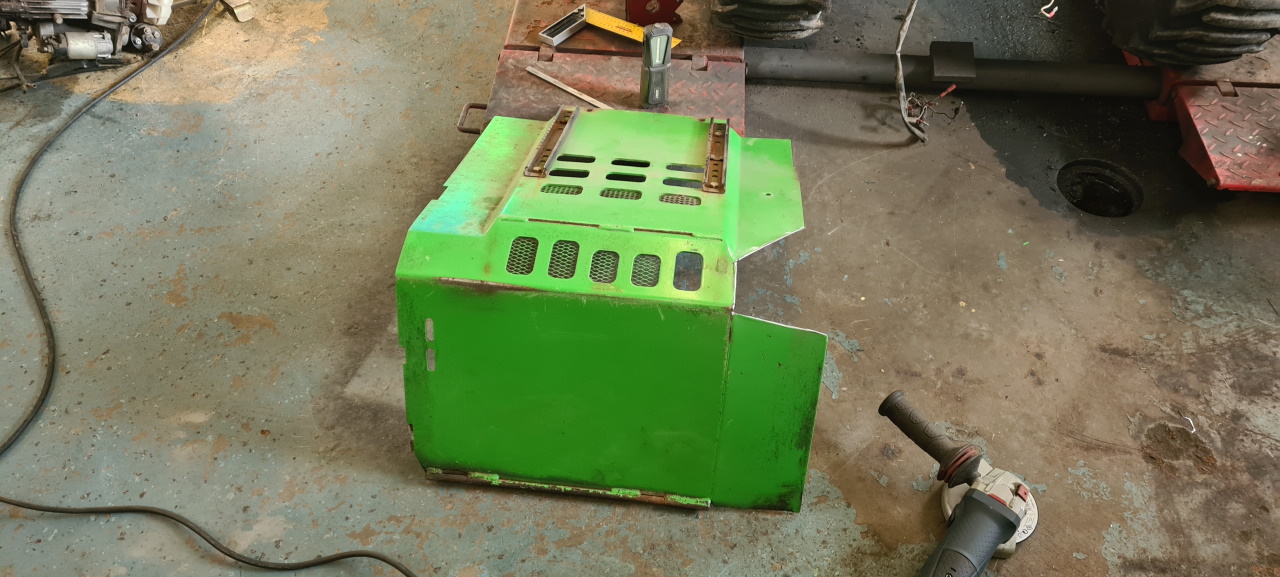
Getting the grinder out and squaring up the problematic part. I just love working with steel, it’s such a forgiving material. If something’s wrong, just cut it up, make a new part and weld it all together, and it’s strong as ever! Add some paint and it looks like new..
So with that modification the battery fits in the machine. Now it’s just a matter of making the pieces I need to cover all holes I’ve made and welding it all together.. After that I need to take care of the electrical wiring, adding the 12V DC-DC converter and installing the BMS displays (whenever I get those from China).. So, quite a lot more to do but the hardest part is done I guess..
So far it’s been a super easy and super fun project.. Let’s just hope it works when all is complete.
TBC