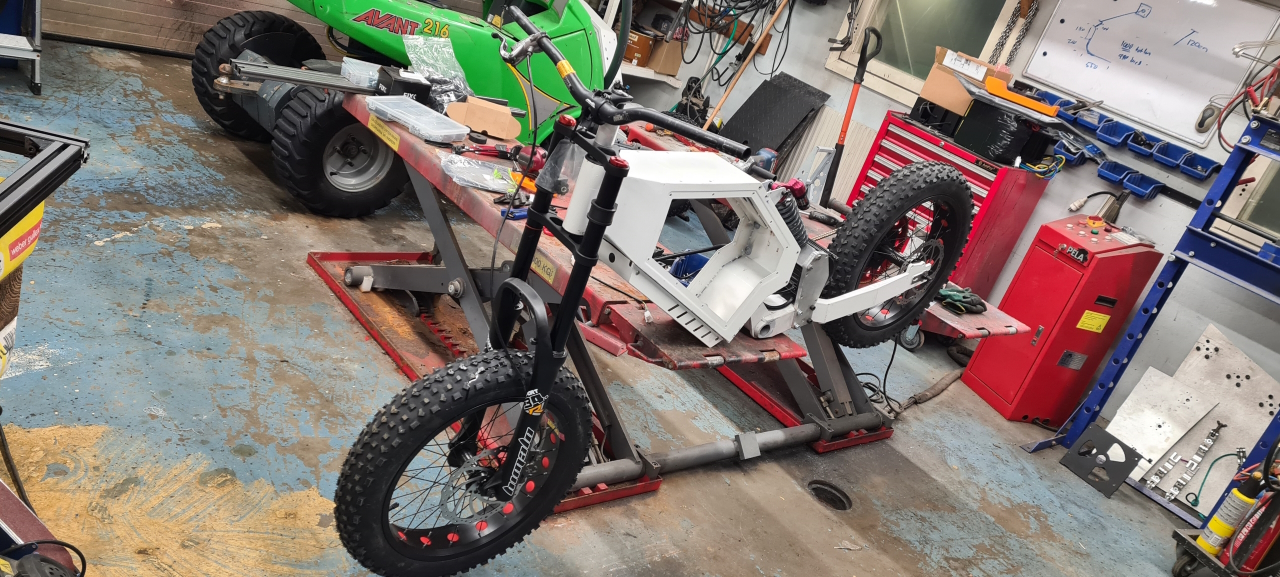
So, it’s been a while since I last posted and it’s been a lot going on. I have had to rebuild the battery for my Radon Swoop which has taken quite some time with measuring all cells and cleaning everything up for re-use but there’s been a bit of progress on the RunBike project too.
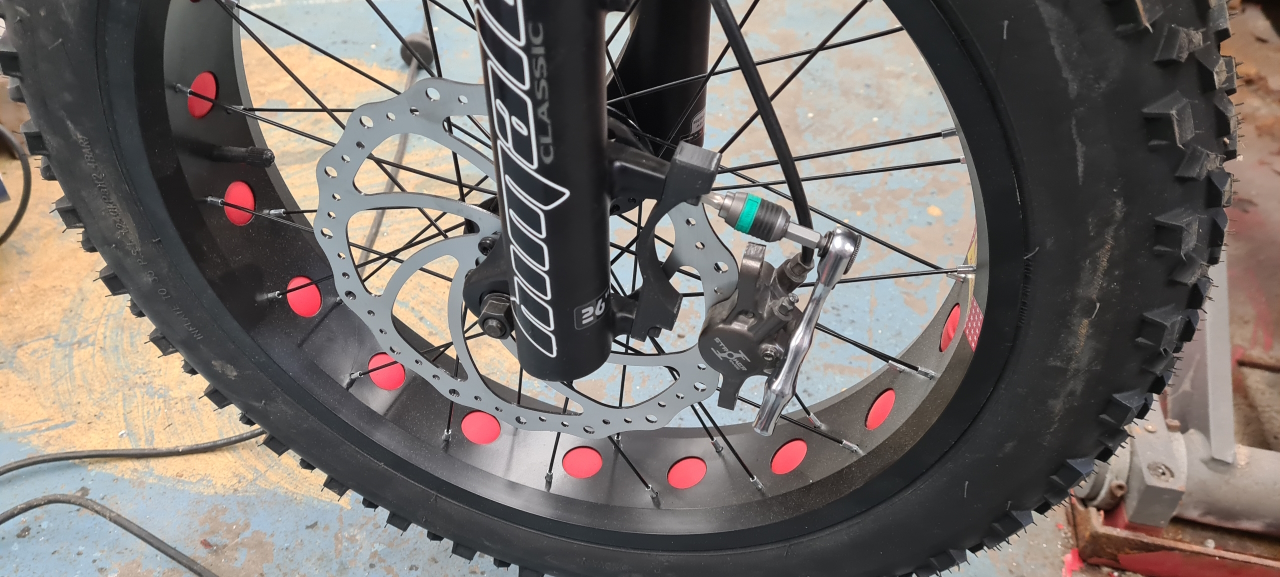
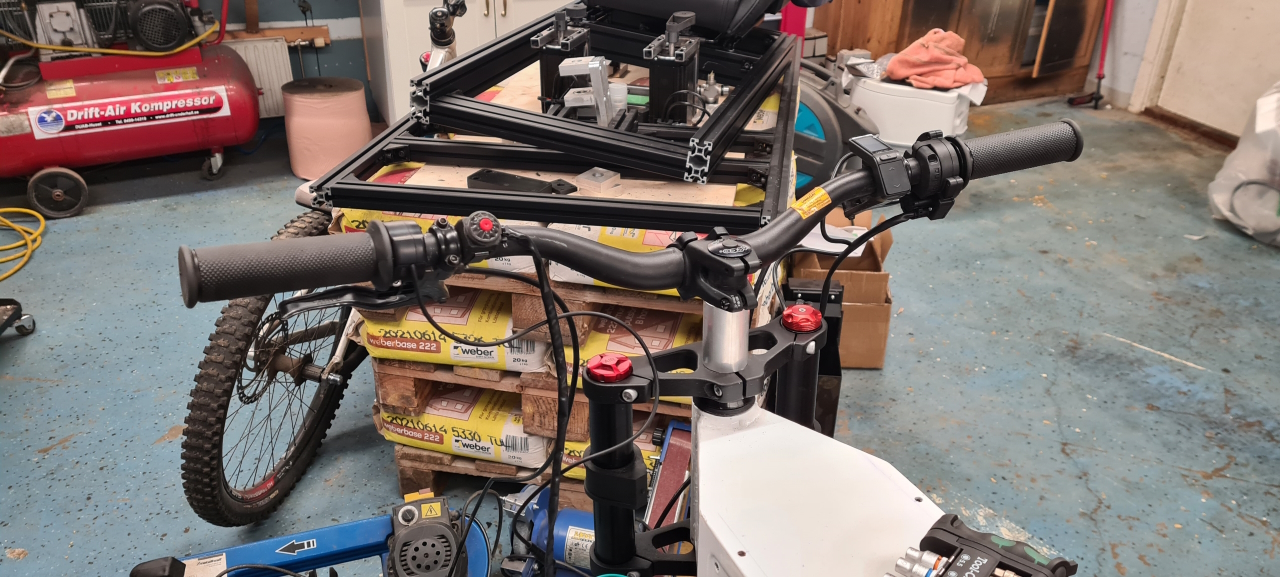
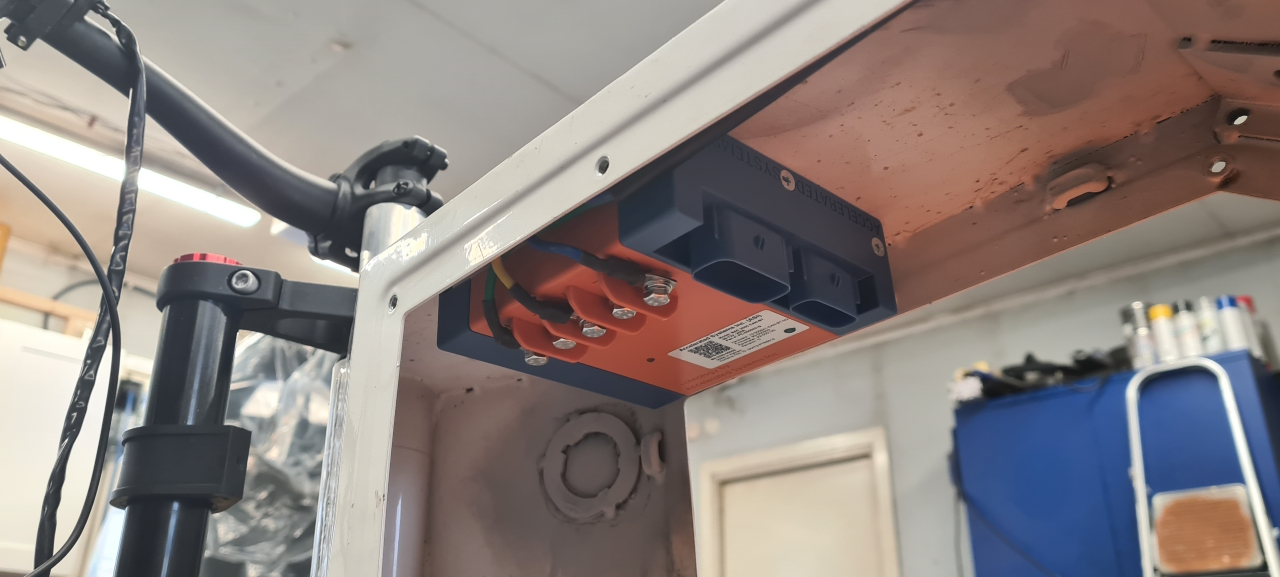
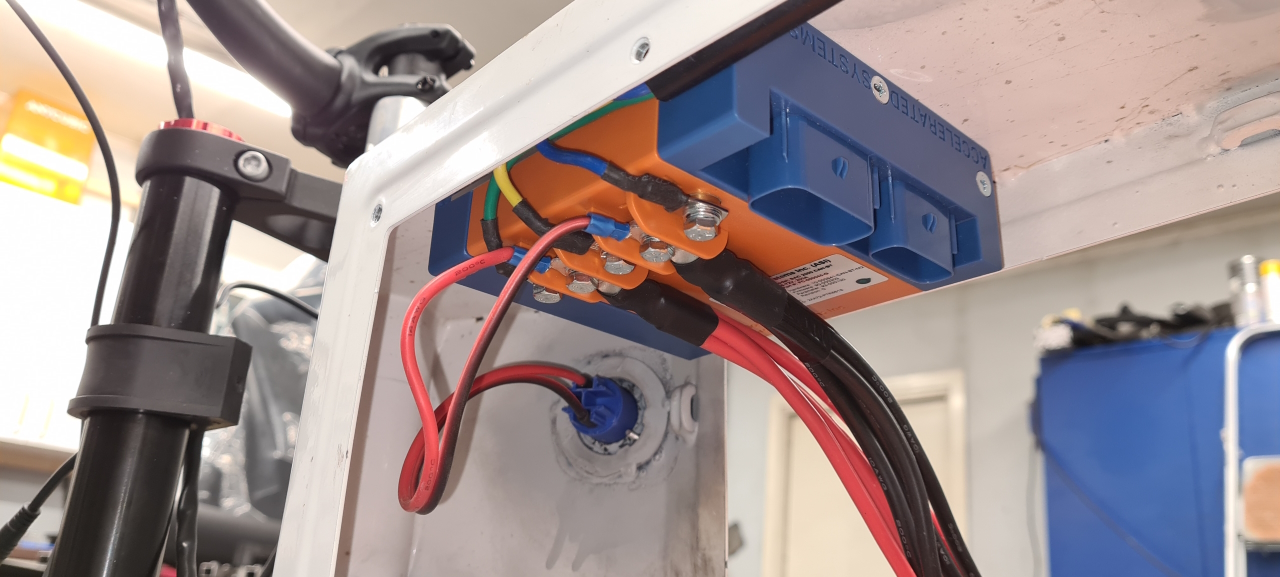
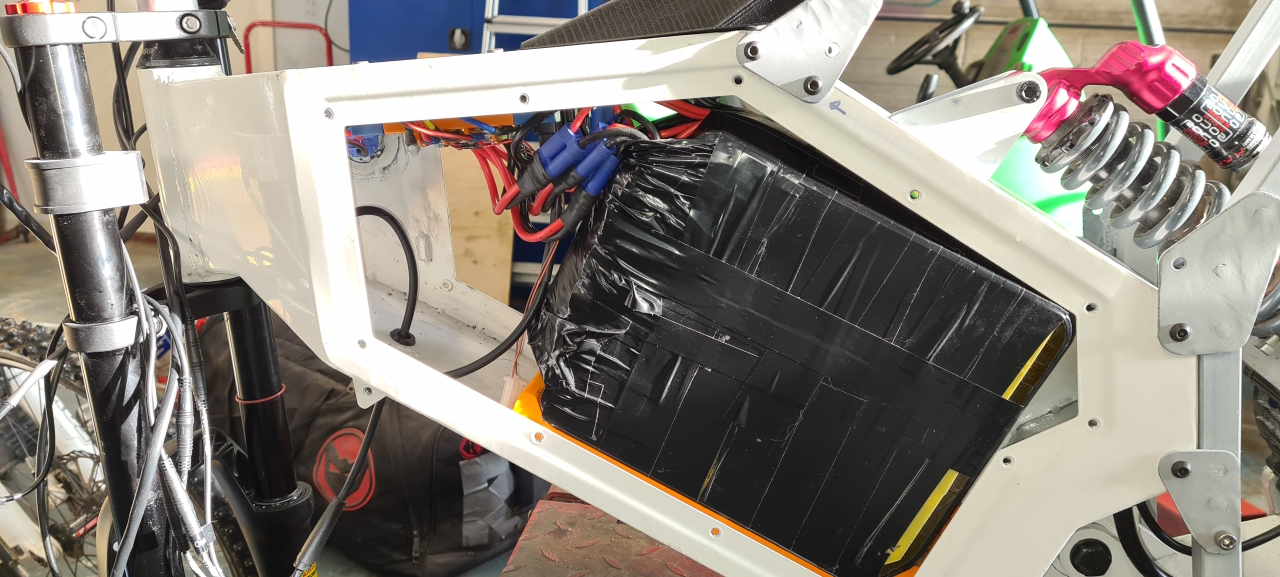
So, this kind of is where we left things off last time.To be able to fit the brakes on the 203mm discs I had to make some adapters. The first version I 3D-printed, until I got it all right and then I made it from aluminium.I have come up with a way to mount the battery pack which is a bit cumbersome to get in and out of the frame – but once it’s in there it really doesn’t have to come out..The cockpit of the bike is super clean, with just the tiny eggrider cluttering things up. There’s the domino full twist throttle on the right clustered with the front brake and eggrider display. On the left there’s the rear brake, a thumb-throttle mounted the wrong way around for regen braking and an emergency cutout which kills the controller. On the upper triple clamp I also added an ignition key which acts as the master on/off switch for the entire toy.The controller fits super nice in the frame box. Mounted in the top of the box it’s protected from any water that makes its way inside. I’ve welded all the holes in the box but water always finds its way, so I’ll be adding a drainage to the box at the lowest part too.The BAC2000 and BAC4000 are super easy to wire, and both use the same harness so upgrading the bikes will be super easy in the future. 🙂
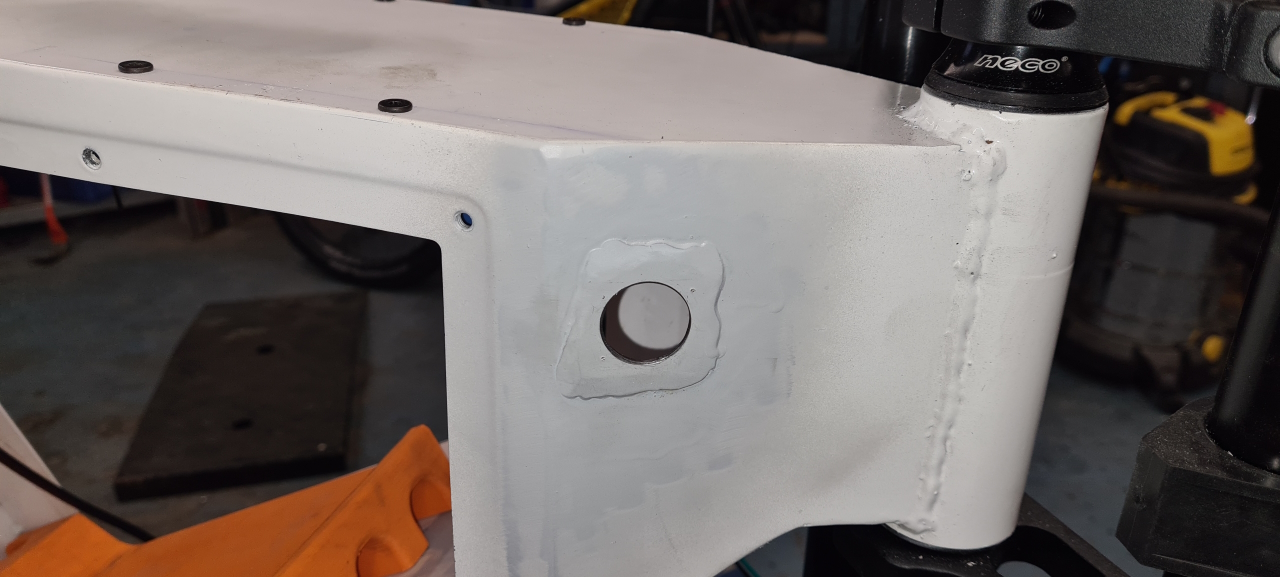
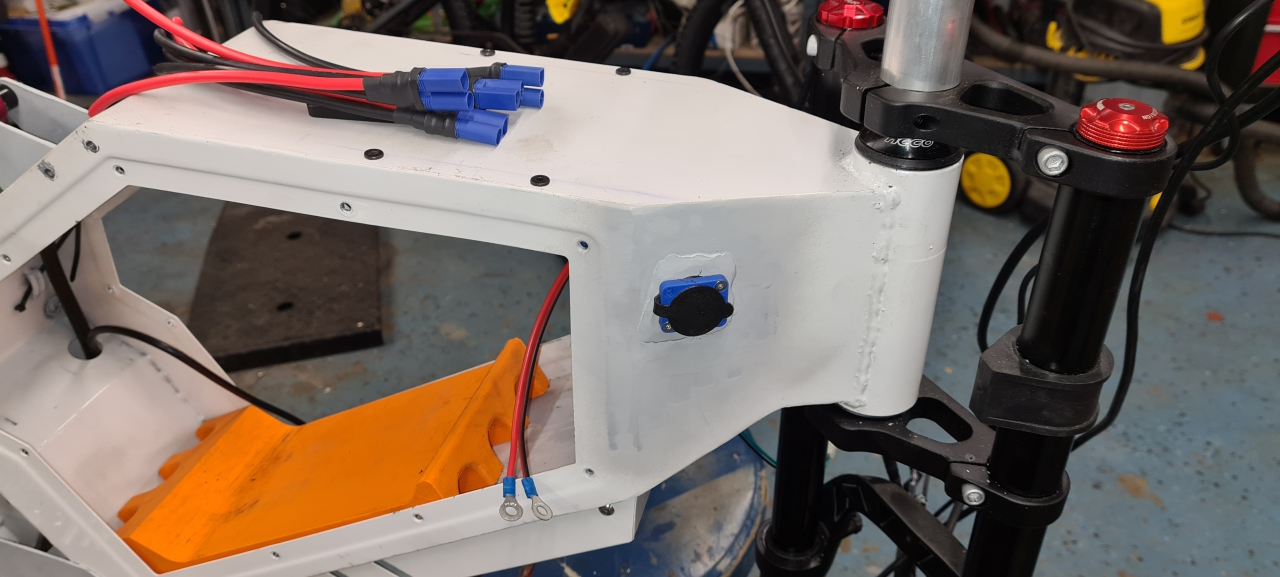
Drilled a 24mm hole, sealed and added the charge connector for the battery.
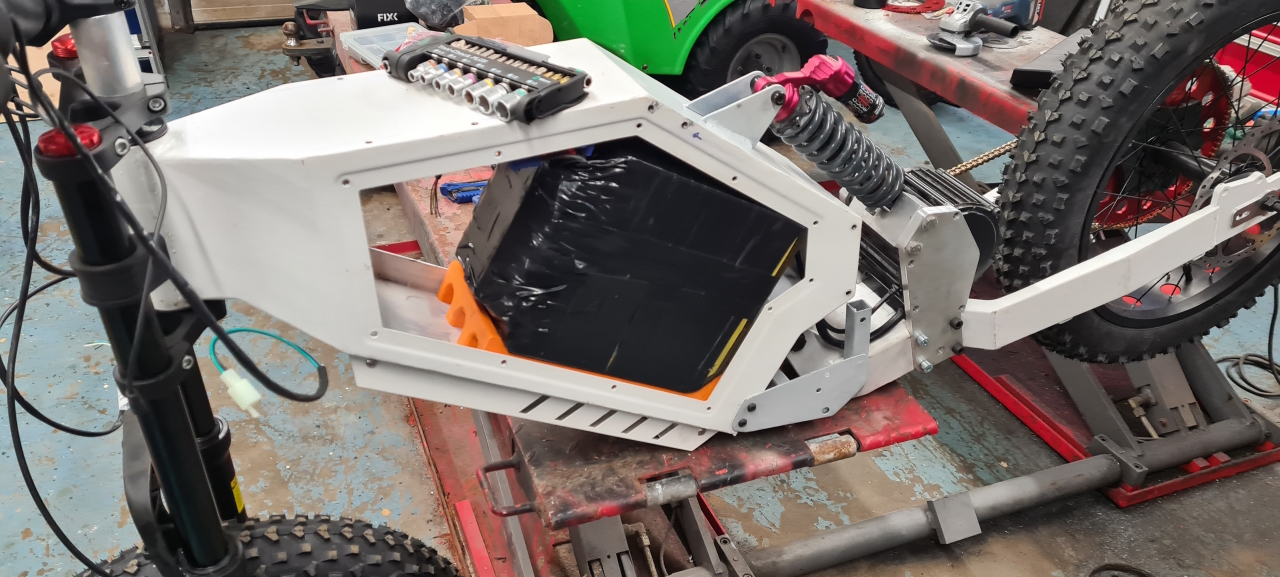
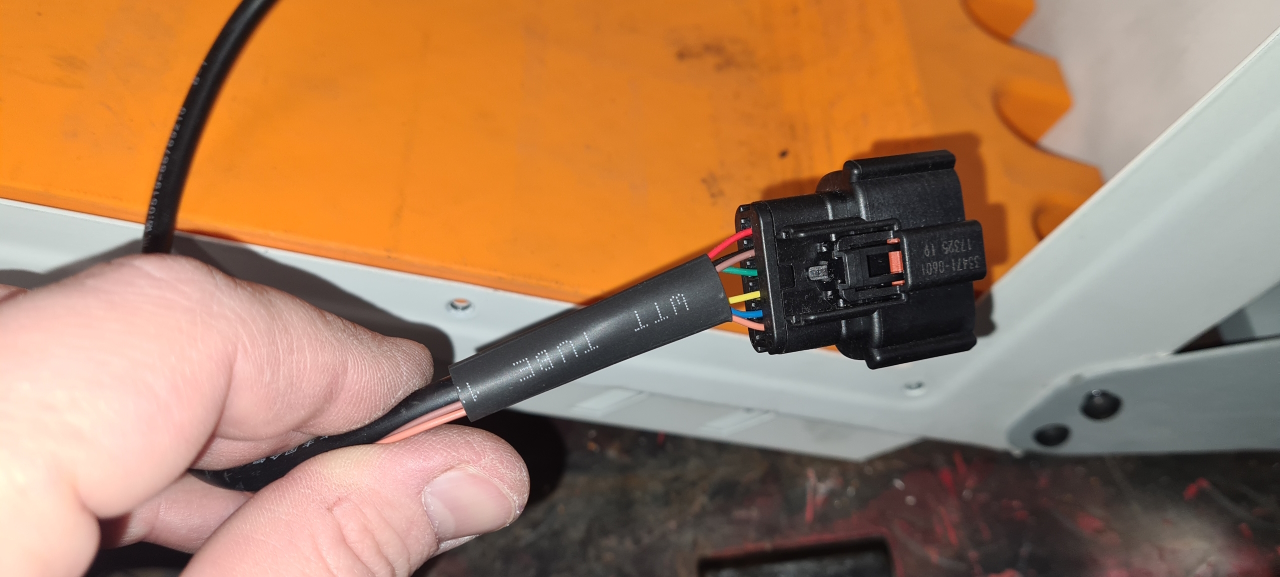
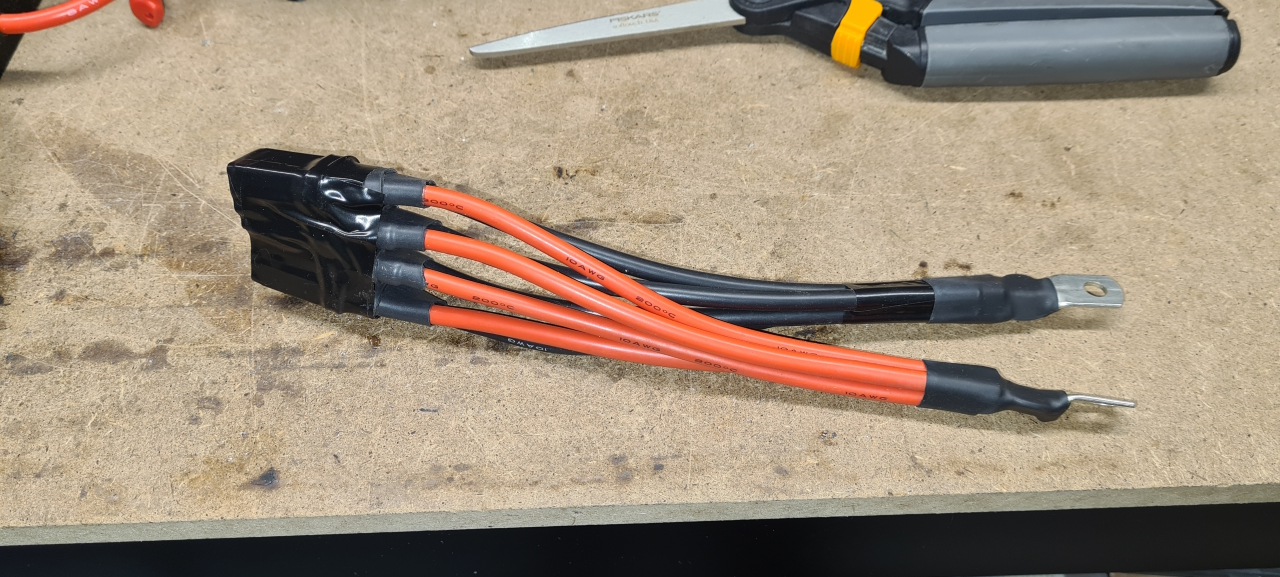
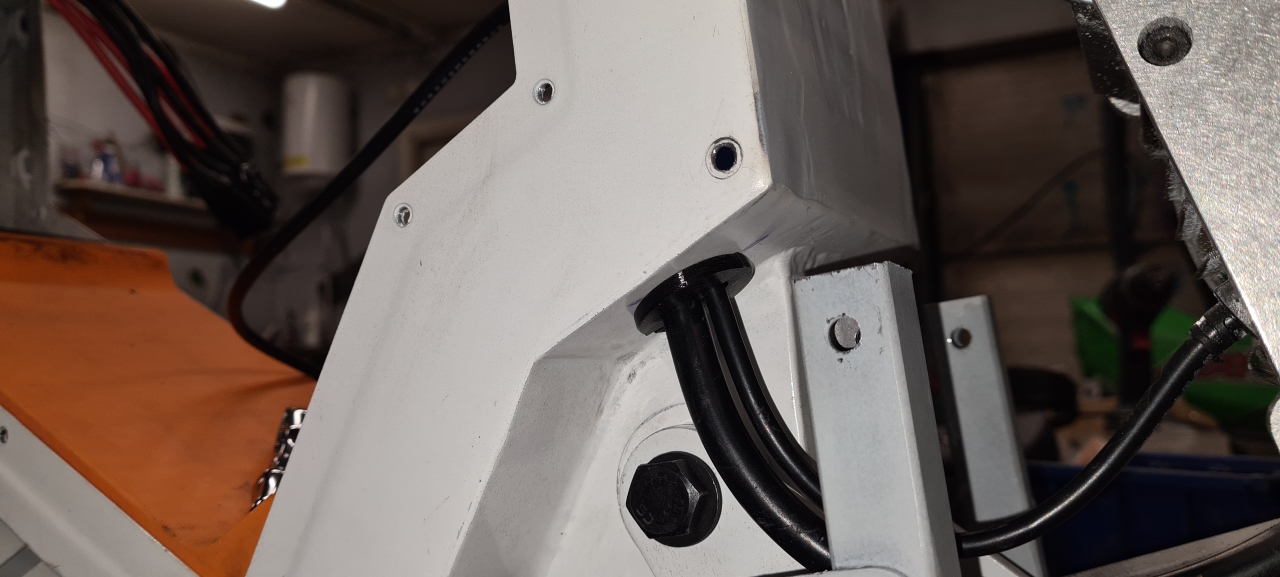
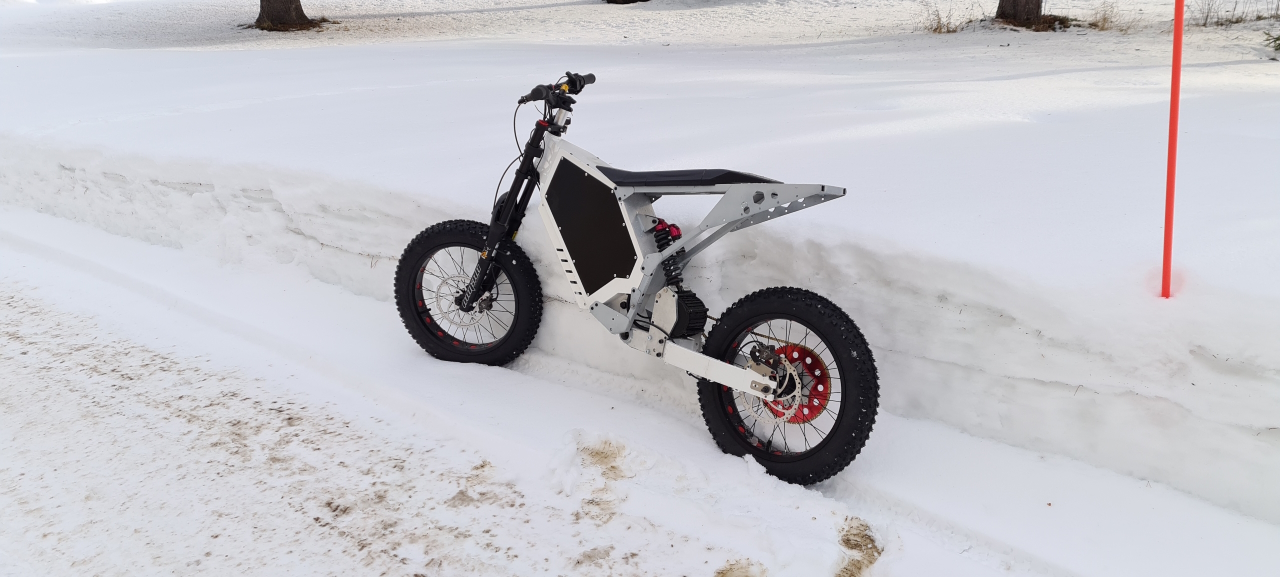
The battery has 4 pieces of EC5 connectors spreading the load equally over the pack cells, so the controller needs matching 4 connectors to draw current from.When all is connected this is what it looks like. Just the signal wires needed but those will be the last connectors I install as they’re in the way of the battery.I printed and added grommets to all cables going into the box. Partially for sealing the holes but also to protect the wires. All grommets are printed from TPU.The battery is finally installed and the battery box is ready to be closed. Everything will have to come out again for painting later on but first we have to test the bike out to see what modifications we have to make before paint.So, finally it’s time for the long awaited test ride..
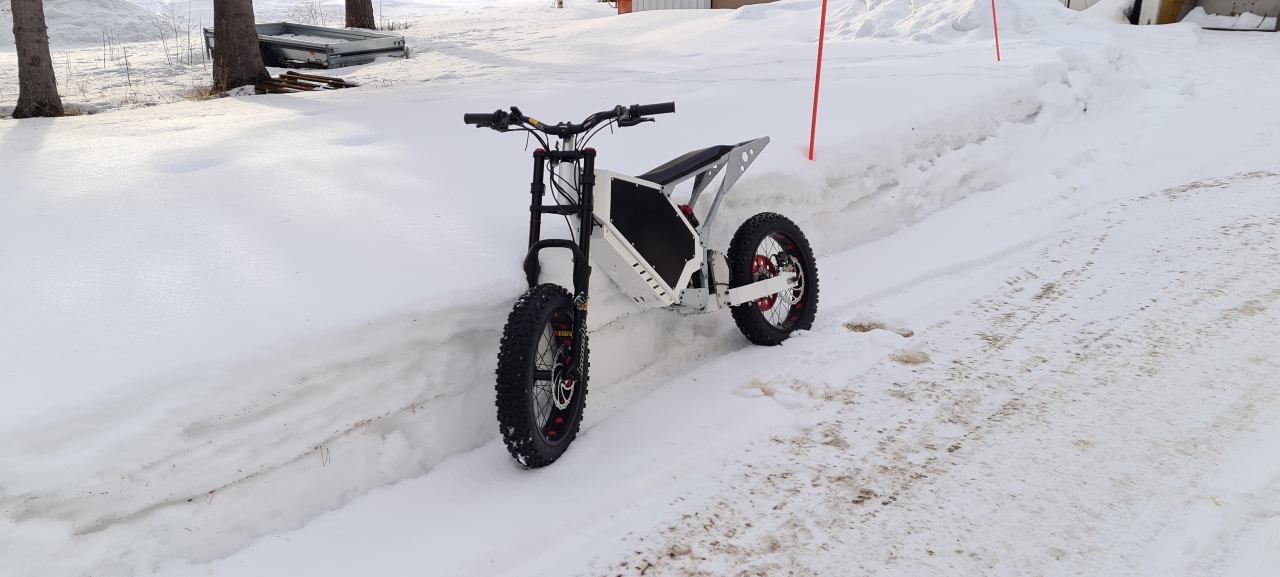
The bike runs super smooth with tons of acceleration and a seemingly high top speed. The spedometer isn’t calibrated yet so I have no idea how fast I’m going and the roads are covered with ice, but it feels nice! The torque makes the motor pull the rear wheel forwards though so I’ll need to add a chain tensioner to secure it in place. I also need to add brake fluid to the rear brake, which is good to have even though the regen braking is awesome! Also, footpegs will be nice to have to be able to ride standing up!
After a bit of riding I had to test the charge inlet out. Everything works as it should and I get a good bluetooth connection to the BMS inside the box.