So, after finishing the sand blasting of the frames we took a break and celebrated easter in the cabin with some nice snowmobiling and relaxing.
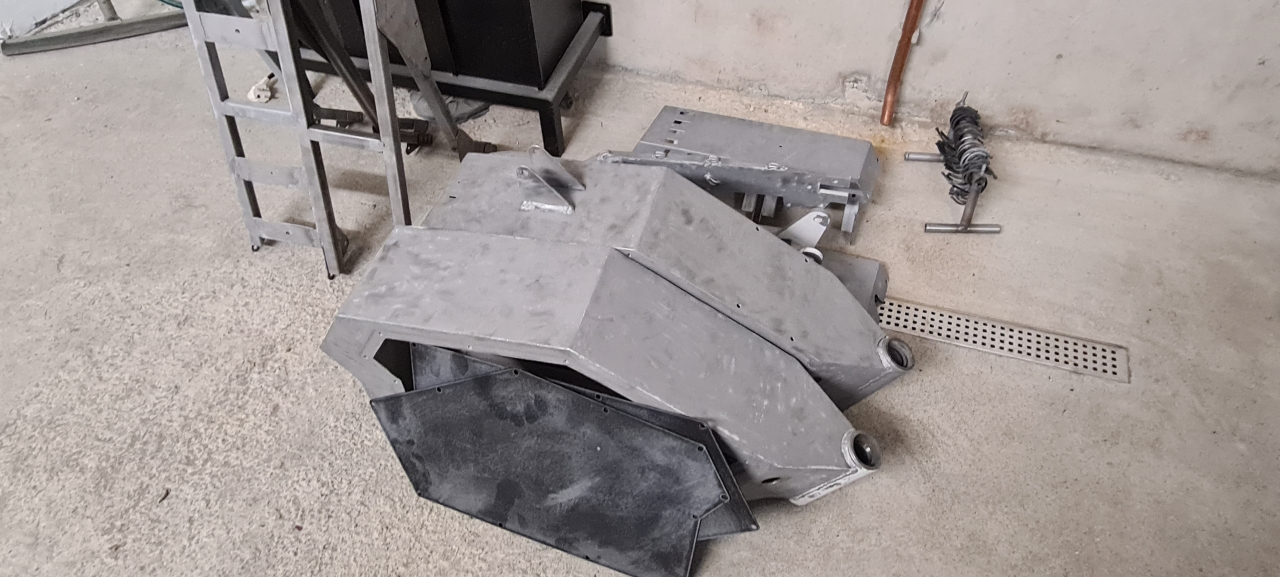
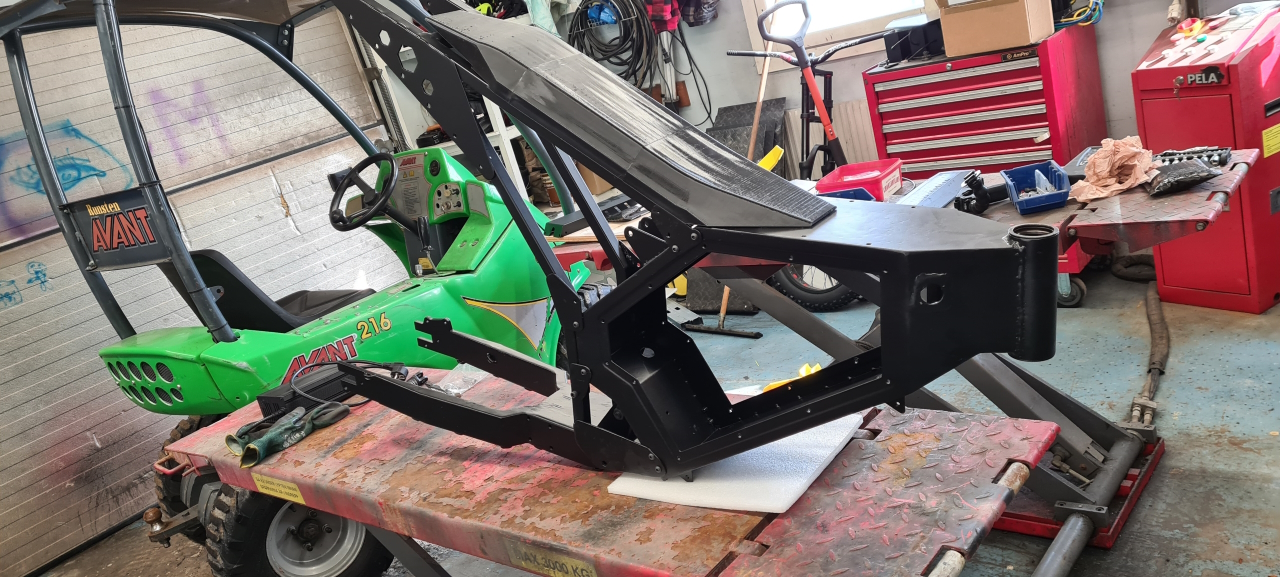
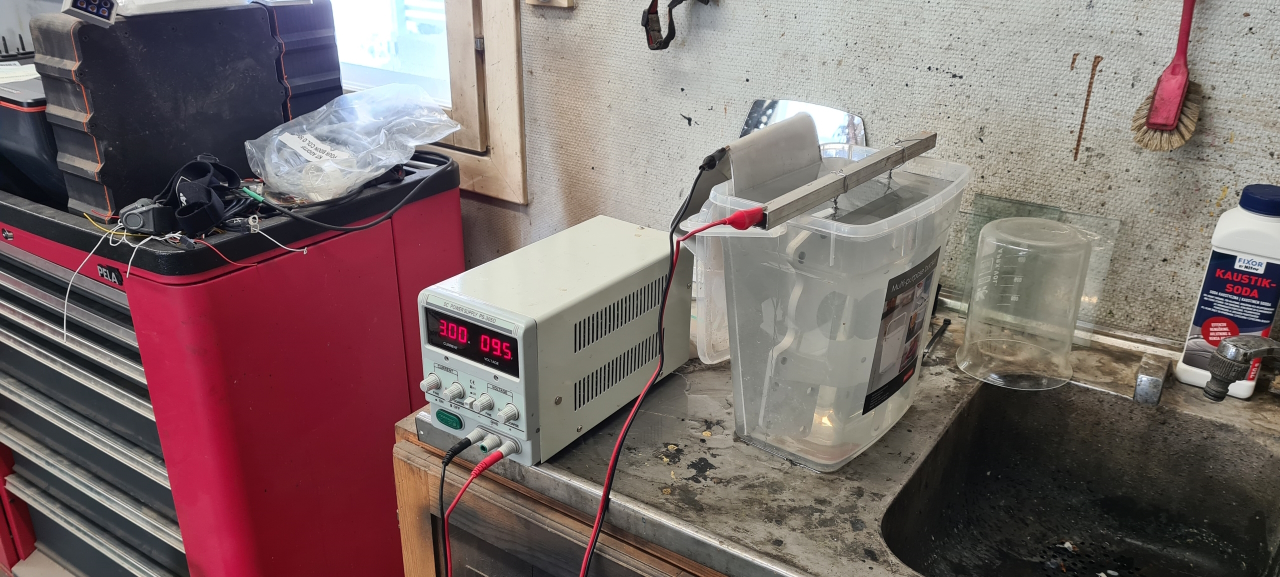
I spent more or less every night in a full week trying to get the paint off the frame. Considering the poor quality of the original paint it was surprisingly hard to remove.When we got back from the cabin my dear friend Nils had put new powder coating on all the parts with a stunning result!I must say I agree with my son, this frame looks much better in black! However having the nice looking frame I couldn’t mount the raw aluminium parts so I had to do something about that.After properly degreasing and cleaning the parts I let them soak in lye for half an hour or so. After the lye bath, inhaling loads of healthy hydrogen atoms in the process, the parts were properly rinsed and then the anodization process began. This is simply a bath of sulfuric acid and an adjustable power supply. The parts are submerged in the acid, the negative lead is connected to an aluminium sheet with a surface area equal to or larger than the part, and the positive lead is connected to the part to be anodized. This makes an oxide layer on the part that is a bit porous. The porosity and thickness of the oxide layer depends on the current flowing through the part and the time it’s left bubbling in the acid bath.
Since I wanted a thick uniform layer of color I let the parts anodize for about an hour at quite low amperage. The required current depends on the surface area of the part to be anodized but I usually kind of just guess and mostly it turns out OK. If not I’ll just redo the process from the lye bath and try again with different settings. =)
When the anodization is done I’ll just put the parts in a vat where I’ve mixed water and textile color, in this case black. The thickness and porosity of the part, the properties of the dye and how much color you want the part to get decides the temperature of the dye and the time it’s left soaking. Since I don’t know the properties of the dye and want the parts to be fully colored black I left the parts in the dye for as long as it took to clean and anodize the next part. This again -usually- turns out OK, but sometimes it doesn’t and then it’s back to the lye again..
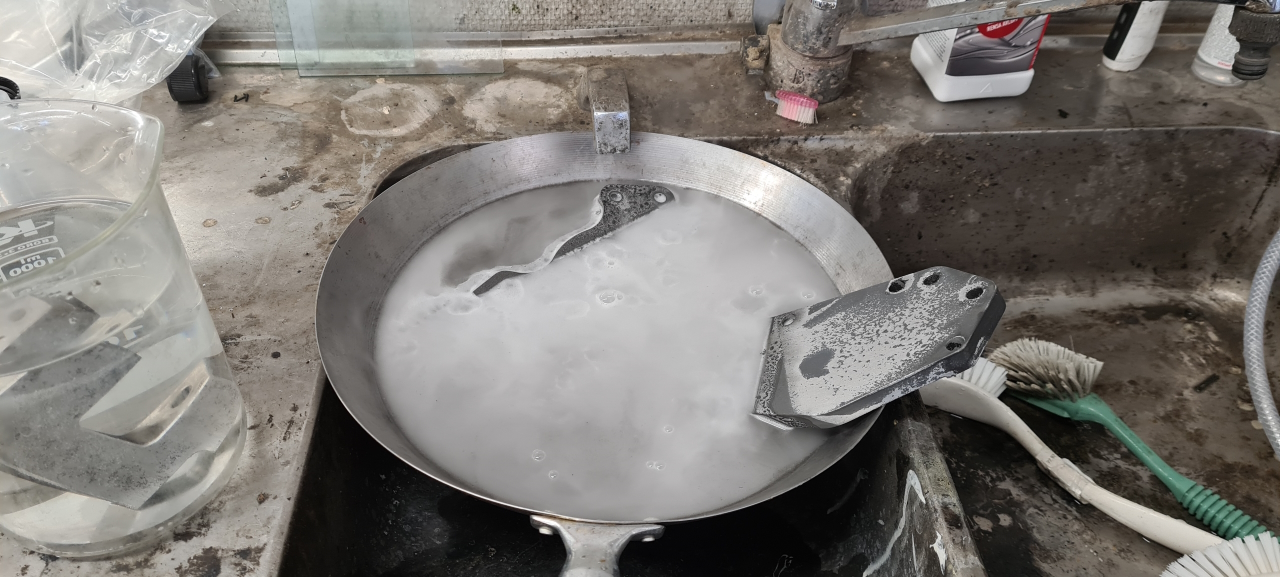
To seal the porous oxide layer the parts are boiled for about 15 minutes – again depending on the properties of the oxide layer and so on. I’ve precviously had the water wash some of the dye out of the part so now I boil the parts while still in the dye bath.
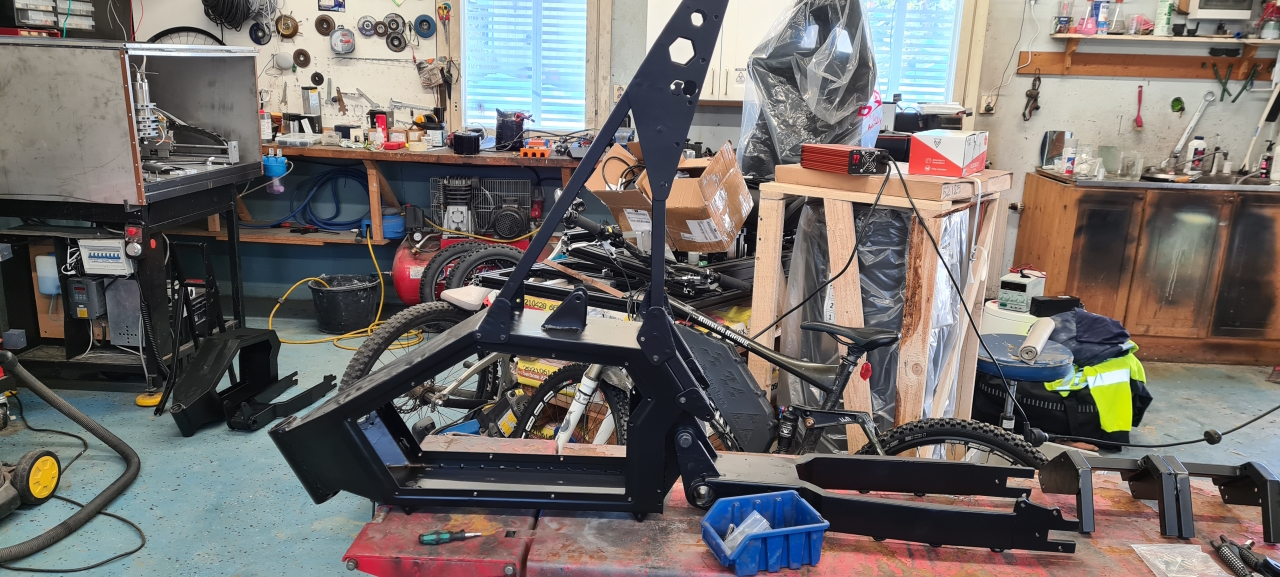
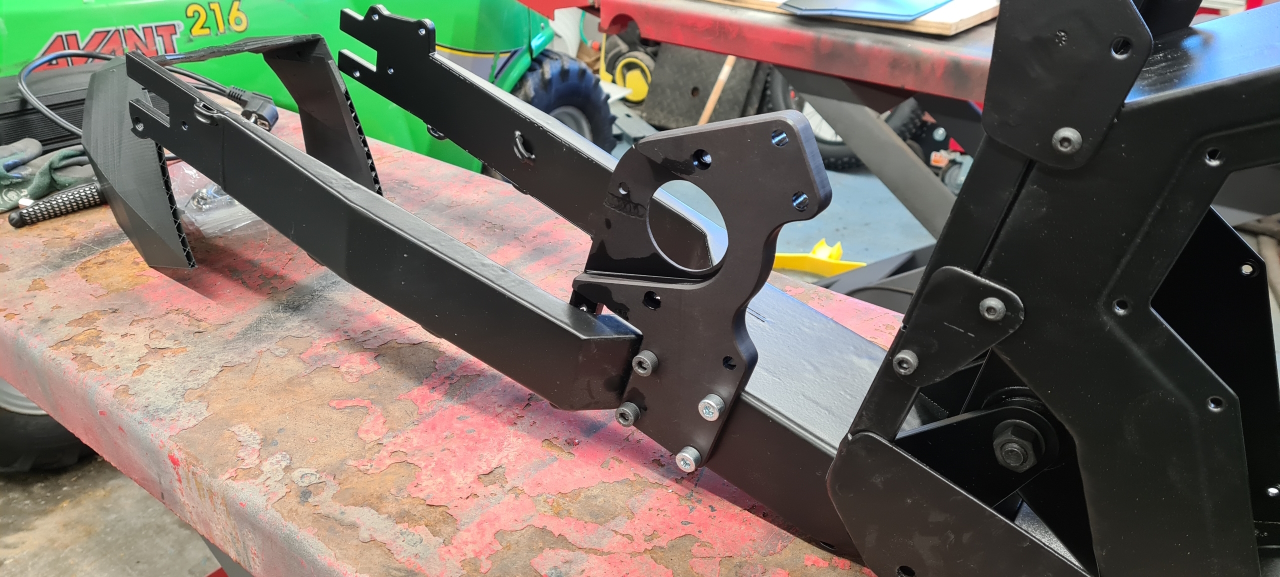
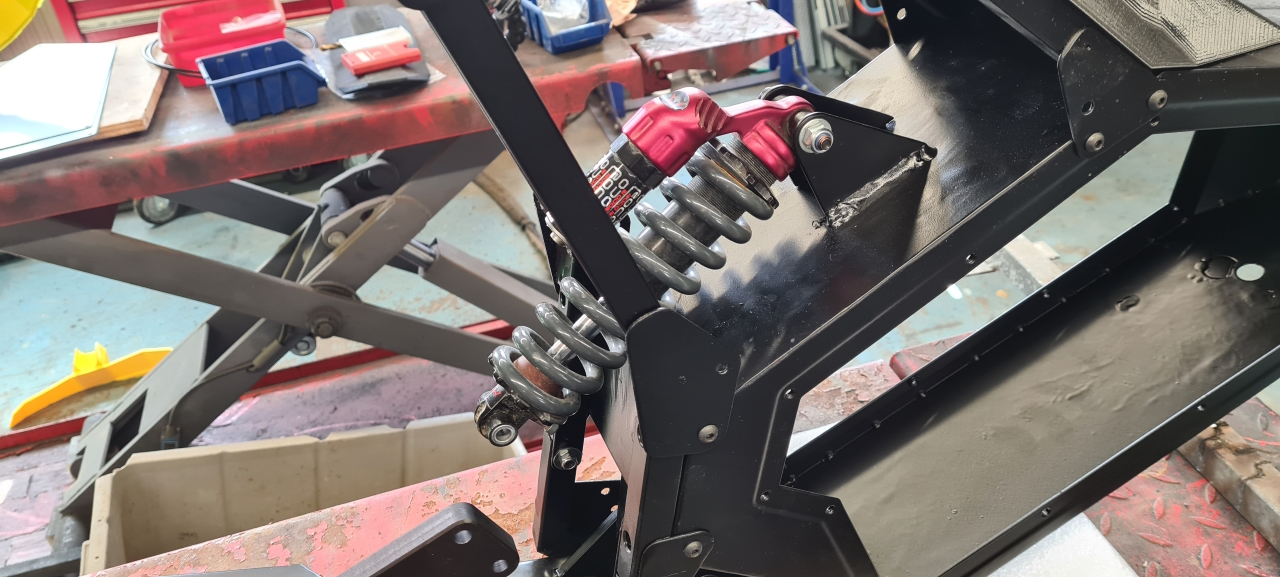
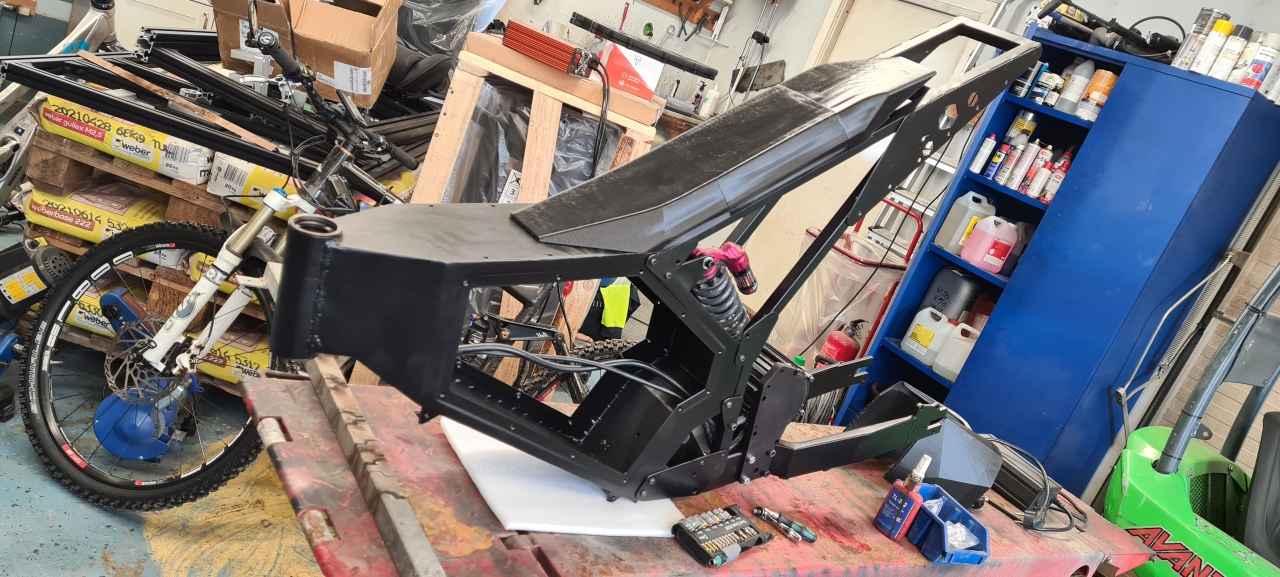
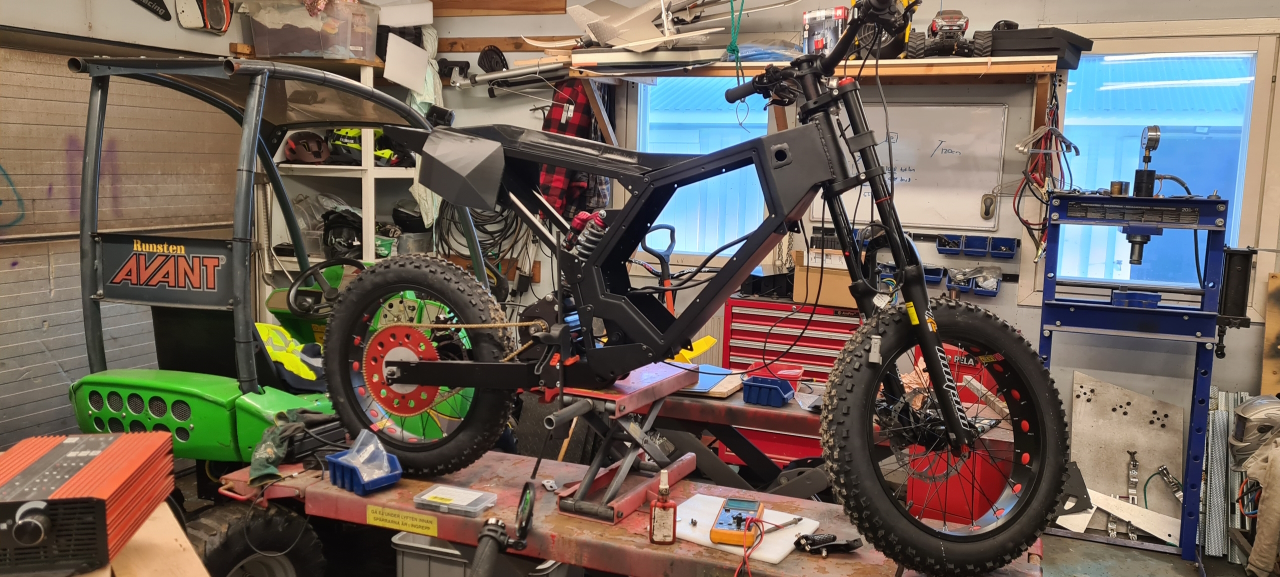
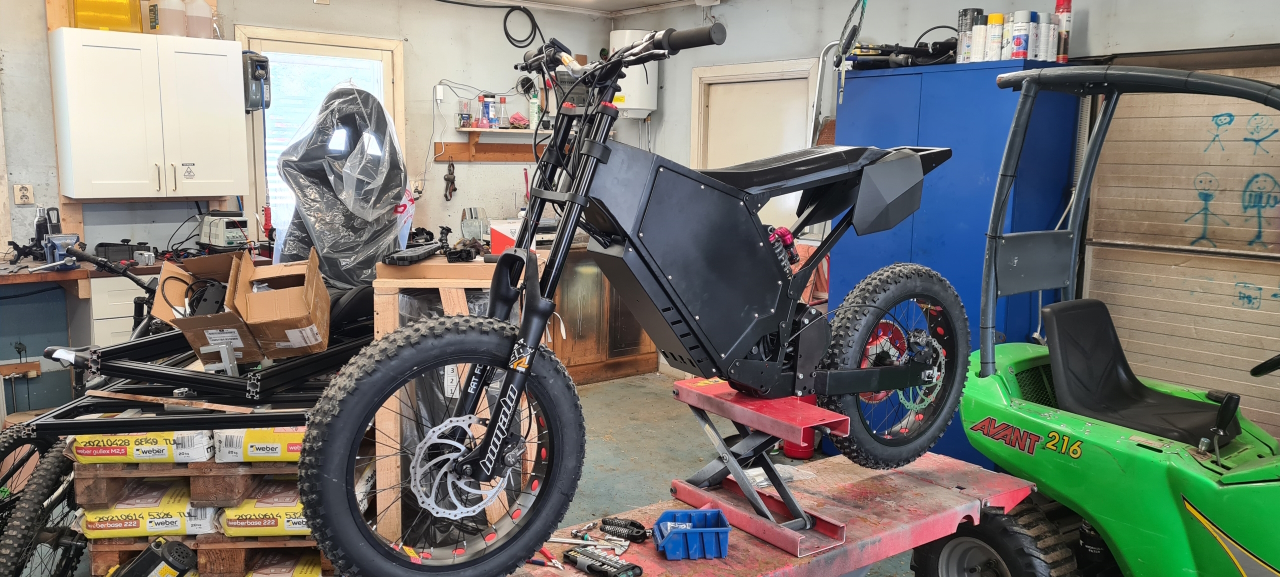
It’s quite a time consuming process but the result makes it totally worth it! When I had the anodization going in the garage I anodized all the parts for the second bike as well. I’ll post more about that frame later.Now that all the parts and the frame had the right color it was time for the final assembly. First the shock was installed to link the motor mount and rear swing to the frame.After that I installed the updated motor and temporarily put the seat on…
This was to be able to test the fit of the 3d printed rear fender, which was too small and required a couple more prototypes before I had a good fit.
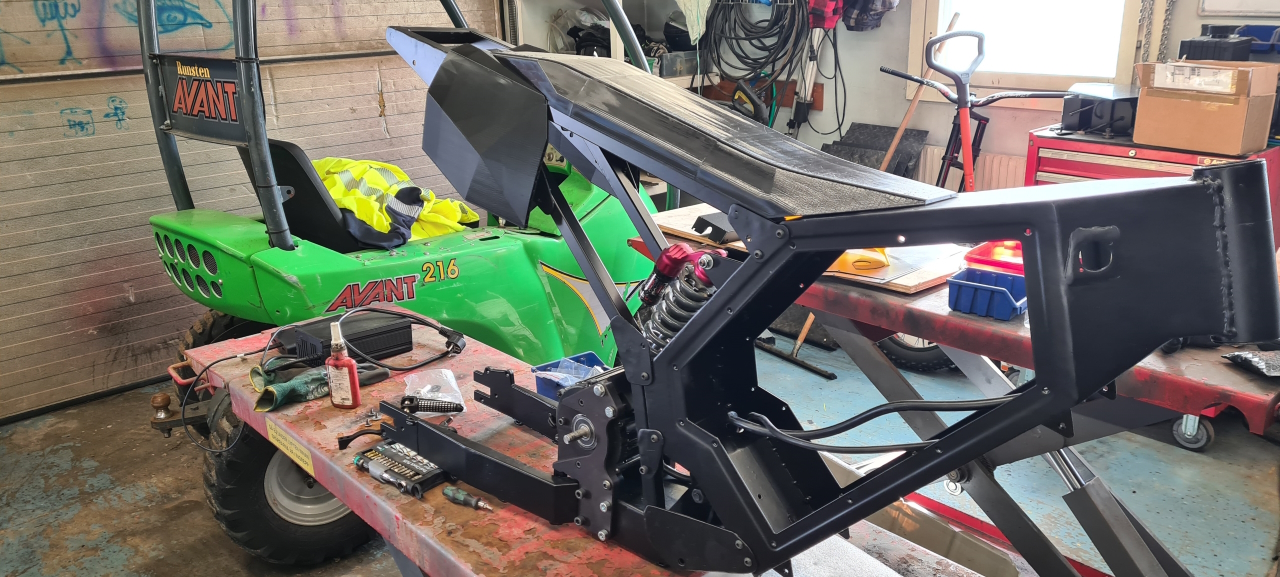
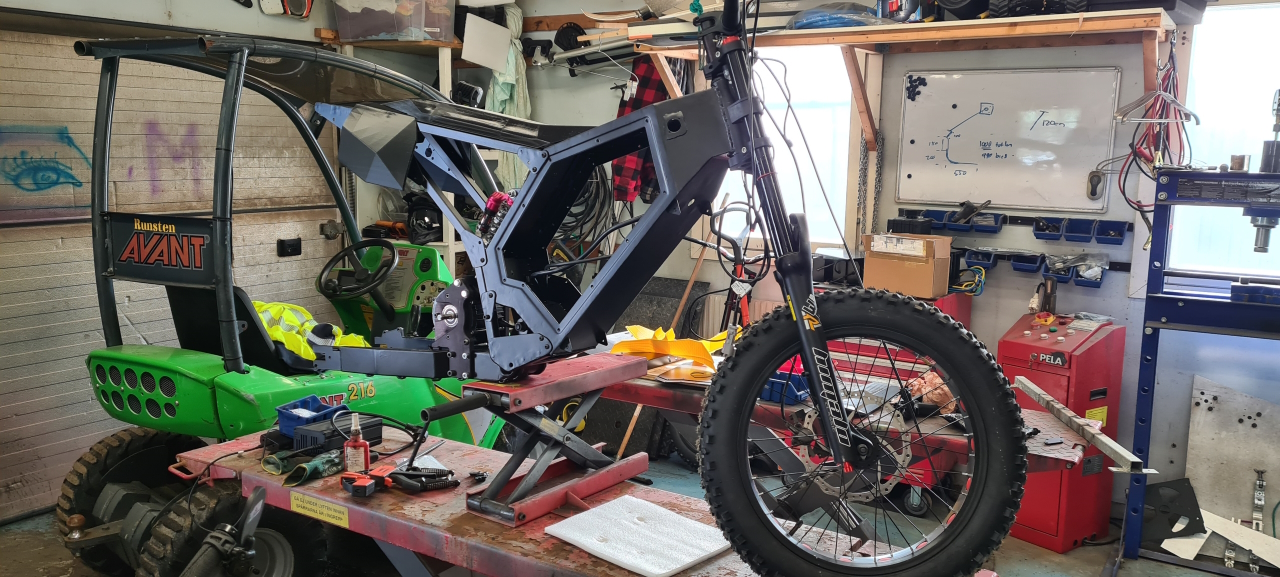
Once it’s there it looks pretty good.. (but later, after adding the aft part it looks a bit wierd, so a redesign of the rear fender is on the todo-list)Front fork, wheel and handlebars installed..
Rear wheel, chain and so on..
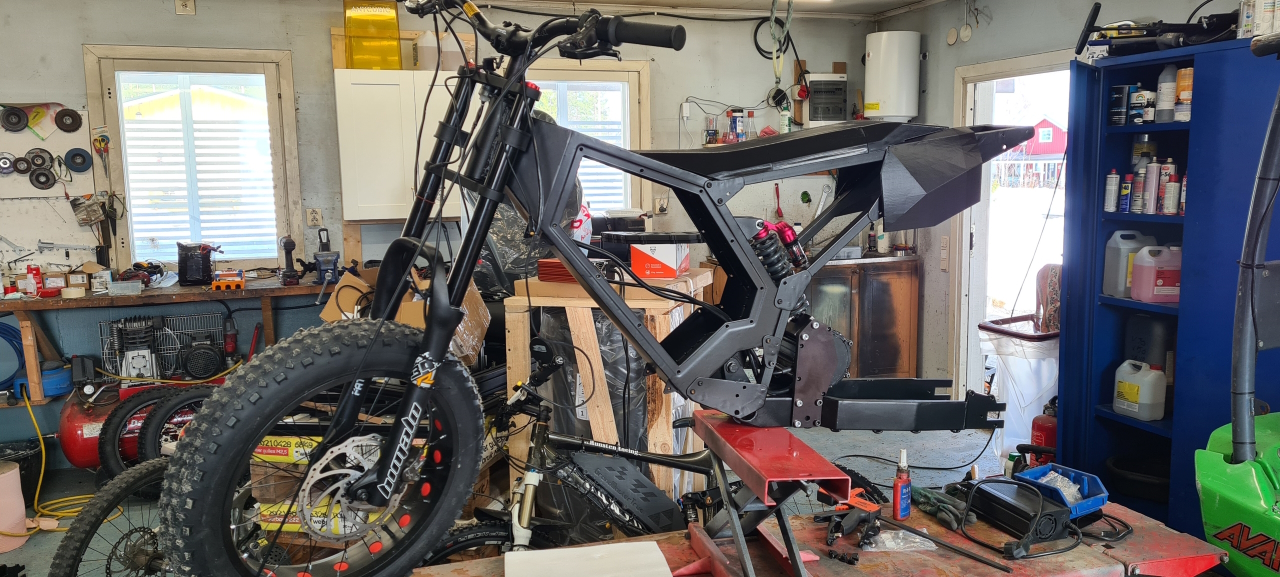
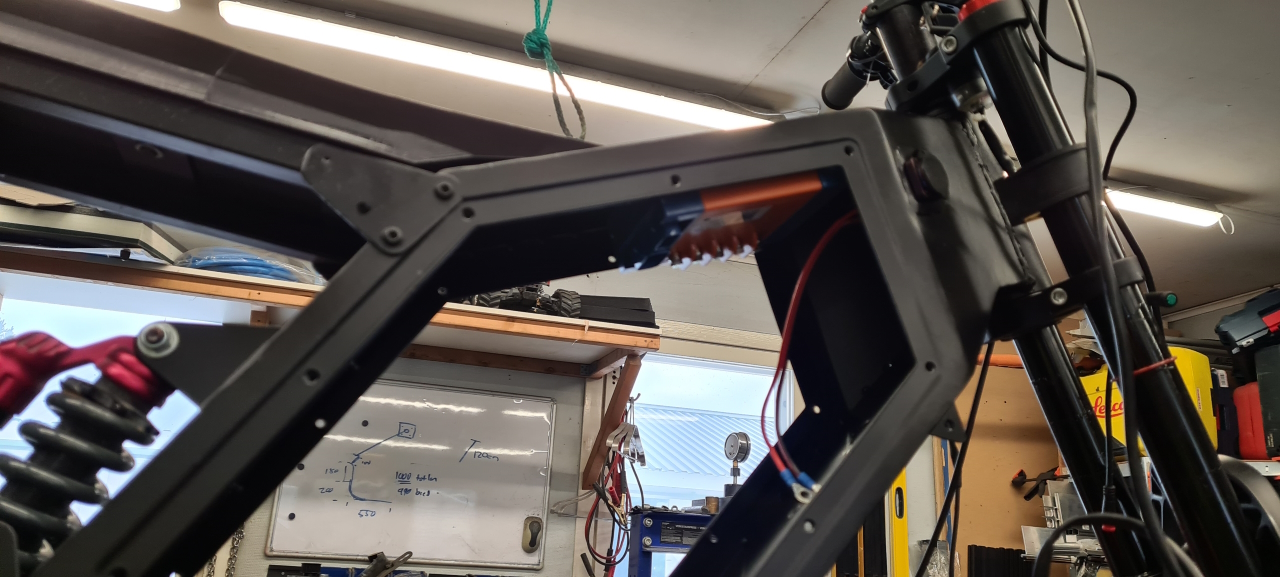
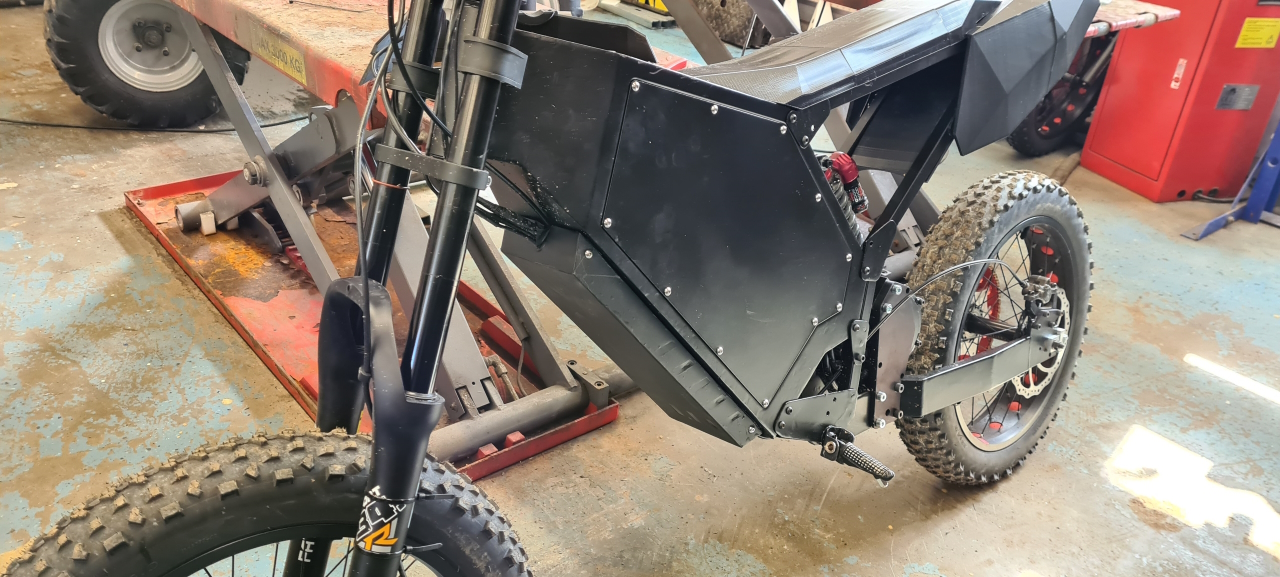
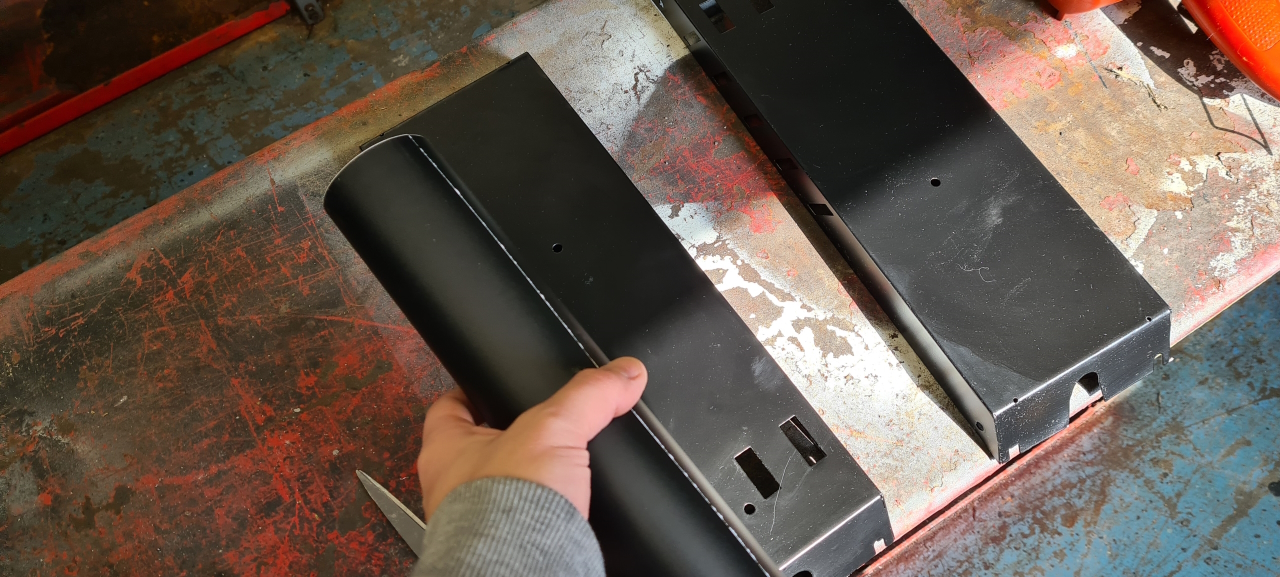
Now we’re getting an idea of what the finished bike will look like..Time to install the electronics. This one will run the ASI BAC2000 with the High Voltage map for the BigBlock motor. The battery and all the charging- and powerleads are installed. To hide all the cables and connectors the cover that’s supposed to house the controller in installed. The BAC2000 is way to big to fit in the controller housing so it’ll reside inside the battery compartment.
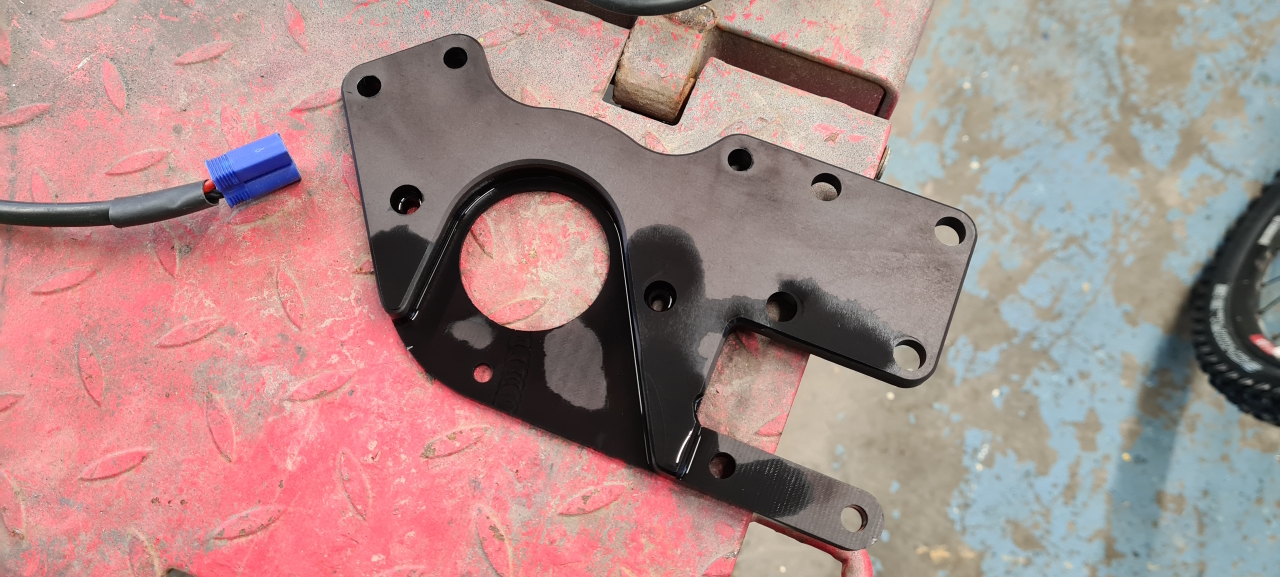
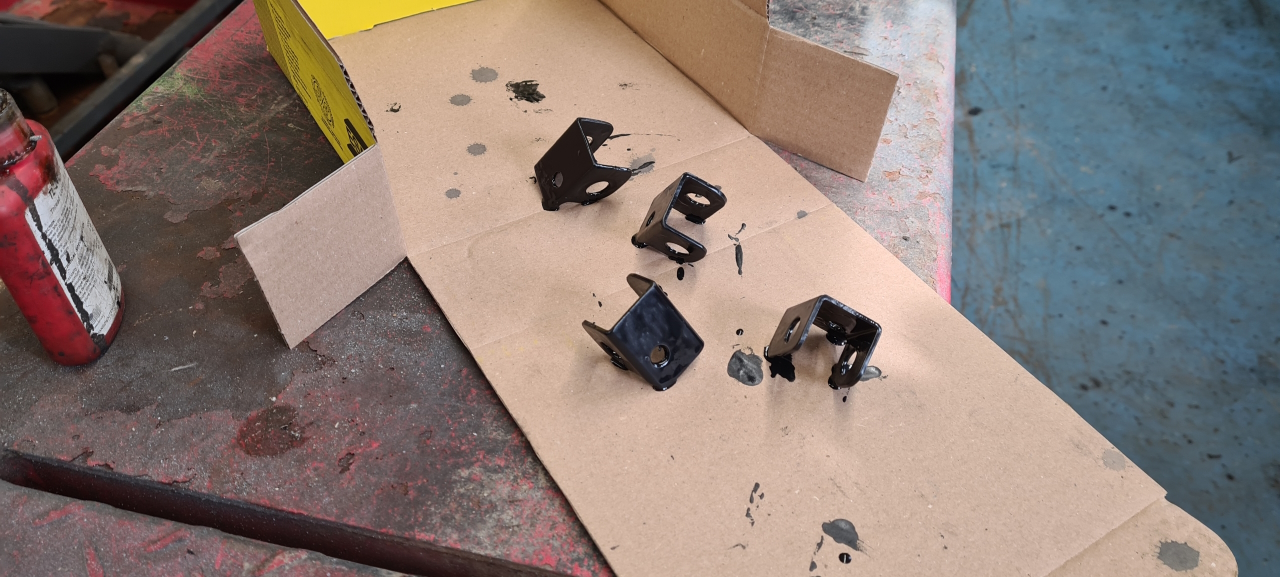
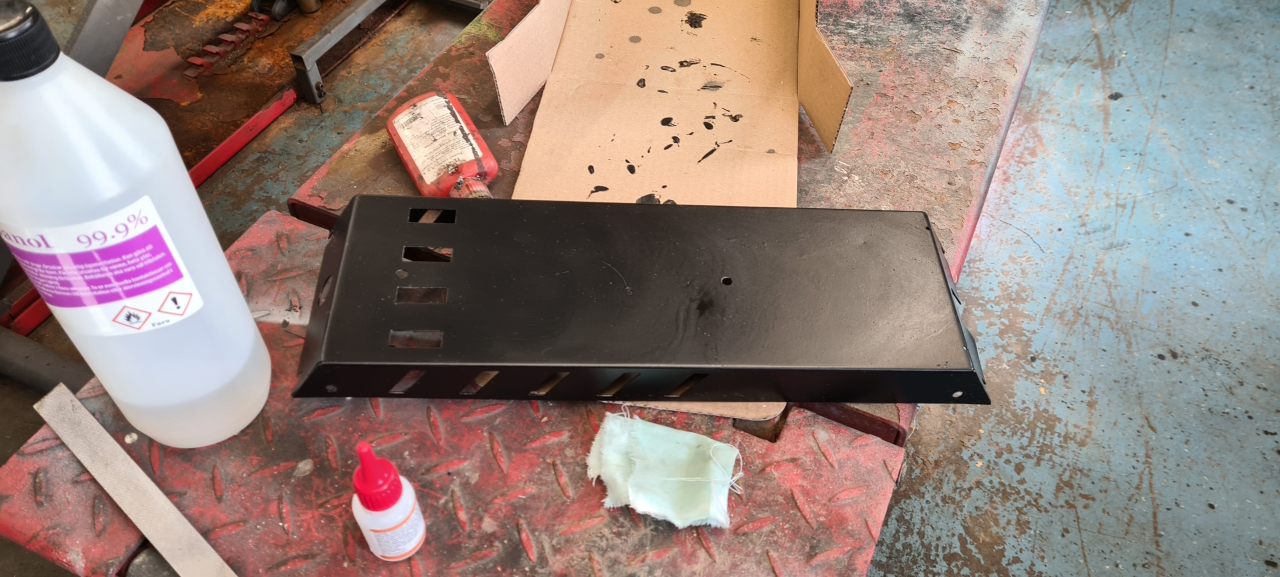
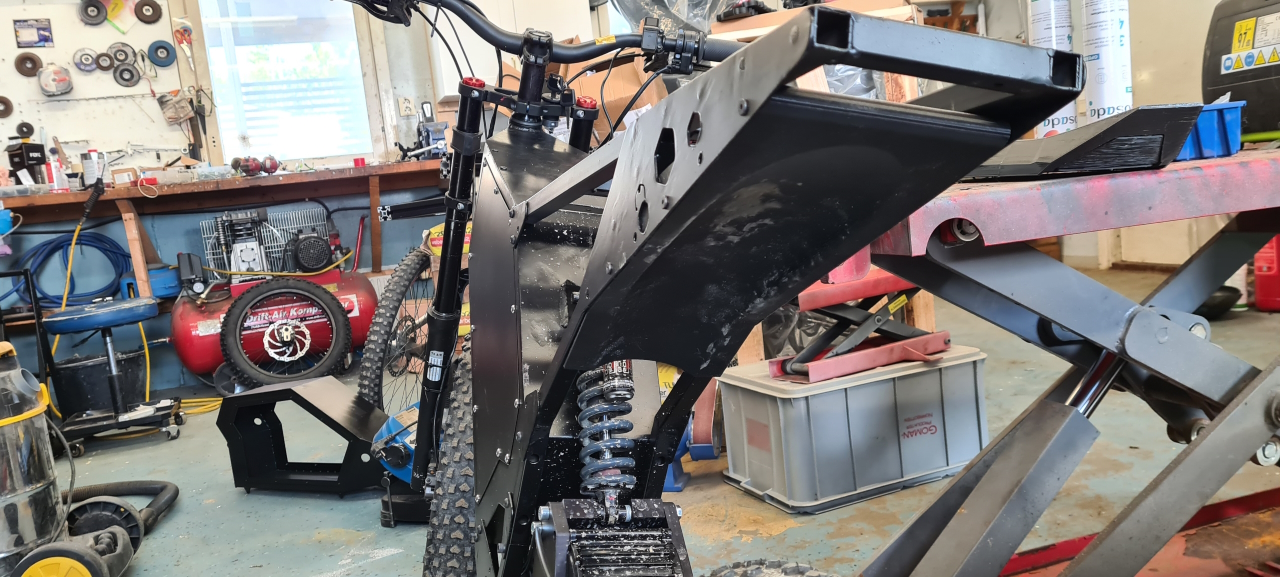
A while back I got lazy and decided not to make my own footpegs, so I ordered footpegs from Amazon for cheap. To mount these I made steel brackets on the manual mill and painted them black.The side covers are mounted. I’ll remove these later and make a proper seal between the cover and the frame to make it waterproof. When doing that I’ll also install a drain tube at the bottom of the battery compartment to get rid of all the moisture and water that might make its way into the box. No matter the steps you take to make the battery compartment waterproof water _will_ get inside and it’s important to let it escape somewhere..I’ve made a few attempts to make a front fender but for now I’ve decided that this part isn’t necessary. 🙂
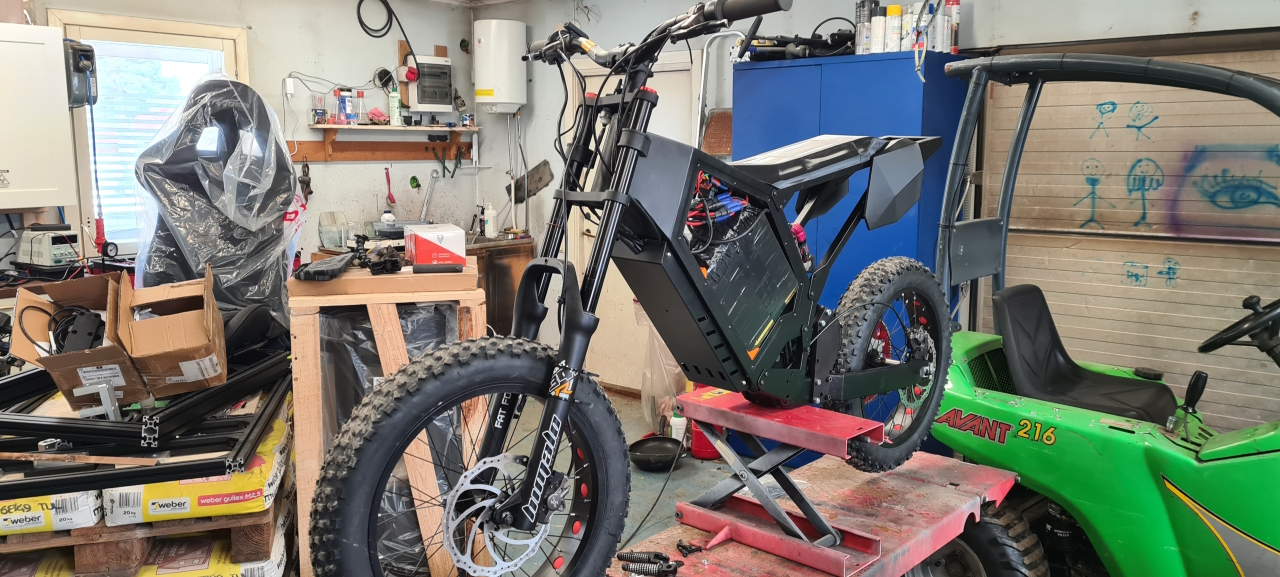
Instead, for the time being, I wrapped the cable cover box in protective vinyl wrap. This’ll make it less sensitive to flying pebbles and sand.
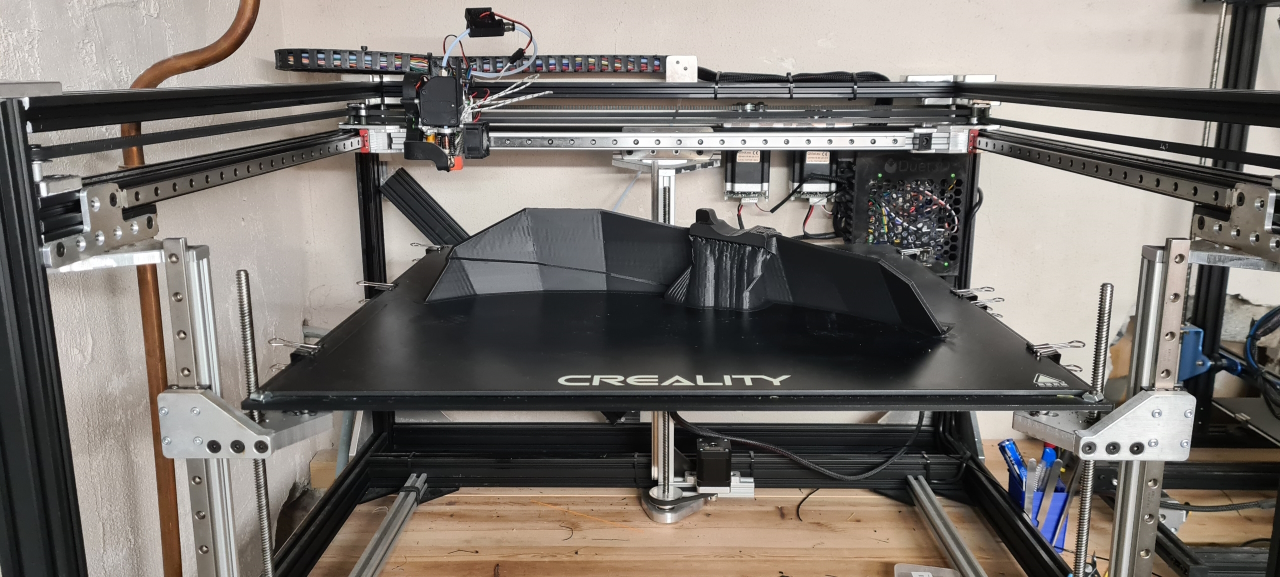
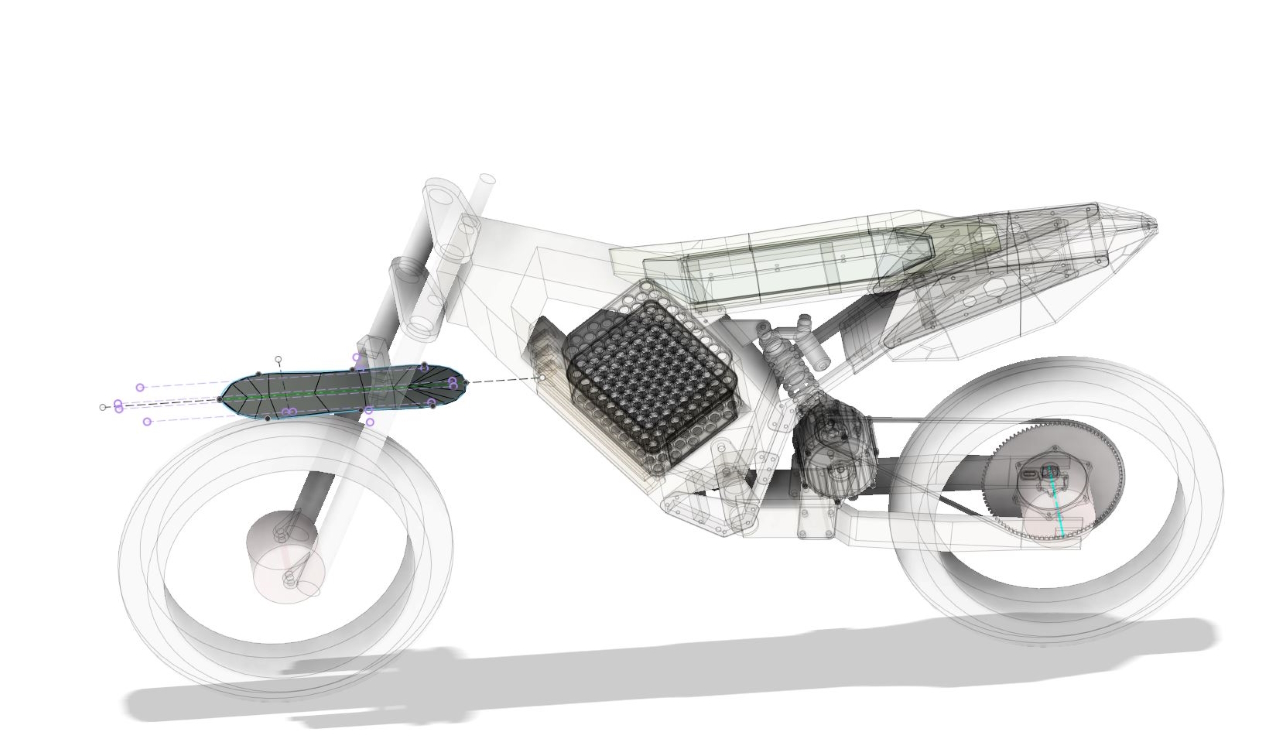
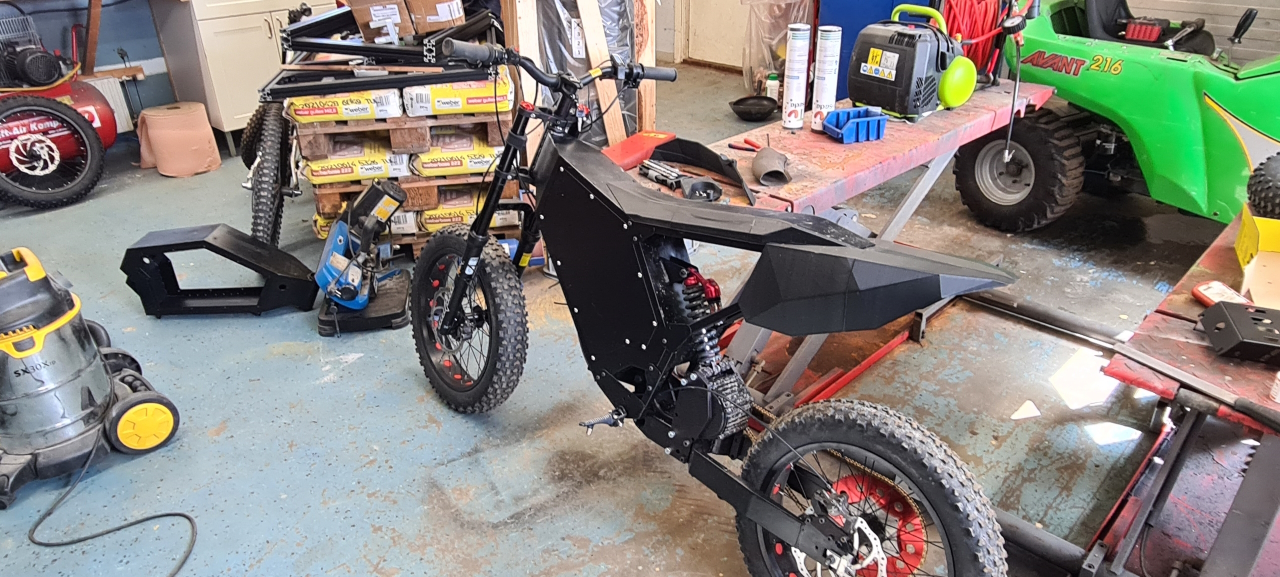
One of many concept prototypes for the front fender. The CAD model of this bike has been improved all through the project and now it’s a real good reference to get measurements and model parts into.The rear of the bike gets an inner fender to prevent all the water and dirt from sticking to the riders behind. I’ll make a fender that’ll sit closer to the wheel, protecting the motor from the muck getting tossed around by the rear wheel later. For right now the new seal on the motor will have to suffice to get some test riding done. Finally with the rear fender added the bike is pretty complete. There are parts to add and I’ll have to get rid of the Amazon footpegs and make my own since these were ridiculously flimsy – but they’ll work for now. I’ll also have to add a chain tensioner and I might have to make a smaller front sprocket to make the bike slower.. 🙂