Re-assembly of motor and frame preparation

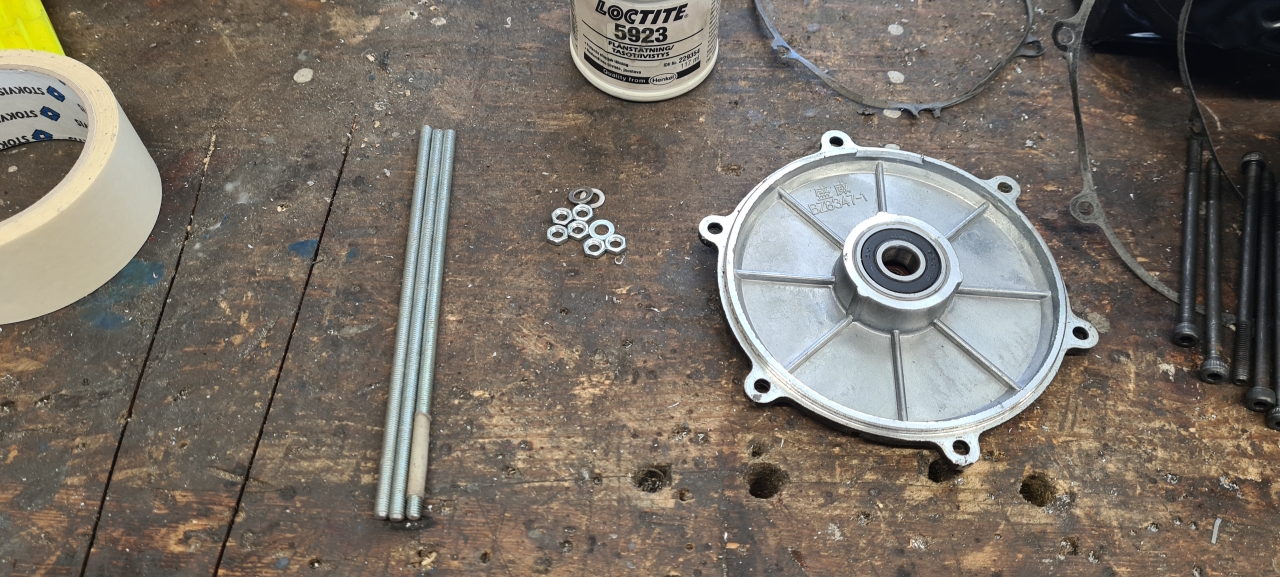
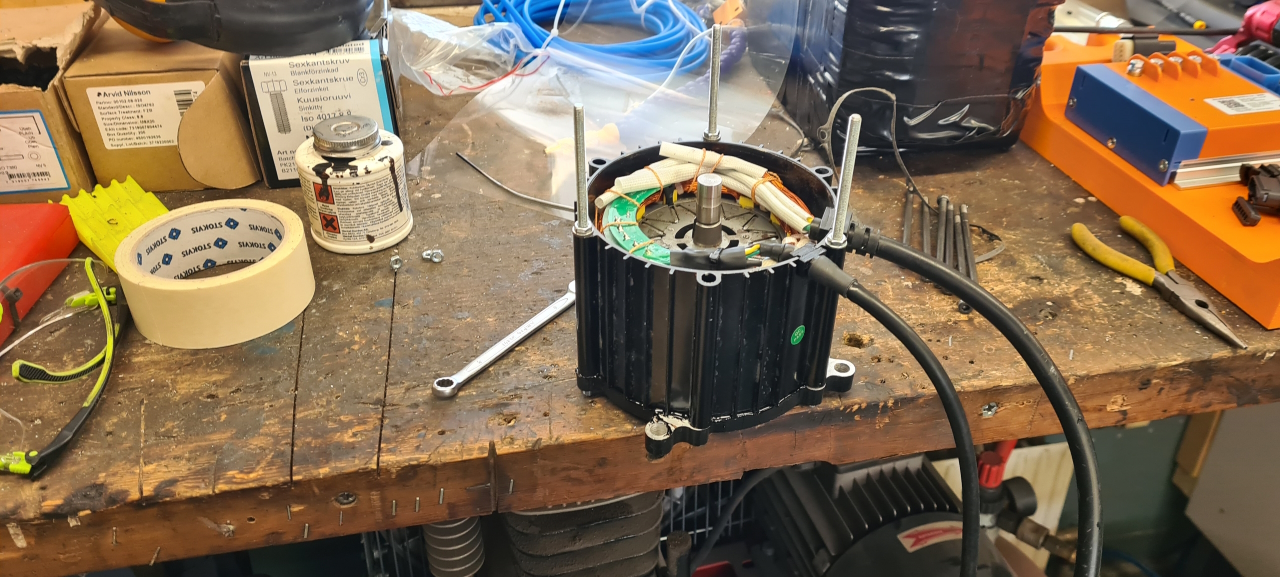
So, since the magnets in the rotor was super strong I’ve been a bit nervous about re-assembling the motor, but I got an idea..

With three M5 all-thread rods and a few nuts..
Threaded the rods into the top part of the motor and added nuts at a similar height on all rods..
These would then support the stator allowing me to gently let it all the way down over the rotor without slamming together.
To further protect the rotor I inserted a sheet of OH plastic in the air gap between rotor and stator. This is totally unnecessary but still..

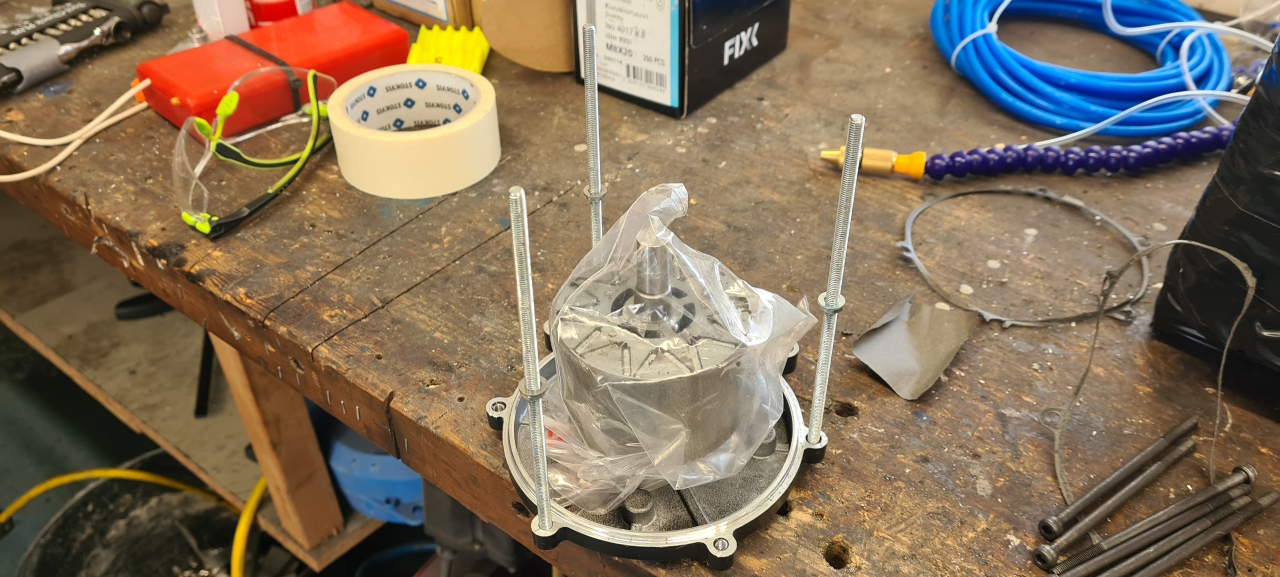
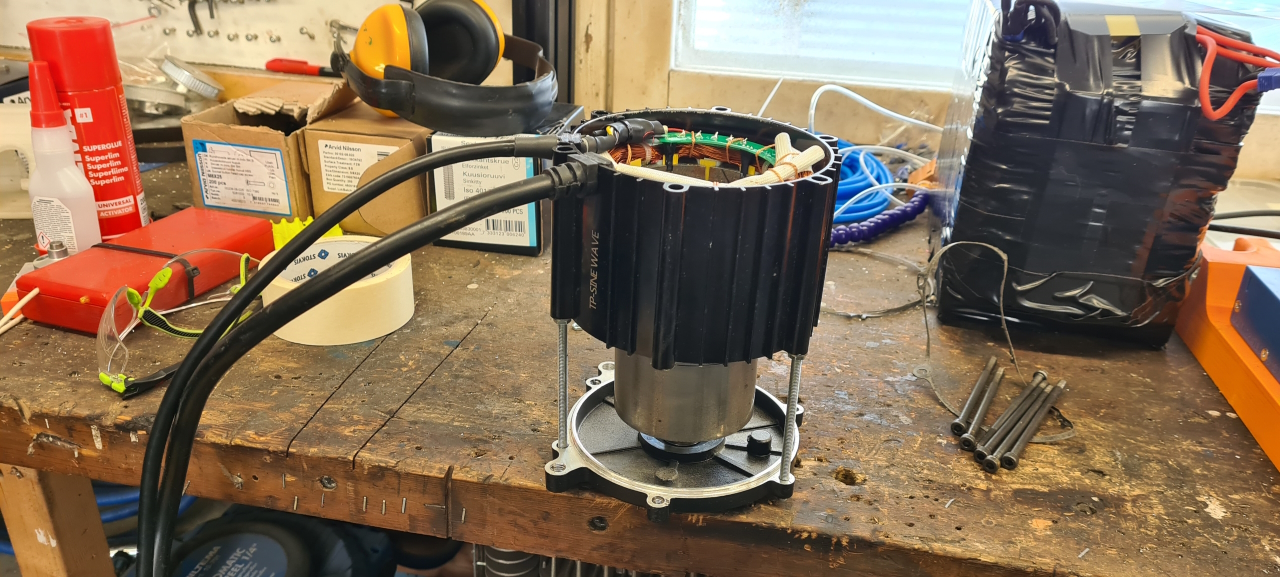
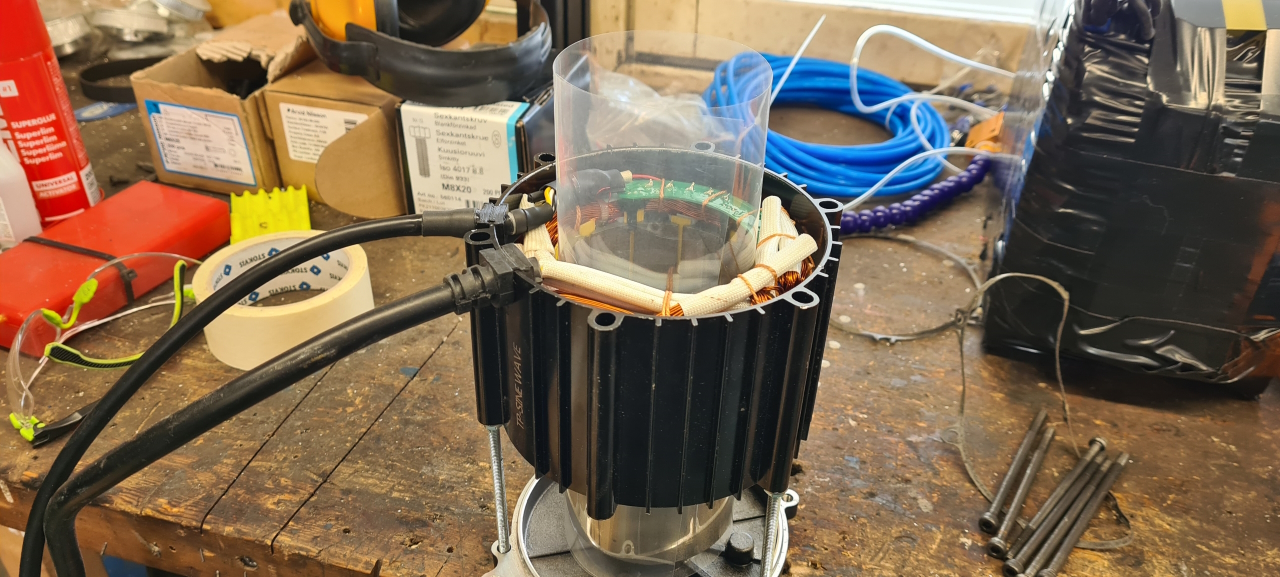
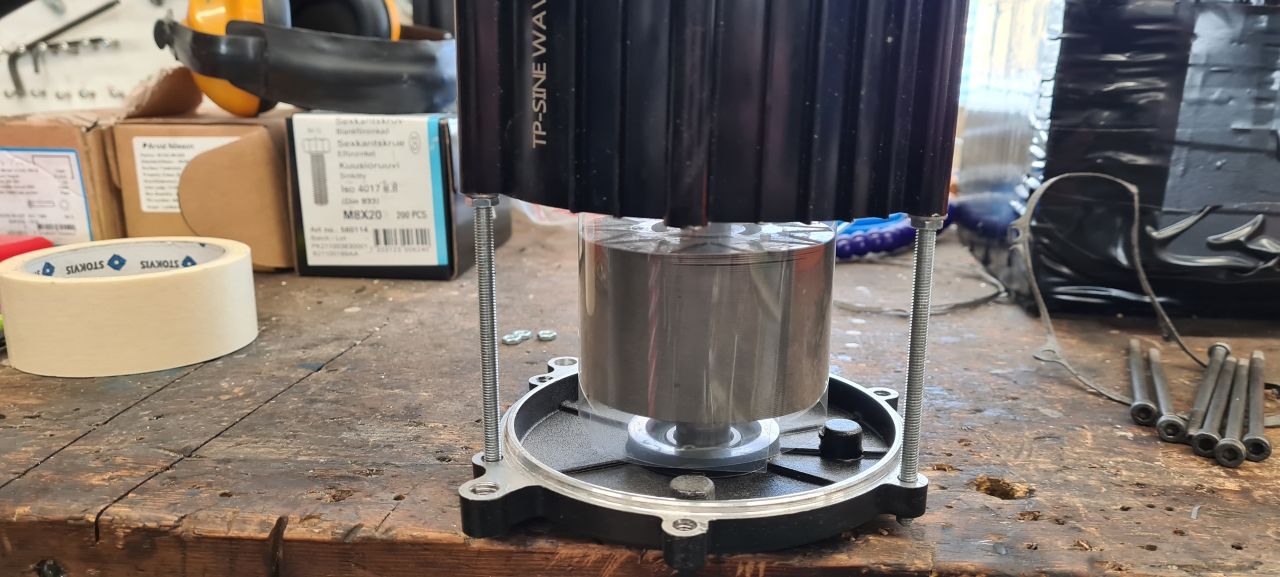
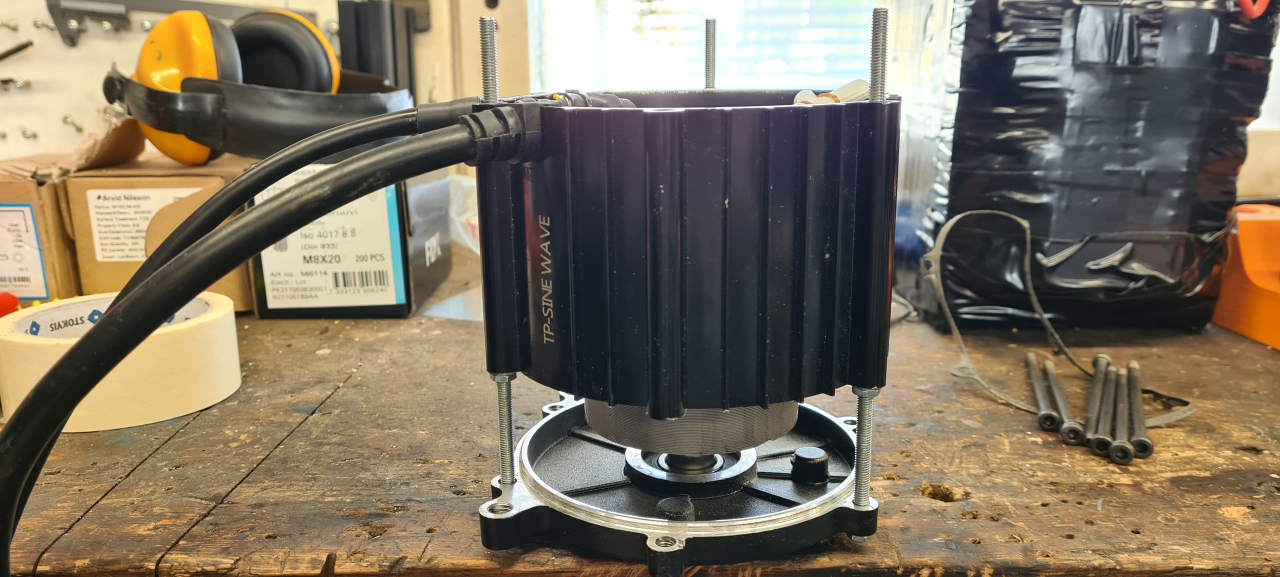
So, now it was just a matter of easing the stator down all the way. Most of the way I could just turn the nuts by hand but it’s the last centimeters that are hardest to control but the three-nut-solution made it super easy.
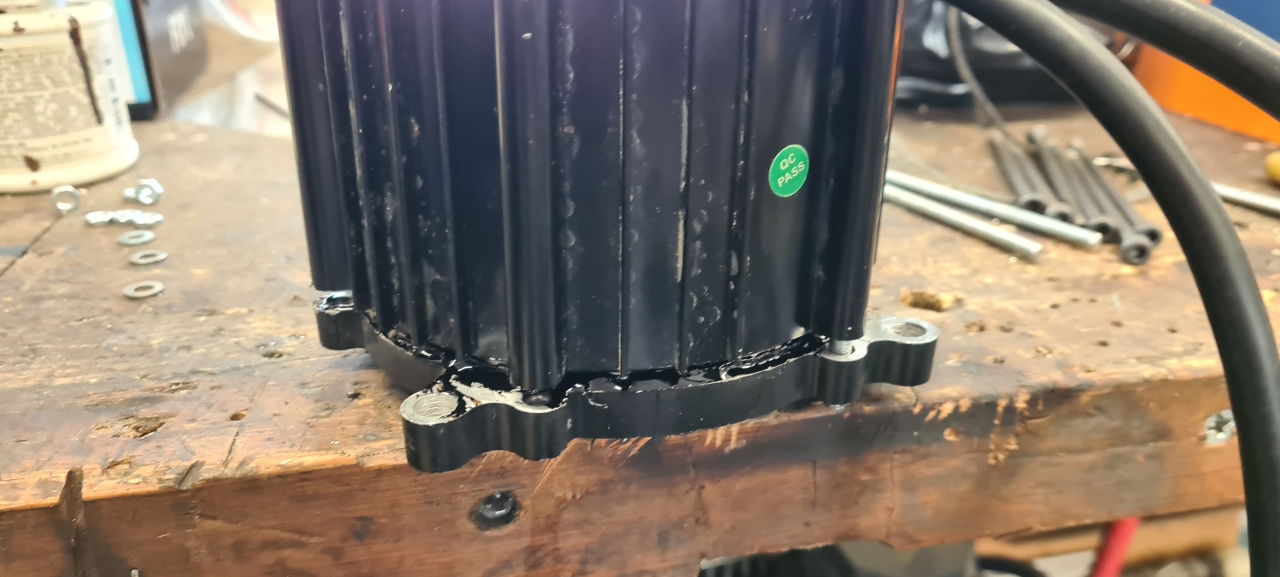
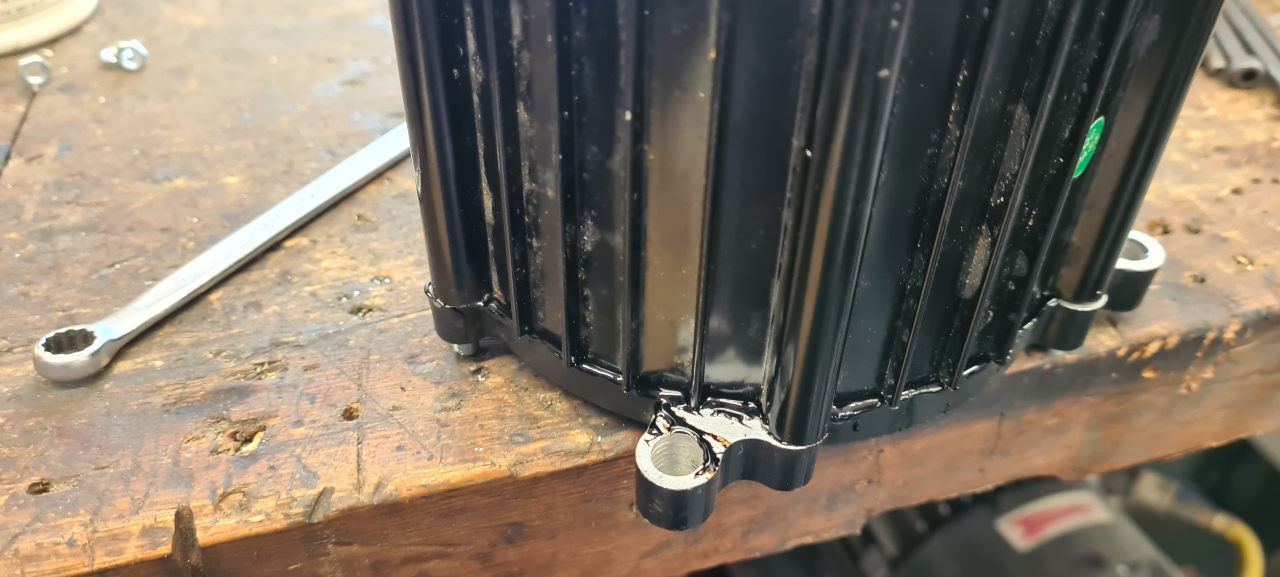
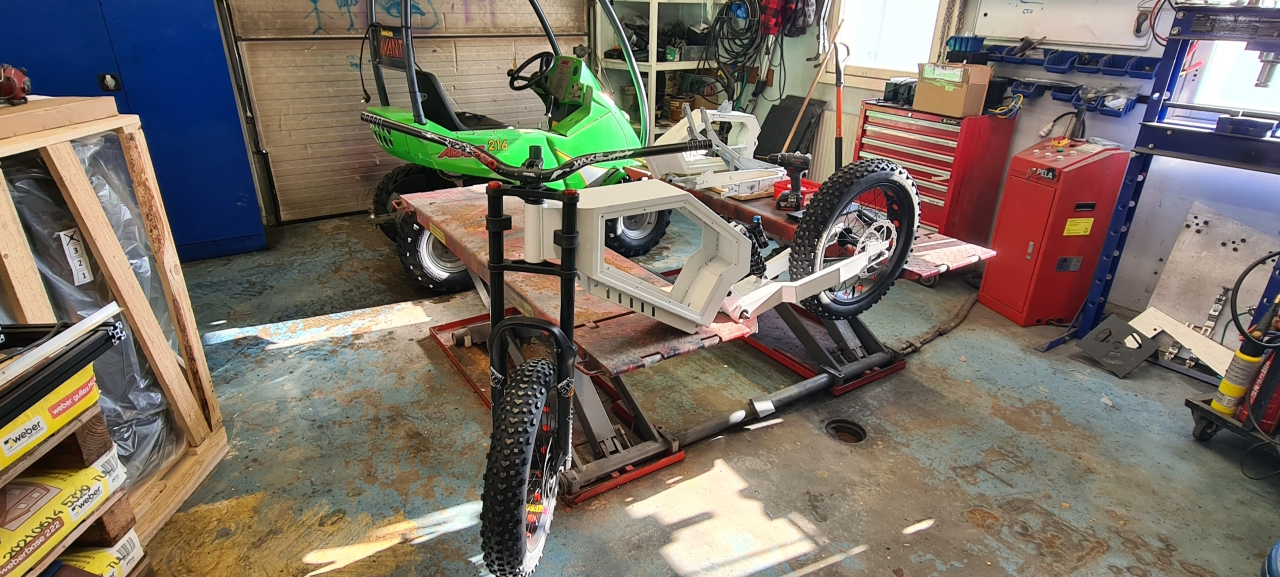
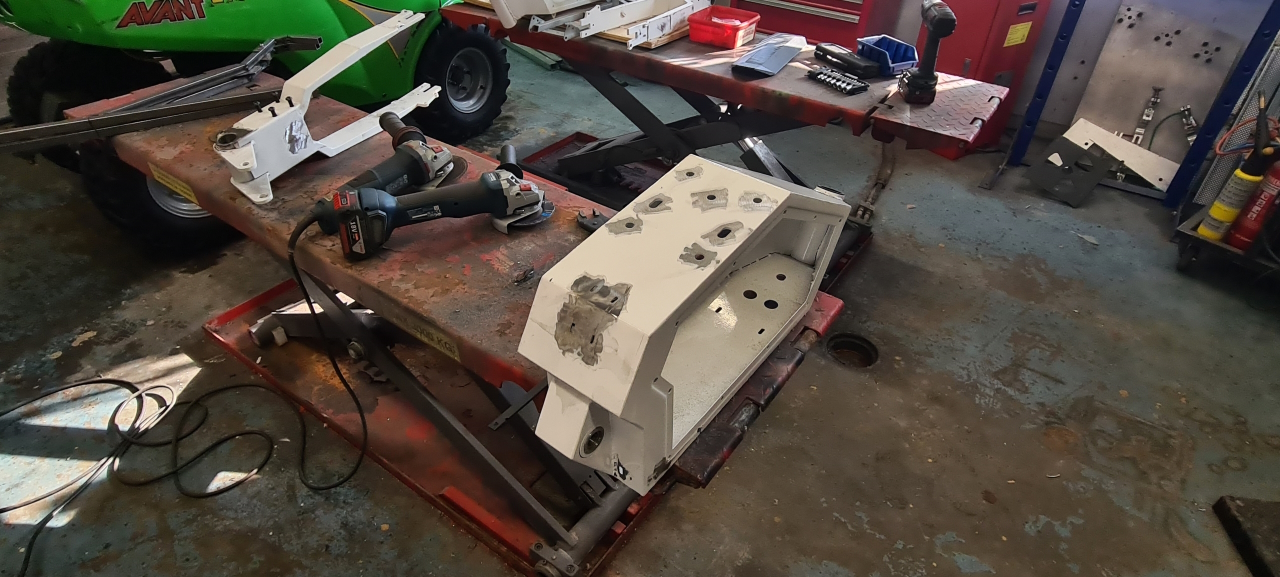
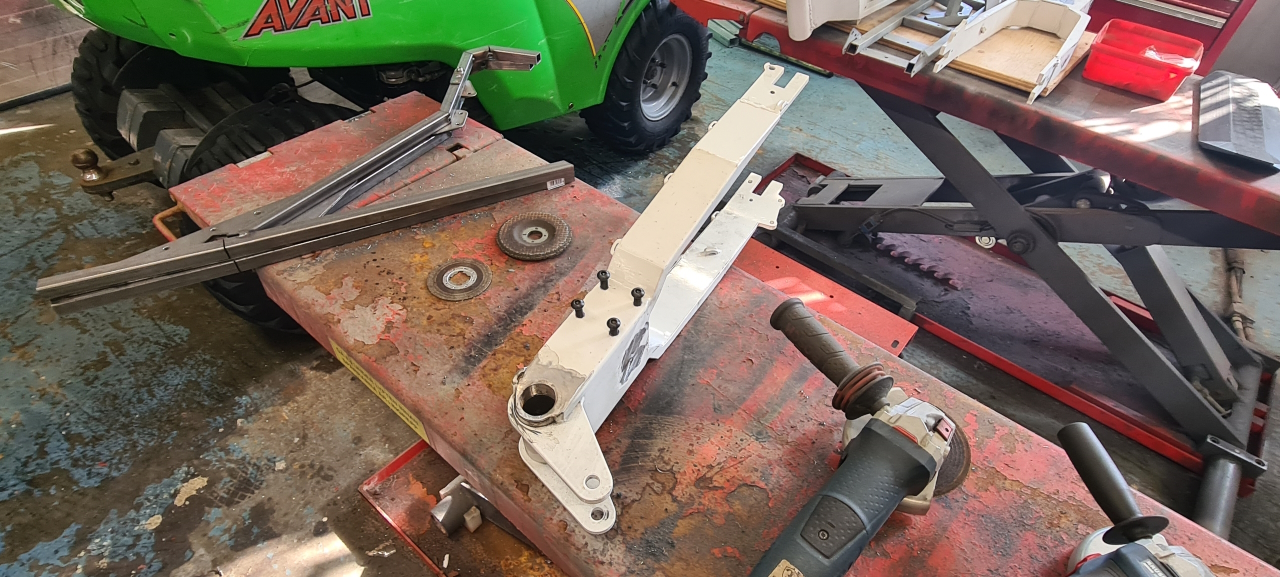
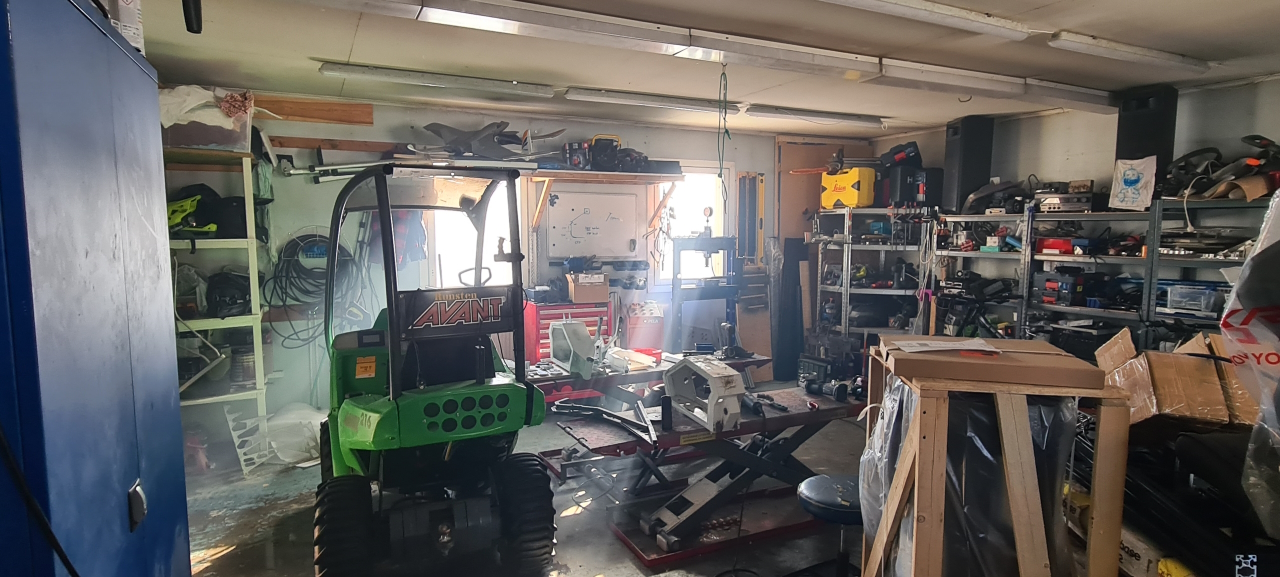
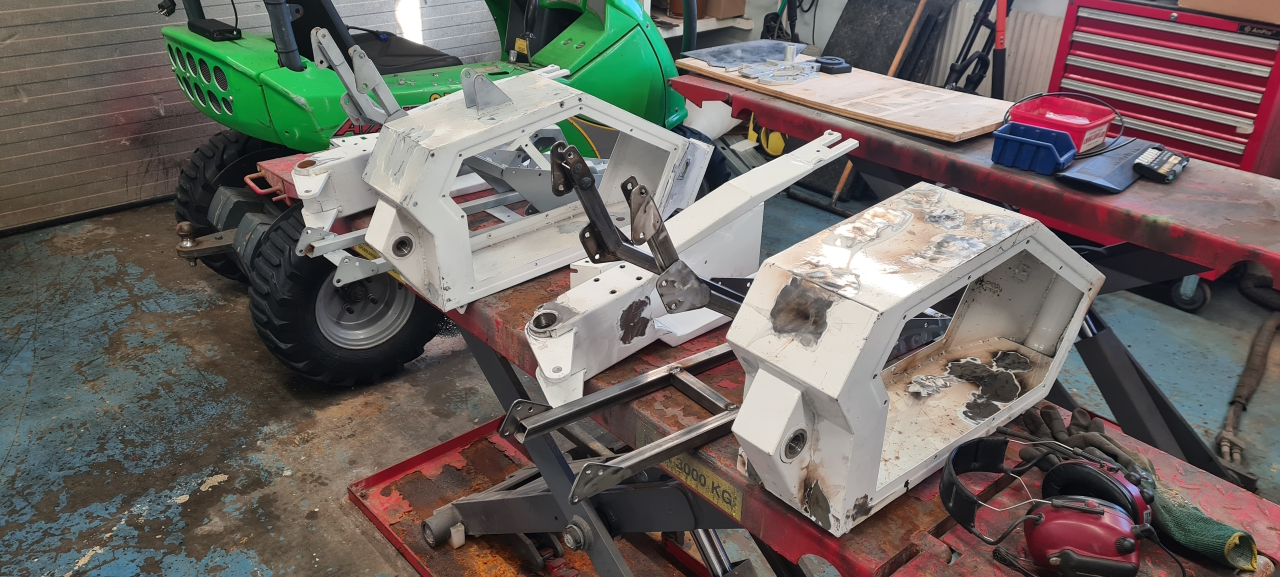
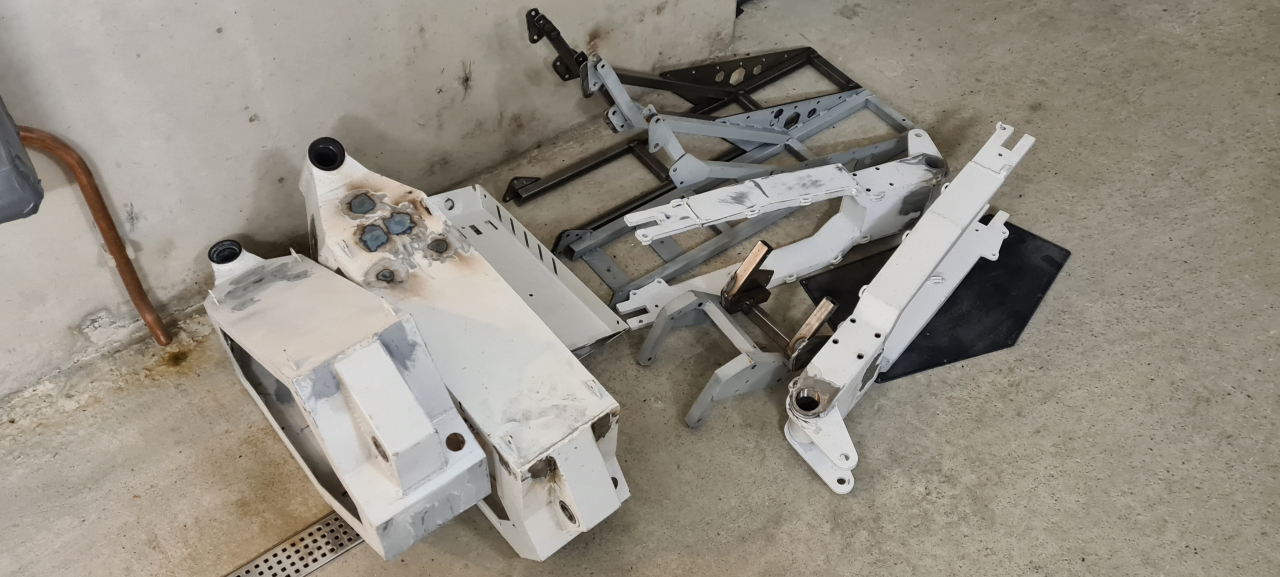
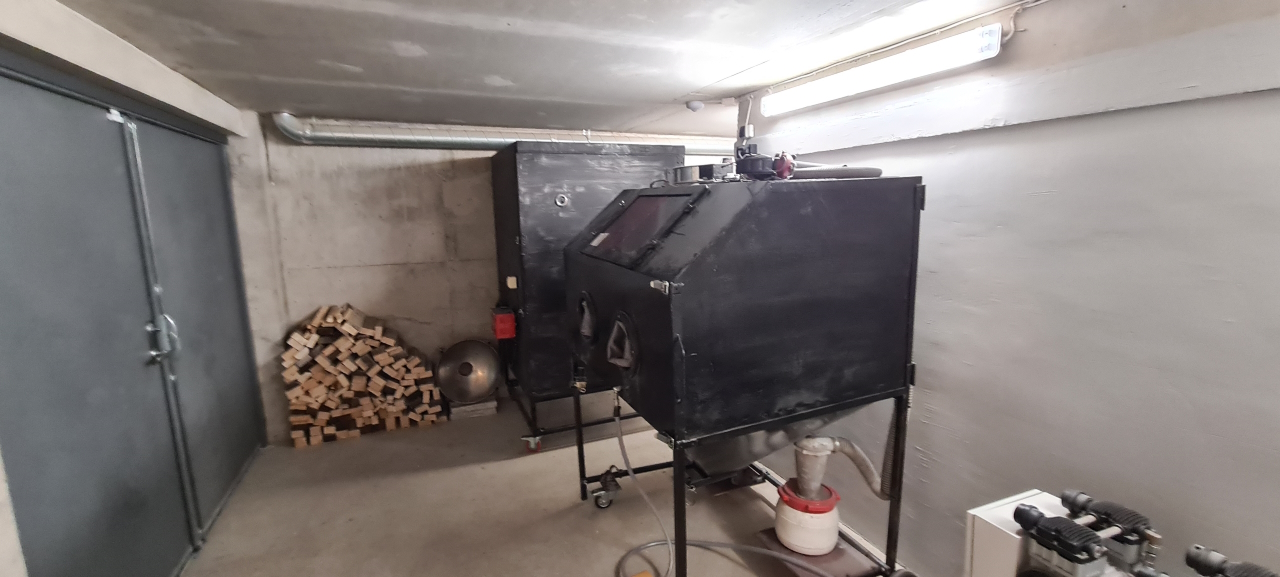
I let the motor sit for the liquid seal to cure for a day or two before adding some conformal coating to the hall sensor circuit board and to the thermistor wires to keep them out of the way of the rotor. Then I added the bottom cover and it was all done. Now I just need to do the same to my second motor.

Frame preparation

Before rebuilding the bike I wanted to get it painted and since a friend of mine has a complete powder coating setup we’re going to powder coat the entire thing. To do that I need to do some preparation to the frame and since it’s a bit cumbersome I decided to powder coat both my frames at the same time. The paint that’s on these frames are sketchy at best..
I’m going to make a video of the entire build of this second bike. The first step in preparing the frame is plugging all the holes in the battery box. I simply welded all the smaller holes and made inserts for the larger ones.
I drilled and tapped the mounting holes for the motor mount.
After doing a bit of cutting and welding the atmosphere in my workshop is toxic, to say the least. I need to build a filtering solution to be able to breathe while working.
After welding the subframe the second frame is ready for sand blasting and paint. I decided not to weld the mount for the rear shock onto the frame. Instead I’m going to make a bolt-on solution where I make a mount that bolts onto the frame at the right height. This will make the build and installation easier and I can drill the holes later when assembling the bike.
So, now all the parts are ready for sand blasting..
I’ve never used a proper sand blaster before but it turns out some of the paint that’s on the frame is real tough to get rid of. I spent a good 4 hours last night trying to strip the paint from all the parts and didn’t even finish two parts. Today I’m going to rough the paint up with a grinding wheel before sand blasting, hopefully this’ll let the blaster work better on the parts.

To be continued..

Lämna ett svar

Din e-postadress kommer inte publiceras. Obligatoriska fält är märkta *

Säkerhetsfråga * Time limit is exhausted. Please reload the CAPTCHA.