So, a couple of friends wanted to build ebikes of their own and of course they needed custom batteries to fit their frames.
Specialized – something
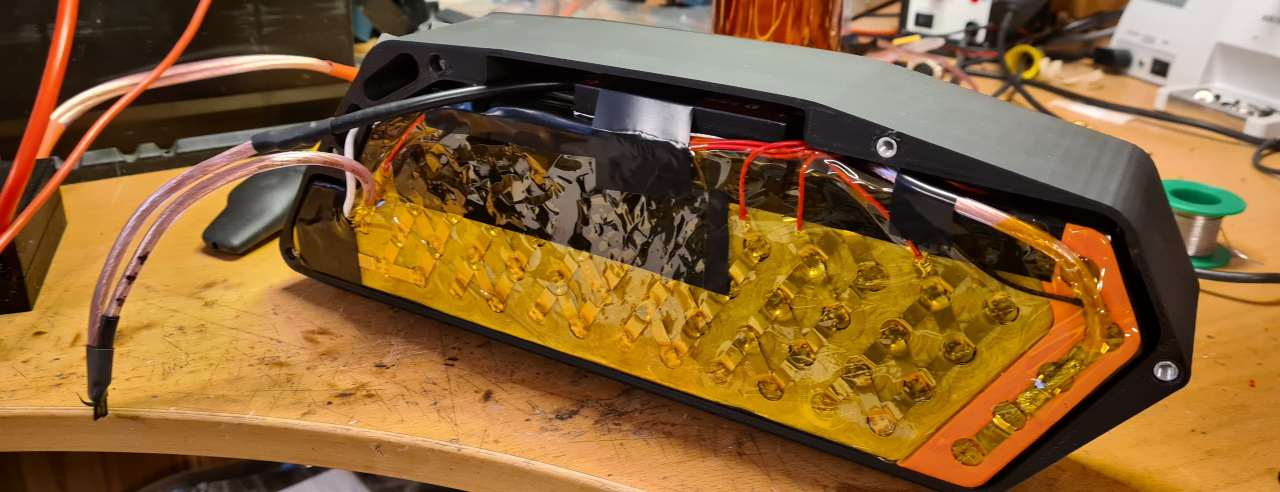
The first one was easy, some sort of Specialized bike without rear suspension. The problem with theese bikes is to build a battery that looks good in the frame.. I had built a battery earlier that he liked but wanted to increase it from 13s5p to 14s5p, so I printed an extension..
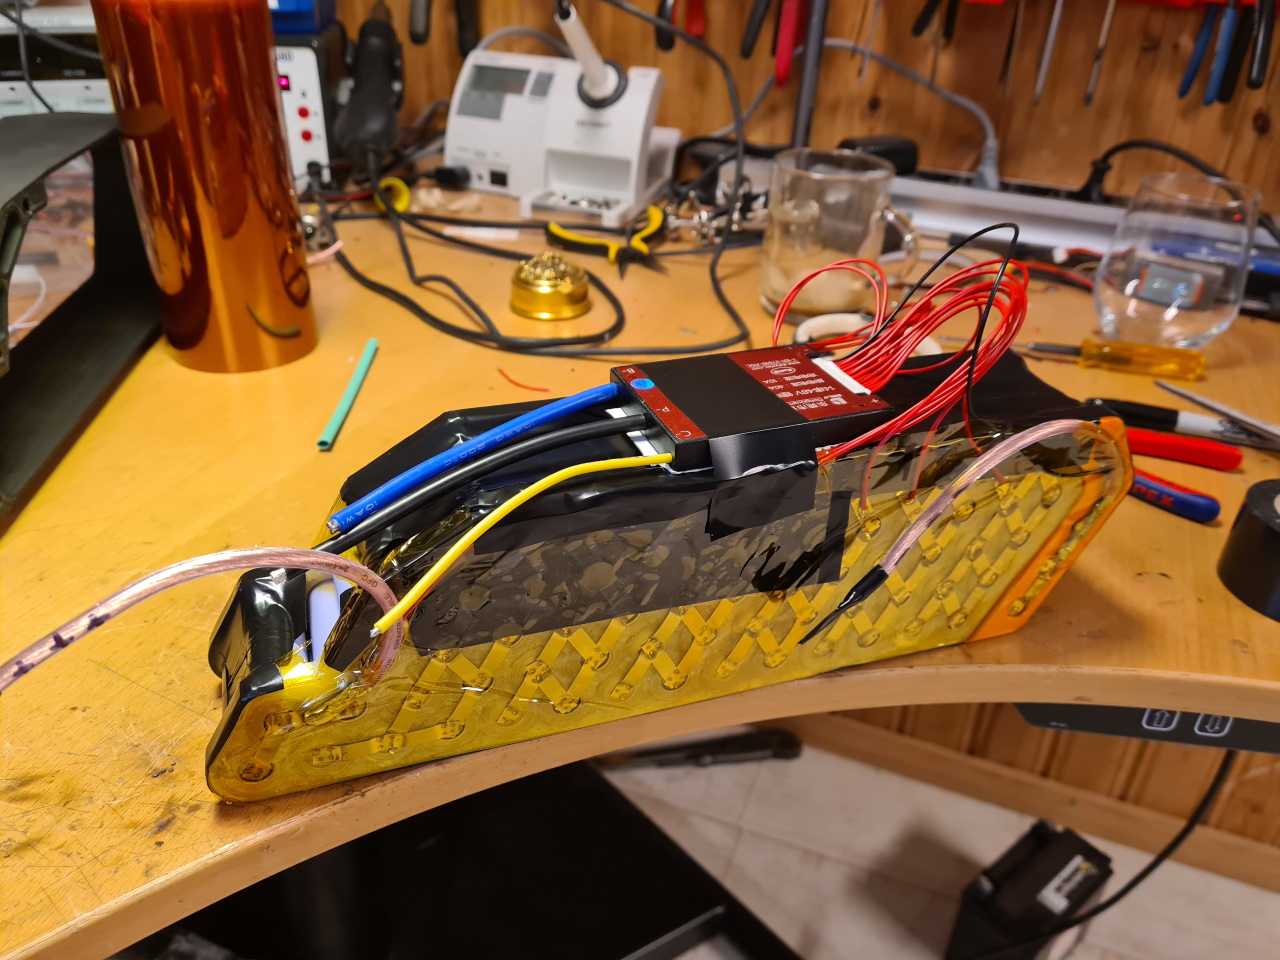
Here the pack is welded, the BMS is soldered and mounted on top – only the power leads left to fix.
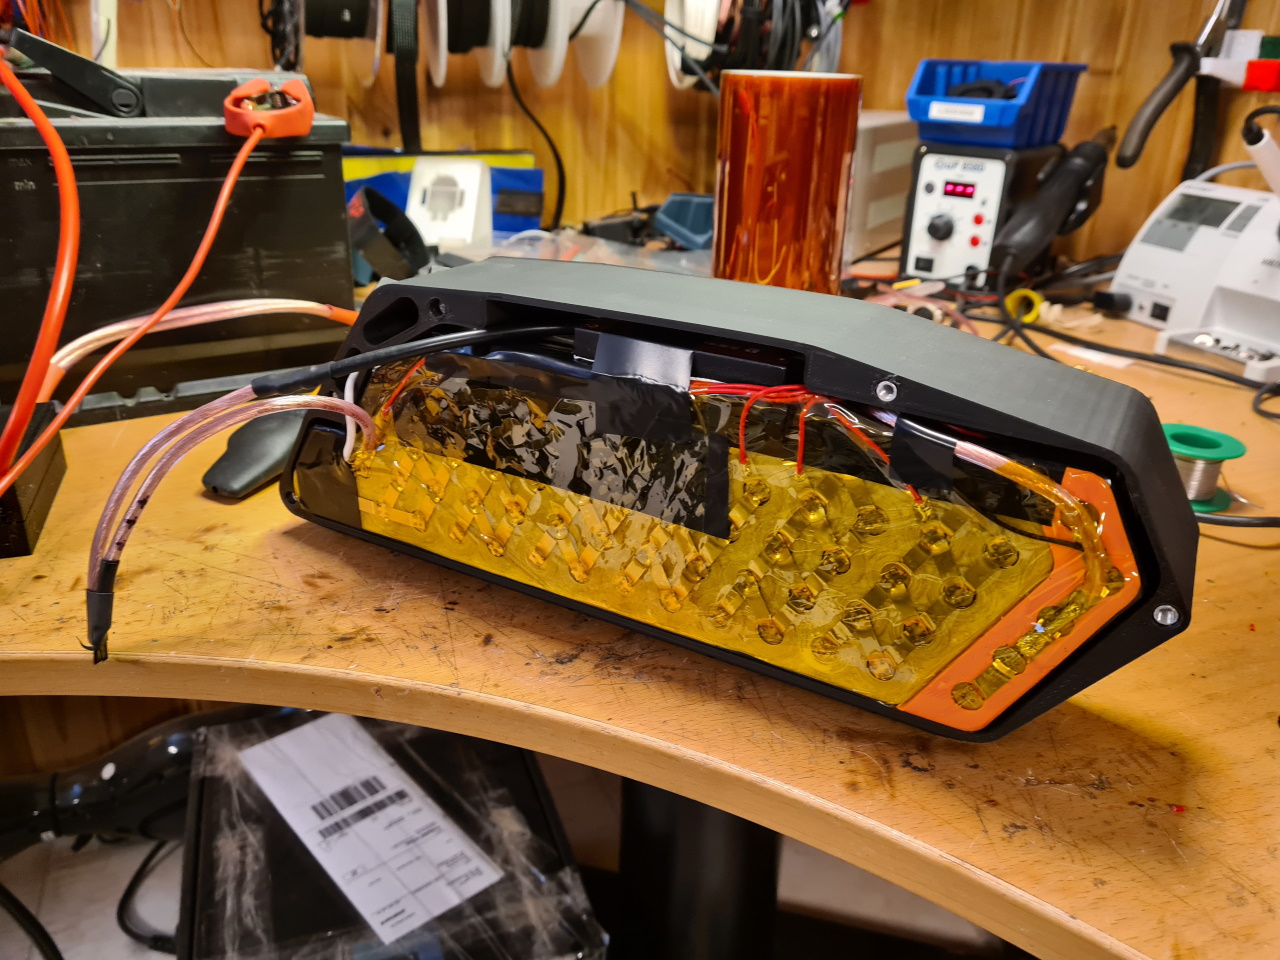
The battery cover is mounted. Here I used 6mm aluminium rods that I drilled and threaded to hold the box together. Later on I found M5 thread inserts that – when mounted correctly – bonds great to the plastic print. Much less work and a better result.
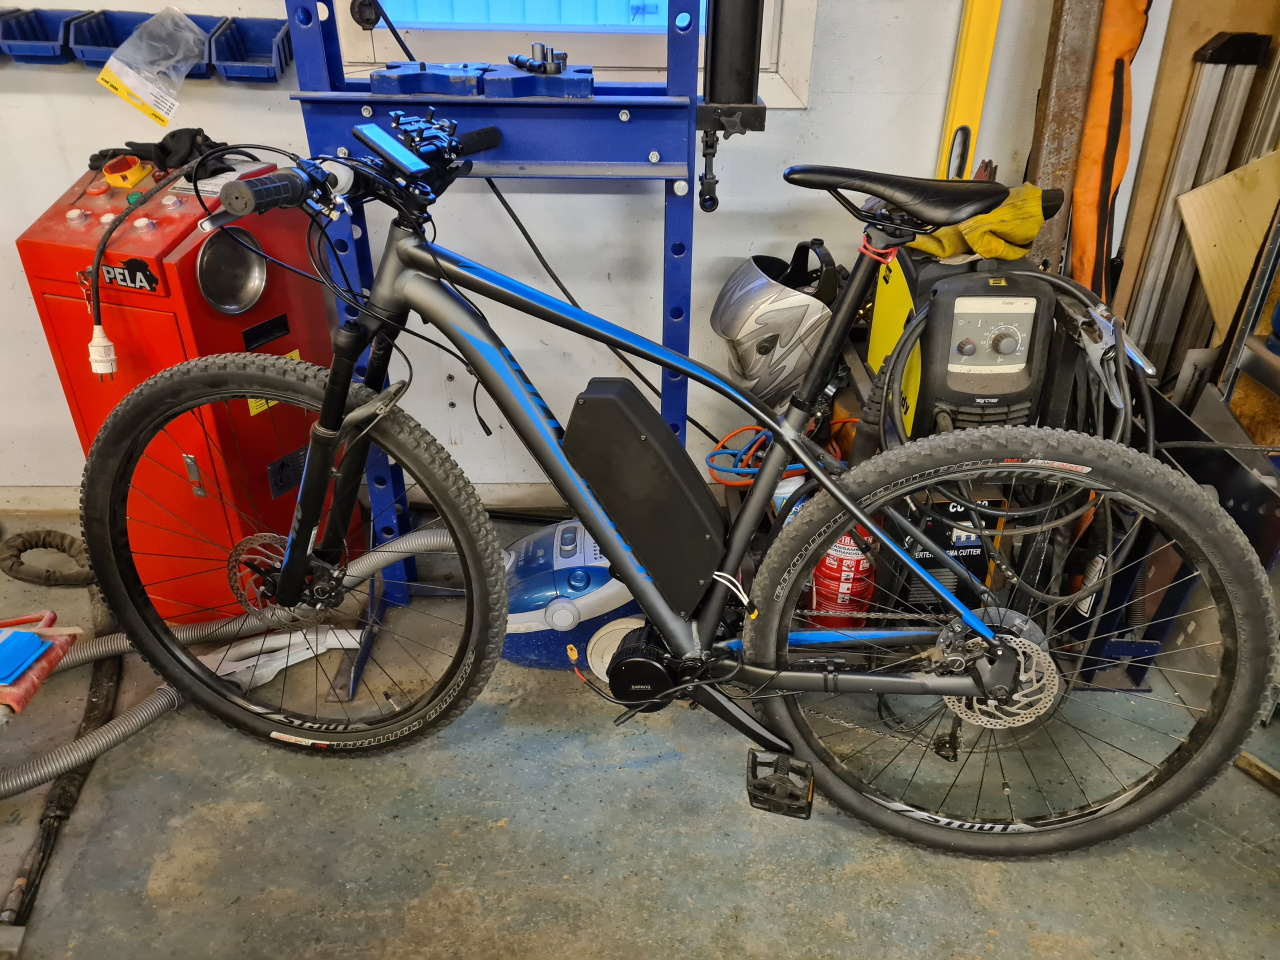
Mounted in the frame the battery sits like this. Looks more or less like a standard battery, nothing special but it works. 52V 12,5Ah and a cont current output of 62.5A is enough to power most anything for quite some time.
Mongoose
Now this frame is an odd bird..
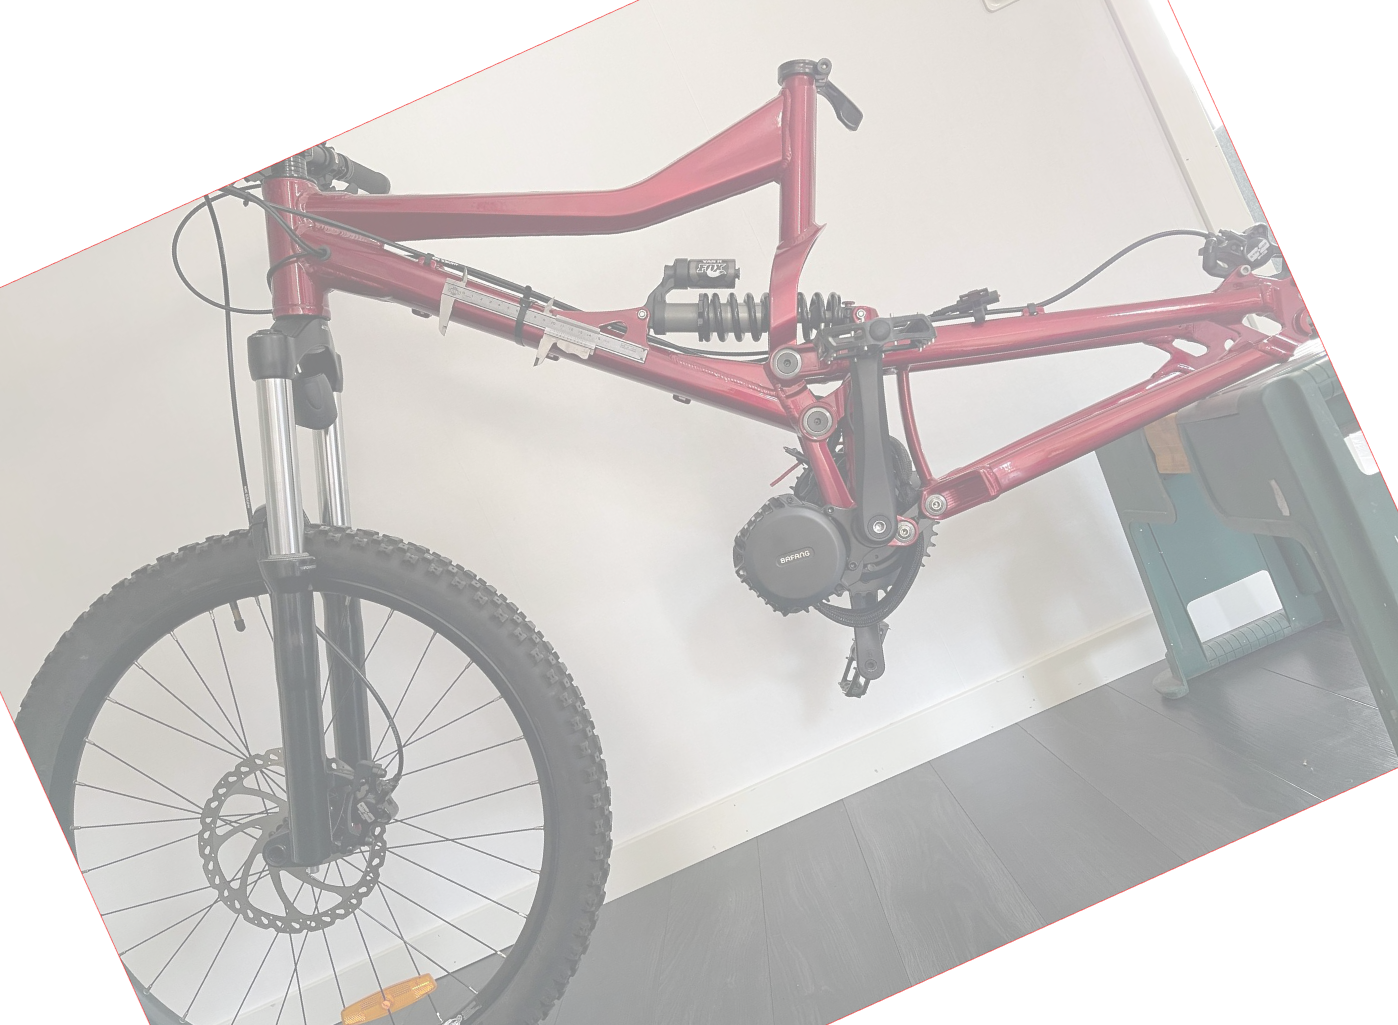
Unfortunately I didn’t get any pictures of the frame while it was here, so this’ll have to do. The suspension on this frame works in a really wierd way and there’s virtually no space inside the frame to build a battery, so we had to place it underneath the frame.
When making a battery like this the first thing I do is, like in the picture above, take a picture of the frame as straight from the side as possible with a reference measurement in the picture, like the caliper taped to the frame above. That way I can import the picture into Fusion360 to start design of the battery box.
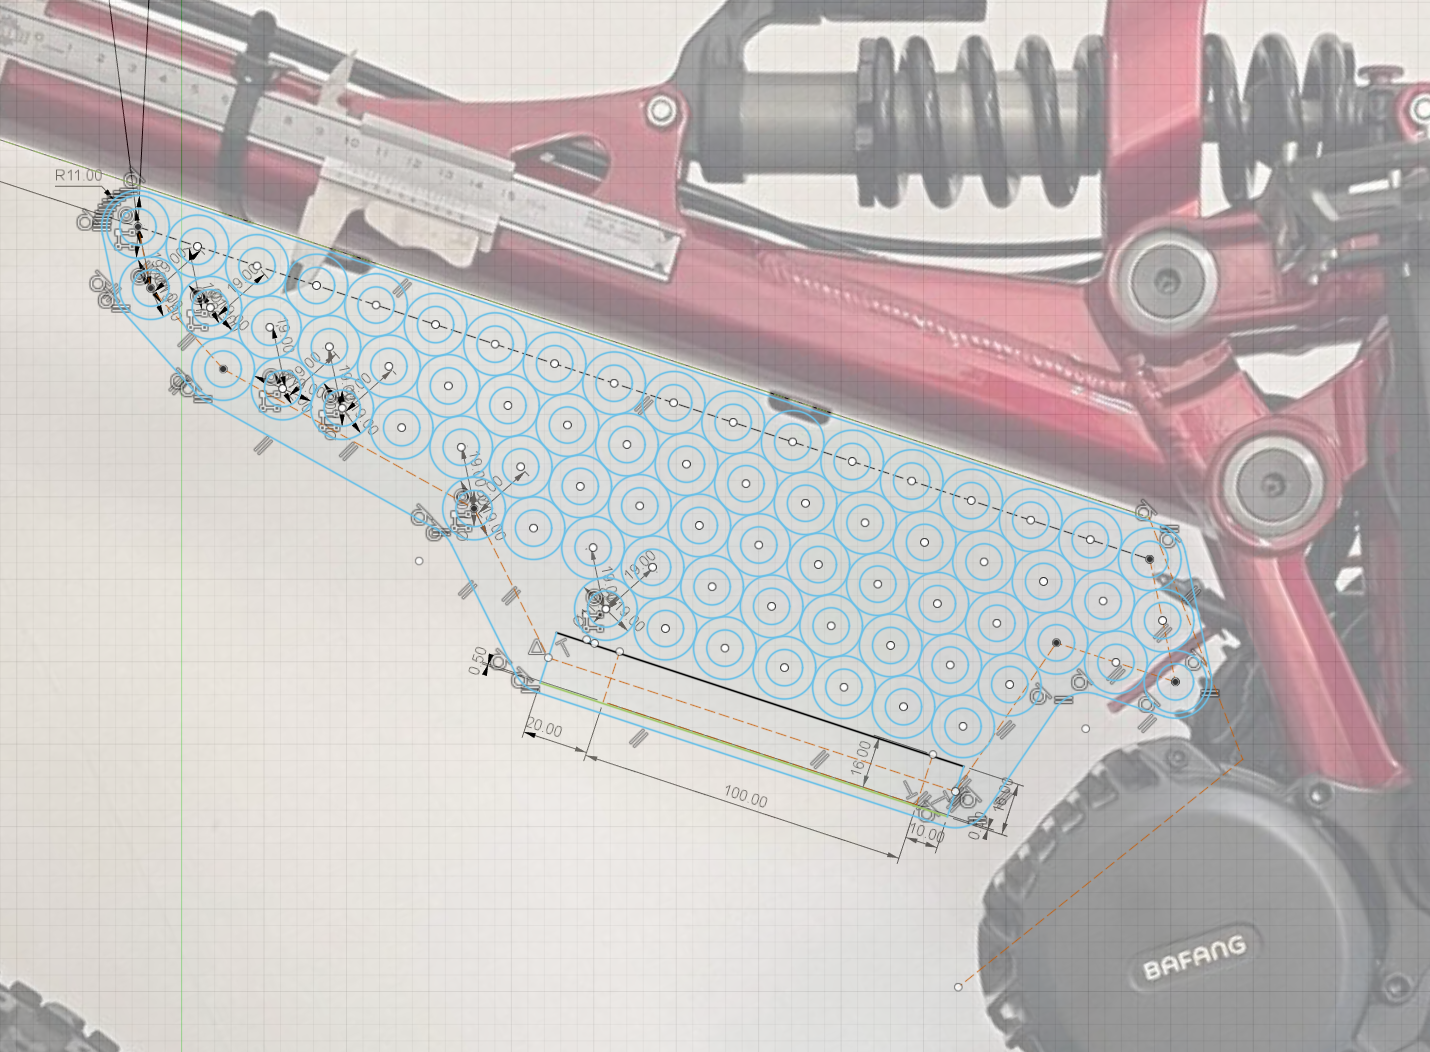
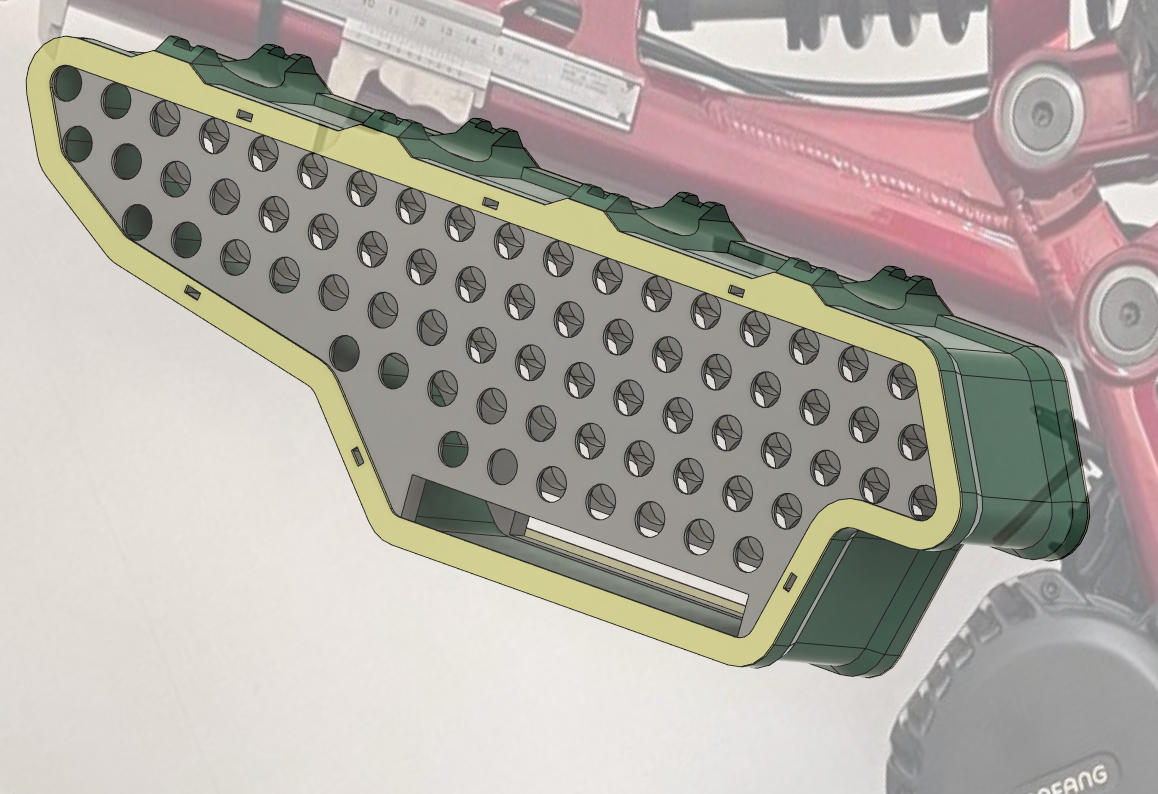
I then figure out the cell placement and the overall shape of the box and design the battery cellframe. From this drawing I make a PDF that I print on regular paper to test fit in the frame and when the fit is good I continue with the CAD.
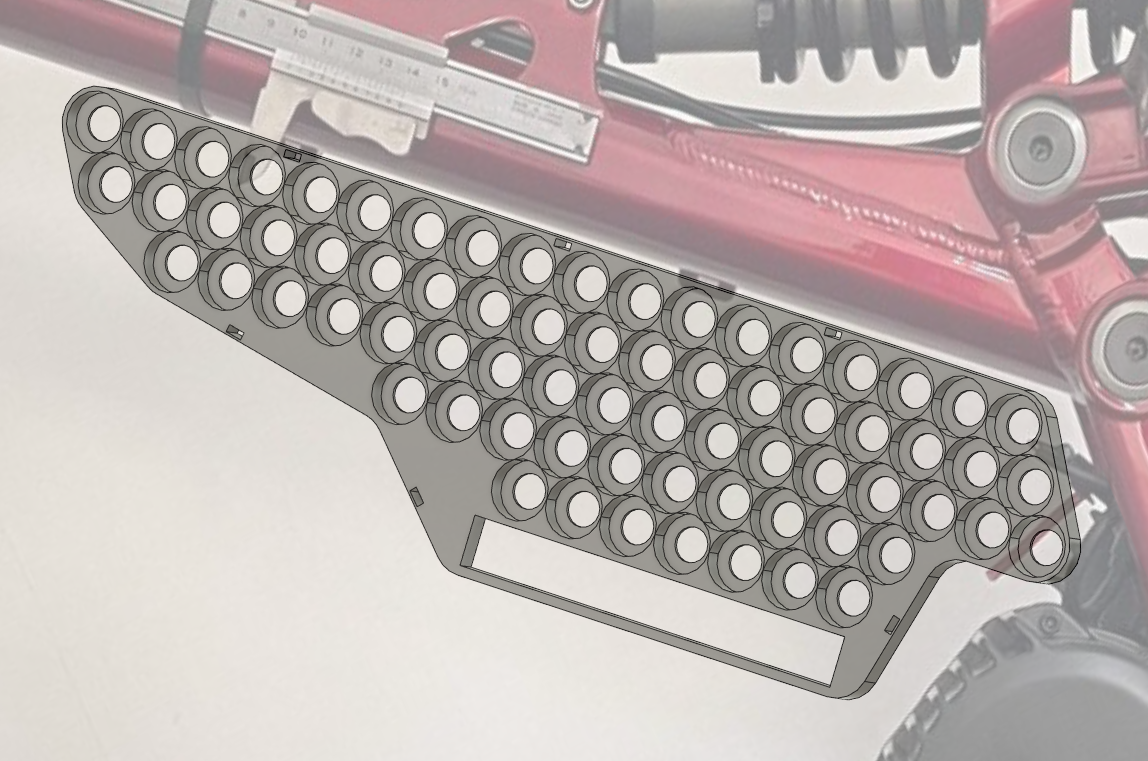
I make a 3D design of the cell frame making sure the cells will fit in the holes and that there is room for the BMS and all the cable routing. I also make sure there’s room for the bolts, or in this case we used zipties to hold the box together. When possible I try to make sure the layout of the cells is such that good power transfer between the cell clusters is achievable when welding the pack.
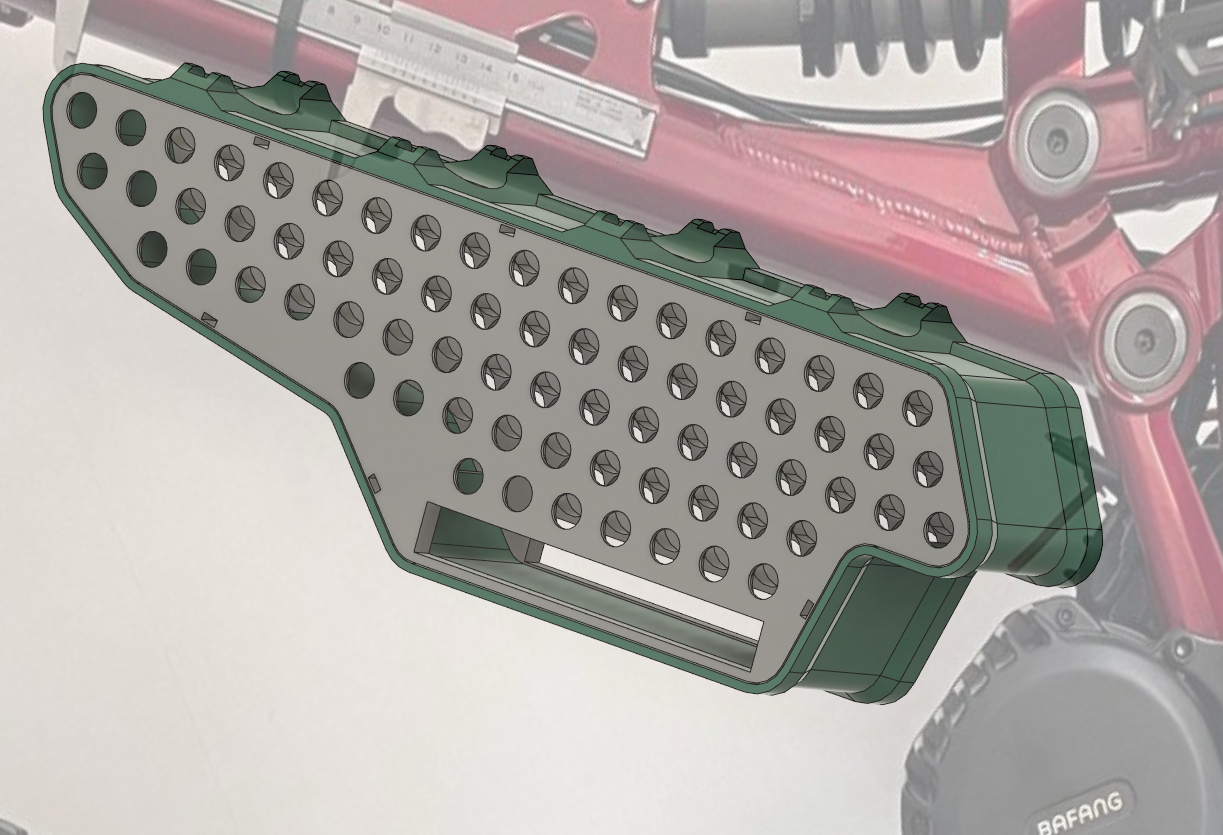
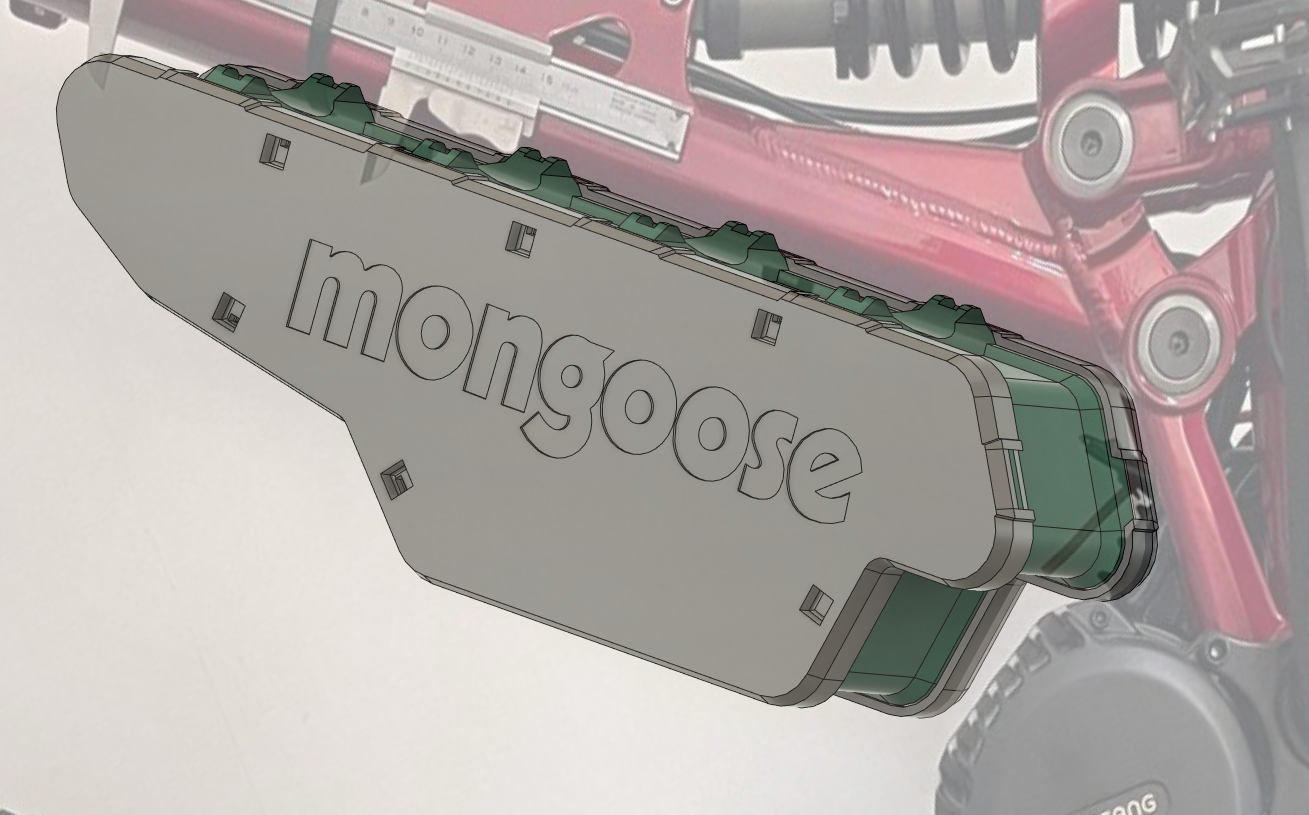
Next the Joiner is designed. Now the outer shape of the battery takes form. When possible I try to make brackets on the joiner that fits the frame for the most secure mounting possible. Channels for zipties are added to the design to make mounting easy and secure.
”Rubber” gaskets are designed and finally..
.. the outher shell, or sides, of the box is designed. Custom logo added on demand. 😉
After this it’s just a matter of letting the 3D-printer do its job which usually takes 40-60 hours for a box of this size.
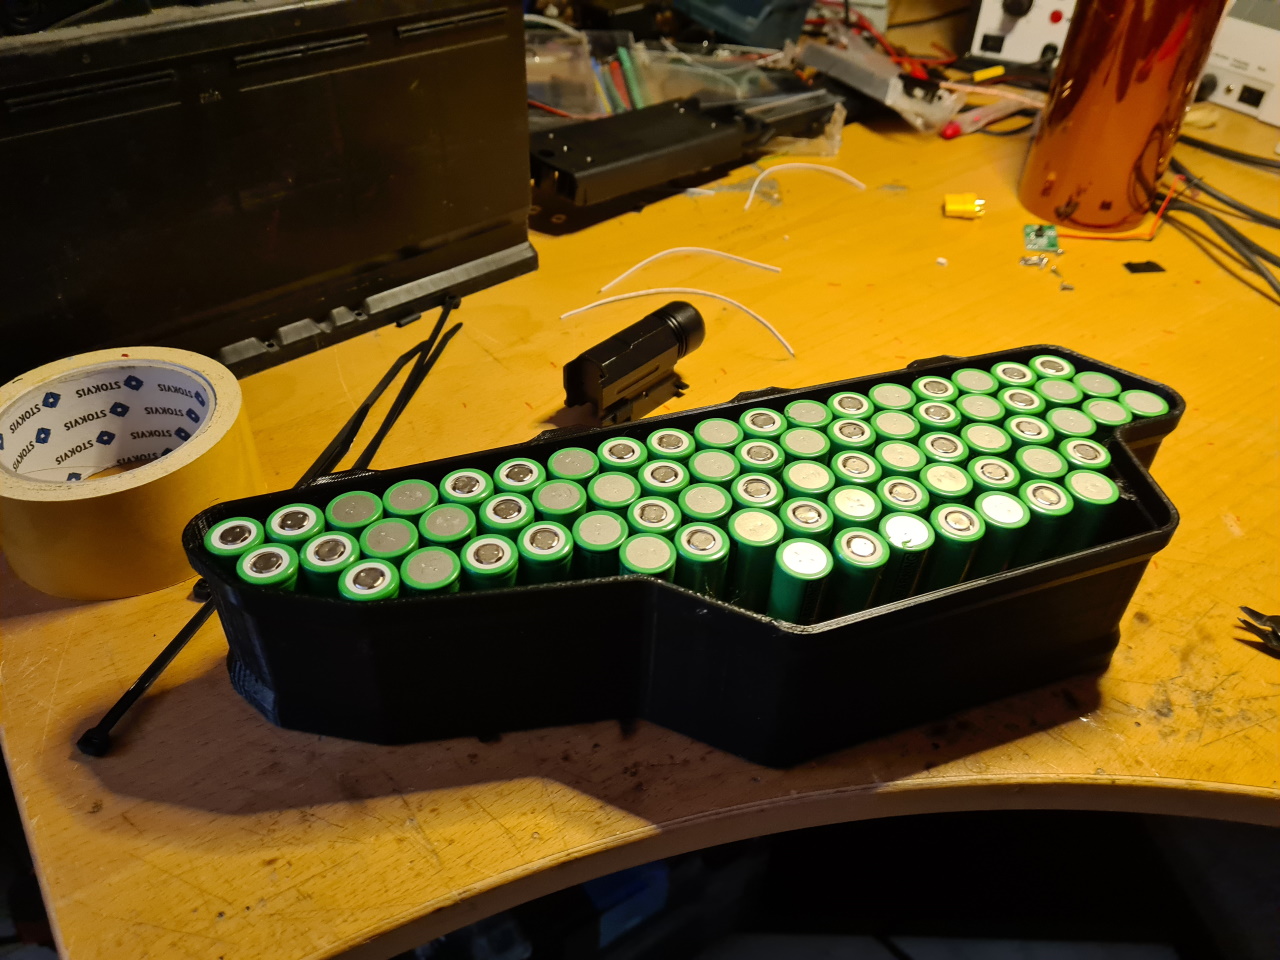
After the printing is done the cells are added to the cell frame, the joiner installed over the bundle and the second cell frame mounted on the other side. The cells are then welded taking super cautious care not to short anything out and then after the BMS has been added, the sides are bolted on and the pack ready to go on the bike.
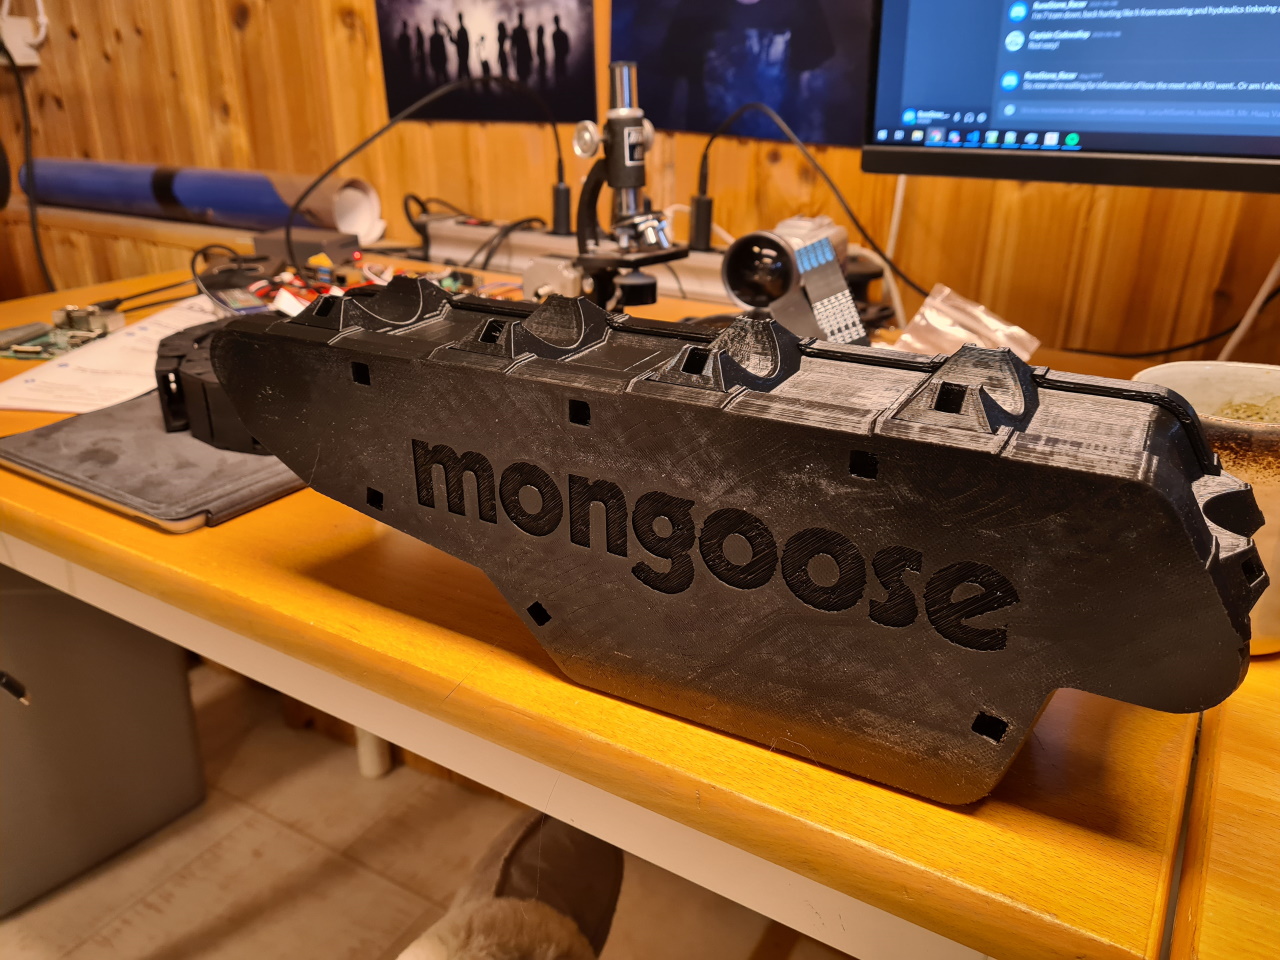
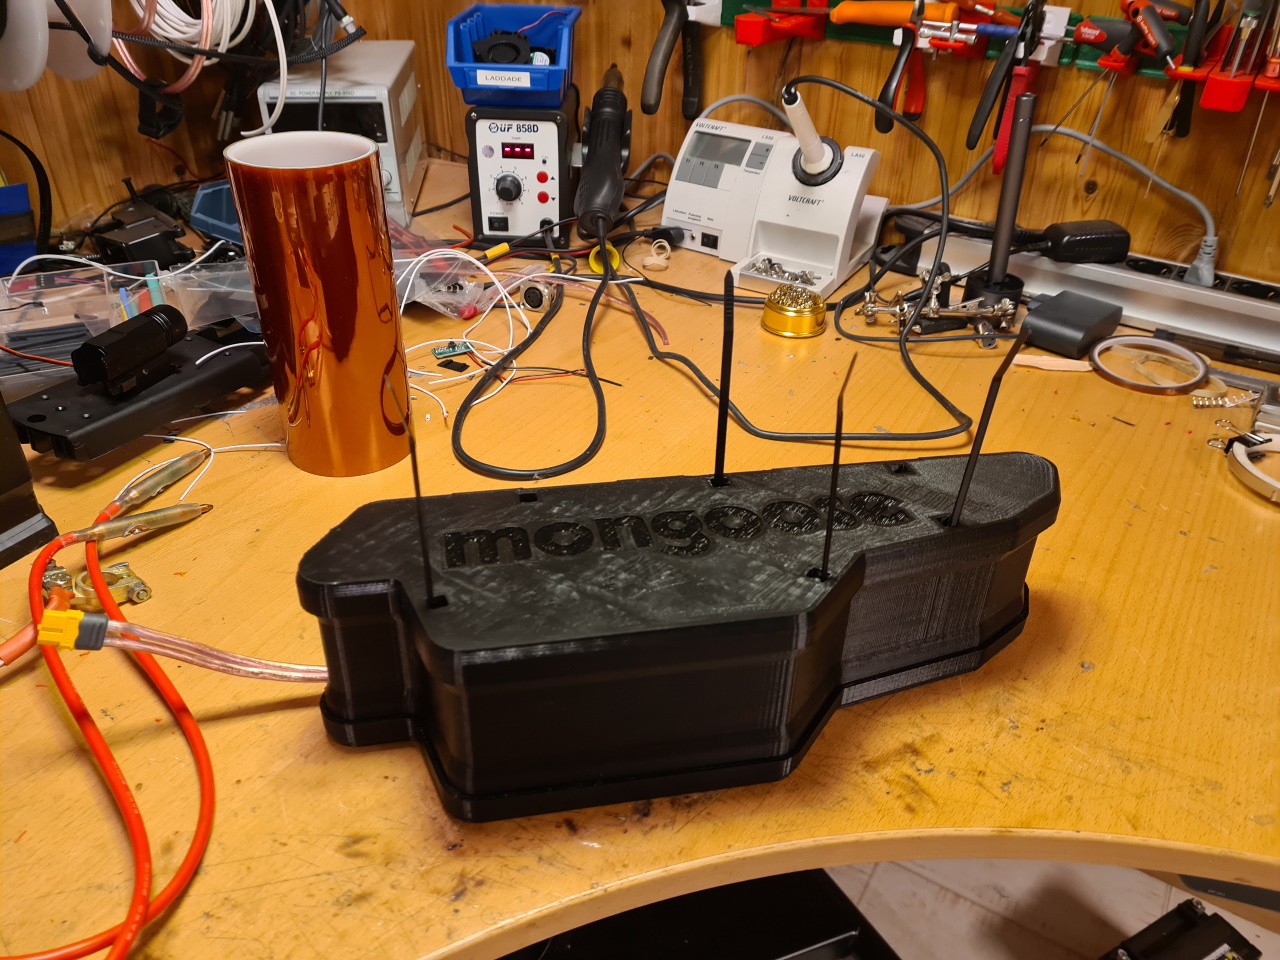
For this pack I tried using zipties instead of screws to hold the box together. It works fine but looks a bit wierd and after finding the threaded inserts that’s the way I’m building packs further on.
Unfortunately I do not have any pictures of this pack on the bike. Will try to get some the next time we ride together!
Well, more packs and builds to come. Please leave a comment if you appreciate the build posts, or send me a message on social media or discord.
